Pedalboard Wiring Ideas and Organization: How to Hide the Mess
Learn how to hide the inevitable wiring mess that comes with a loaded pedalboard.
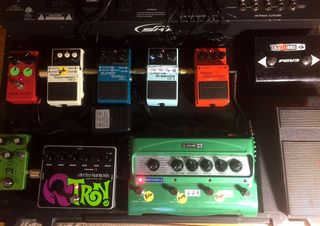
I have an old SKB pedalboard made out of a substance that would probably destroy my drill if I tried to bore holes in it.
But, I can’t stand how messy all the wiring gets.
It’s like looking down at a rat’s nest, with cables and wires going everywhere. Perhaps, I’m just OCD about my pedalboard organization.
If you are too, I’m going to run through my technique for pedalboard wiring and how to hide the inevitable mess that comes with a loaded pedalboard.
Here’s what I’m using to make it happen:
• Industrial-Strength Velcro
• Bulk Plastic Twist Ties
• Black Hockey Tape
• Straight Angle Pedal Couplers
• Angled Pedal Couplers
• 9V Pedalboard Cable Kit
• Low Profile Patch Cables
There are plenty of ways to do this, but I’ll take you through my method step-by-step to illustrate how I got everything looking (fairly) nice and orderly.
1. Clean everything off the board and vacuum
The first order of business was to get everything moved off the board and then vacuum it off. I used our Dyson, though a smaller, hand-held vacuum may have worked better. Plenty of dirt, dust and loose pieces of fabric came off.
I then removed all my pedals, wiped the board down and spread out the new wiring goods.

2. Add velcro and place each pedal
The next step was to unpackage my new velcro and add it to the back of each pedal.
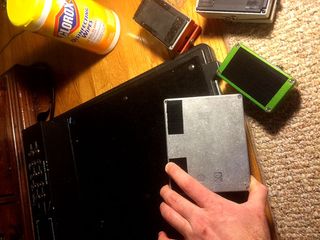
Once the velcro was on, I went ahead and placed each pedal where I wanted it to go, with only the pedal couplers plugged in—no other wiring or cables at this point.
All pedals that used a 9V power cable from the pedalboard kit get placed at the back.
In my case, I added the EHX QTron Filter, the Line 6 DL4 and Morley Wah pedal to the first row.
The larger and more heavily used pedals should get placed in front.
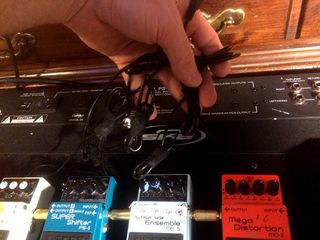
3. Tie in the 9V power cables to the pedals on the back row
With each 9V adapter plugged into the pedals in the back, I used the twist ties to bind the 9V power cables together in groups of two.
Use two ties, one at the top and then another at the bottom of each wire group, as close to the two pedals as you can.
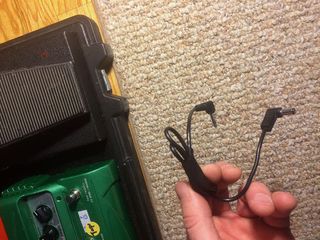
If necessary, fold the wires to eliminate excess length and then use the hockey tape to wrap up the folded portion. The 9V cables shouldn’t be any longer than necessary.
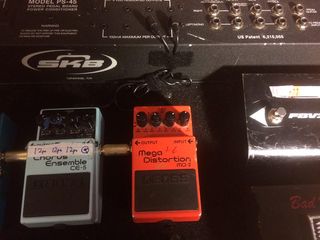
At the top of each 9V wire pair, whether it’s going into your board (like mine) or into a power supply brick, use the black hockey tape to hide and secure the second twist tie. From there you can use either velcro or tape to keep the grouping of wire adhered to the pedalboard itself, so it doesn’t move and keeps a lower profile.
4. Tie in the wah pedal adapter
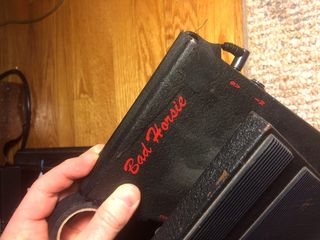
I needed a little more slack for the wah pedal, so in this case I taped the 9V wire to the front edge of the pedal and then tucked it underneath one of the couplers holding the back row together. Once again you can use velcro or tape to keep the wire’s profile low.
I repeated this process with any other pedals that used a 9V adapter but didn’t fit on the back row.
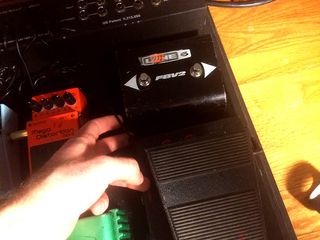
You can see in the image below where the 9V wire comes off the wah pedal and goes back to the power strip.
5. Tie in pedals with standalone adapters
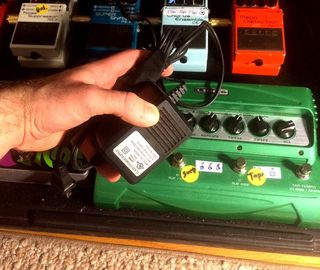
The SKB pedalboard I own actually comes with a surge protector built in. If yours doesn’t you might have to add one. Get something black (to match your pedalboard color), small and low-profile like this CyberPower 4-Outlet strip.
Fit it into the back of your board and secure it with velcro.
For the adapters you’ll need to add velcro to the bottom of each brick (wart) and tape up the excess wire slack.
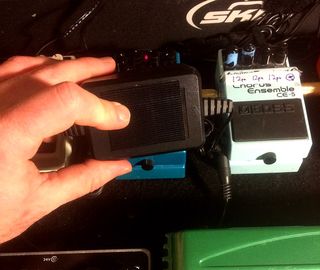
In my case I had two pedals that used their own adapters, the Line 6 DL4 and the EXH Filter.
For each one, repeat the following steps:
- 1. Fold up and tape the excess slack.
- 2. Tuck the excess (taped portion) behind one of the pedal couplers in the back row.
- 3. Use Velcro to adhere to rest of the cable to your board.
Since I had two of these, it was a little difficult to make everything seem hidden. If you have less, it won’t be nearly as evident.
6. Cable up each remaining pedal with the smallest connector cables you have
It’s helpful to have a few different patch cable lengths, depending on how your board is setup. I ended up needing a couple of the short Hosa cables I mentioned earlier. If you don’t have them, it’s okay to work with what you do have. Just keep in mind that you’re better off with shorter cables.
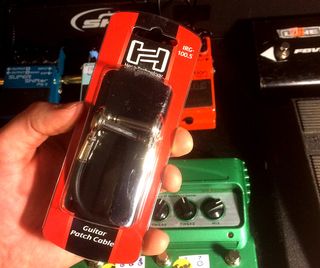
I made sure to add in patch cables that were as close to the required length as possible.
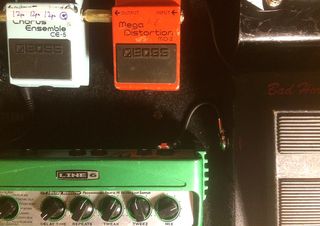
From there you can add some extra velcro to hold the cables to the floor of your board, if you’d like.
Otherwise, you’re done and are ready to enjoy crisp, clean pedalboard wiring that doesn’t look like the an electrician’s toolbox.
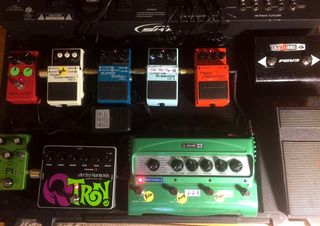
It’s not perfect but it is orderly and fairly easy on the eyes.
Here’s the finished product:
Bobby Kittleberger is the editor of Guitar Chalk and a staff writer at Guitar Tricks. You can get in touch with him here or via Twitter and Facebook.
Get The Pick Newsletter
All the latest guitar news, interviews, lessons, reviews, deals and more, direct to your inbox!
Bobby is the founder of Guitar Chalk, and responsible for developing most of its content. He has worked with leading guitar industry companies including Sweetwater, Ultimate Guitar, Seymour Duncan, PRS, and many others.

“We often overlook this humble technique, yet it’s such an important tool for expressive rhythm and lead playing”: Palm muting is an essential guitar technique – but there’s a lot more to it than just chugging. Are you using it to its full potential?

How to introduce “murder mystery” guitar chords to your playing – without getting your fingers in a twist
Most Popular


