How to set up a Les Paul: 7 essential tips
Master luthier Jim DeCola tells us how to set a Gibson Les Paul up to perfection

Gibson’s Les Paul remains the Nashville company’s most iconic electric guitar. Who better than master luthier Jim DeCola to tell us how to set one up to perfection? His step-by-step advice holds good for many other classic Gibsons, too.
1. Strings
“First off, fit a fresh set of strings,” Jim DeCola advises. “If you’re doing any kind of setup and you’re going to really dial it in, you need fresh strings. Older strings can often have tiny kinks and wear spots and so you won’t get true intonation and playability out of them. So that’s key.”
2. Neck Relief
“Second, check and, if necessary, adjust your neck relief,” Jim continues. “The simple way to do this is to fit a capo at the 1st fret to hold down all the strings there, then hold down the strings where the neck joins the body, then inspect the gap between the top of the fret and the bottom of the strings at about the 8th fret.
“If the neck has a concave bow [namely, curving slightly upwards away from the body, as it normally would be], you’ll see a slight gap between the top of the fret and the string being held down. If the neck has a convex bow, however, you won’t have a gap. So then you’ll need to loosen the [truss rod].
“Ultimately, you want a slight amount of relief in that neck, by which I mean a slight amount of concave bow. So, measured as described at the 8th fret, Gibson’s official spec looks for 10 and 12 thousandths of an inch [0.01 and 0.012-inch / 0.254 and 0.3048mm] there, which is a kind of ‘happy medium’ setting.
Ultimately, you want a slight amount of relief in that neck, by which I mean a slight amount of concave bow
“If you don’t have a set of thickness gauges you can use a piece of paper – which is around four thousandths of an inch thick – or a business card, which is about 13 thousandths of an inch thick.
“As long as the amount of relief measured at the 8th fret is between the thickness of a sheet of paper and a business card, you’re in the right ballpark,” Jim explains. “If that gap is too tight then you’re going to have buzzing towards the nut and the open position for the first few frets. And if there’s too much relief then you’ll have buzzing as you play up the neck, from around the 12th fret onwards.”
4. Check nut height
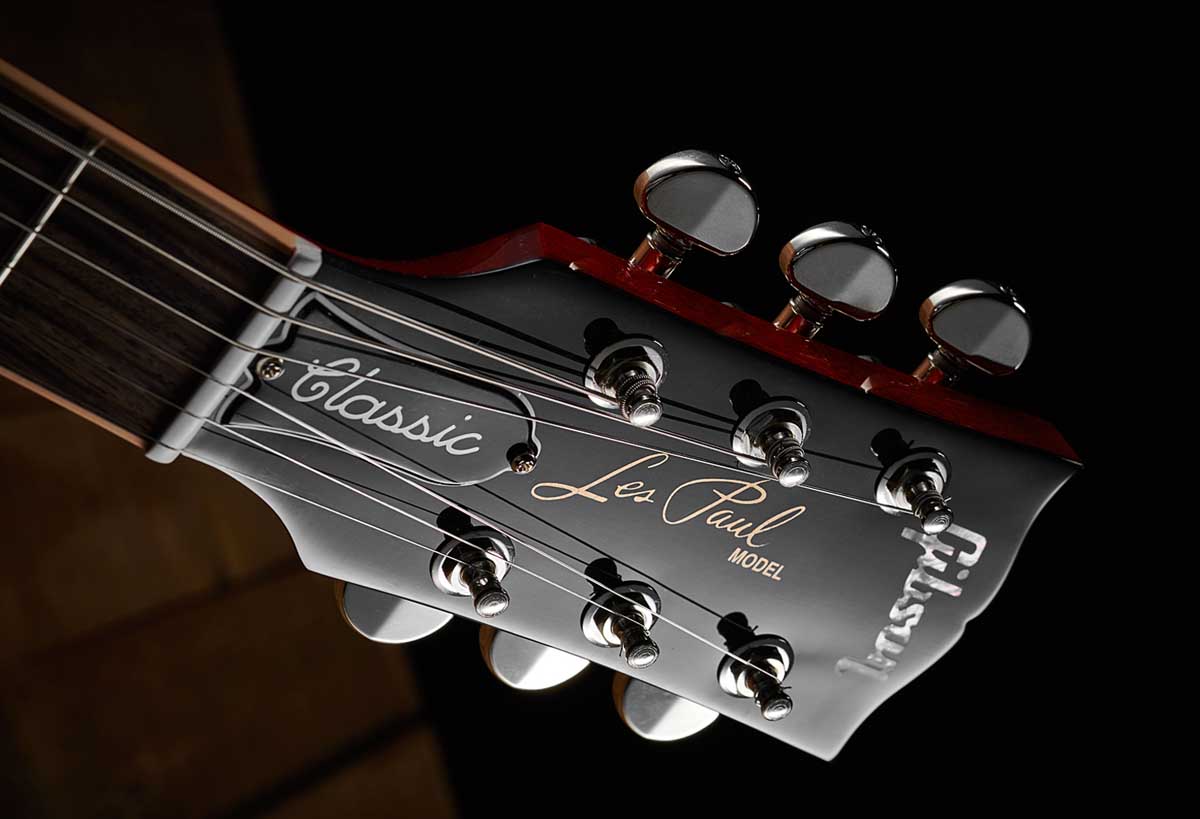
“Once your neck is adjusted, look at the action at the nut,” Jim explains. “I’m not suggesting you should modify the height of the nut yourself but you should check it, in case work needs to be done.
“At the 1st fret, we’ll look to have 1/64th of an inch between the top of the fret and the bottom of the high E string. And then on the low E string, we look for 2/64th of an inch between the top of the fret and the bottom of the string. The other strings are graduated between those dimensions.”
4. Action at the 12th
“Once you’ve checked the nut height at the 1st fret, it’s time to check the action at the 12th fret,” Jim says. “On electrics, our official spec is 3/64ths of an inch. In other words, that’s the gap we’re looking for between the 12th fret and the bottom of the high E string. Then on the low E string, we’re looking for a gap of 5/64ths of an inch from the top of the fret to the bottom of the low E string.
“Once you have those two sets of specs, you adjust your bridge [height] accordingly and that dials in your action. Of course, those are our factory specs and your taste may vary. You can adjust lower, for example, if you have lighter touch or play heavier strings – they don’t tend to buzz as much as lighter-gauge strings do.”
5. Pickup height
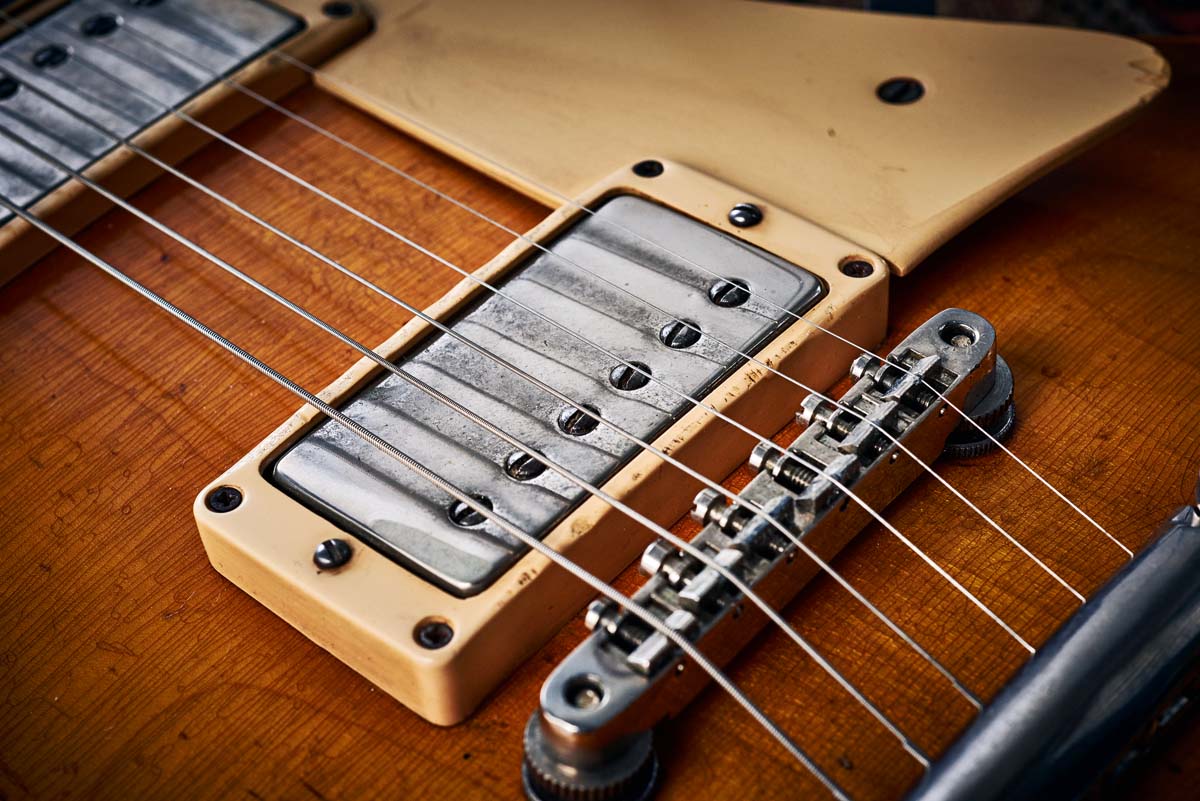
“Next, adjust the pickups,” Jim advises. “To adjust the pickups, you hold both E strings down at the highest fret. In the case of the Les Paul or an SG, that would be the 22nd fret.
“Starting with the neck pickup, you hold the high E string down at the highest fret and then measure the distance from the bottom of the high E string to the top of the pickup polepiece – and then do the same with the low E string. Our official spec is 4/64th of an inch. Then repeat the same procedure for the bridge pickup, except here we adjust the bridge to 3/64ths of an inch.
“Those are just a happy medium settings. If you want a cleaner sound, you can lower those pickups. If you want a hotter sound, you can raise them up slightly.”
6. Pickup polepieces
“Years ago, standard string sets would feature a wound G with a relatively thin core,” Jim says. “So your G was a lot weaker sounding than the B string and then the B string, being thicker than E, would overpower that. So, generally, pickup polepieces on the B string were set lower than the other strings.
“Today it’s not quite that critical. Our factory spec, when we make the pickups, they’re pretty flat with the top of the cover, or the top of the bobbin if they’re open pickups. And, again, that will perform fine.
“But if you want you can adjust them to conform to the radius of the fingerboard, which for Gibson is a 12-inch radius. I suggest, in that instance, leaving both the E strings polepieces flush with the pickup and then raising them in for the B, G, D and A to provide that radius, as measured with a ruler or a radius gauge.”
7. Stopbar height
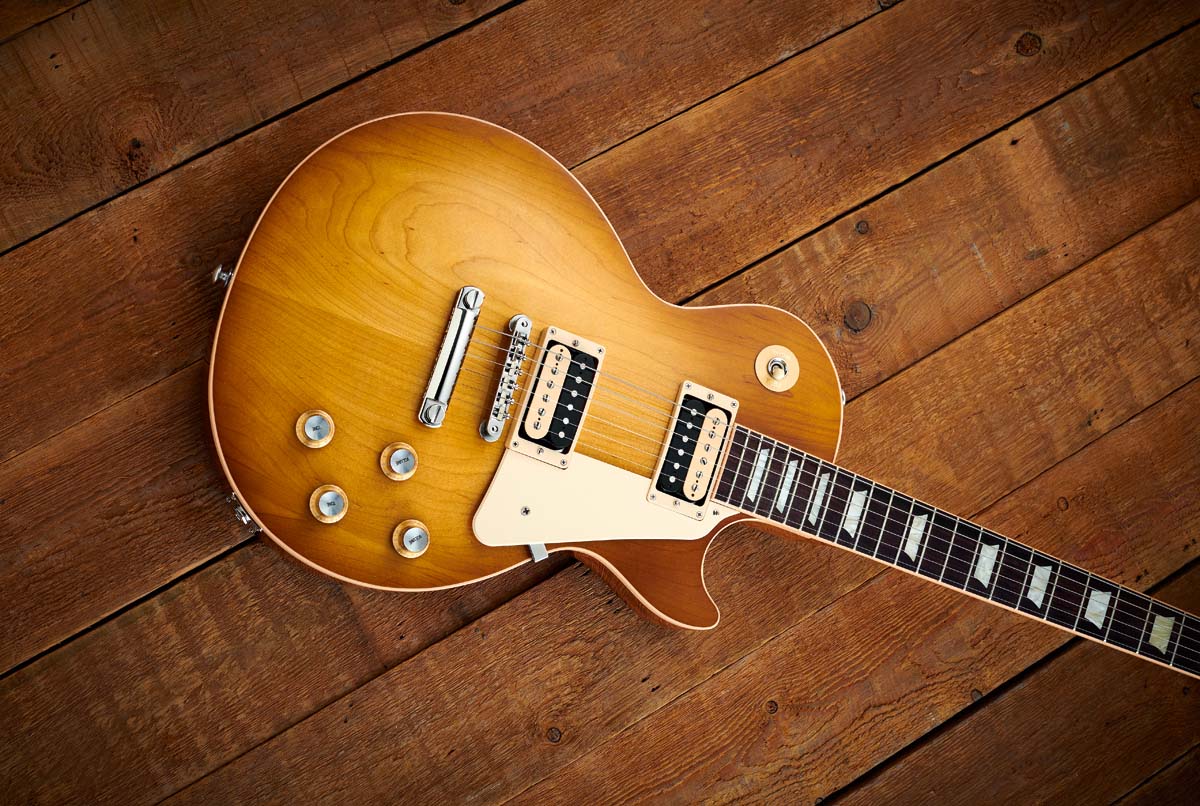
“Another thing you can do is adjust the height of the stopbar tailpiece,” Jim says. “Some people like to adjust the stopbar all the way down the body, which will give the greatest possible break angle across the bridge. That will increase the angle from the bridge and provide a slightly stiffer feel to the strings – some people say sustain, too, but that’s a subtle thing.
“You could raise the bar up and that’ll reduce the string angle and make it feel a little bit slinkier. As long as it still has a positive break angle: you don’t want it so loose that the strings fall out of the saddles.
“Some people also like to insert the strings back-to-front, so they wrap over the stopbar tailpiece, and Duane Allman was a big proponent of that. Doing that allows you to adjust the tailpiece all the way down to the body, but it reduces the resulting string break angle because of the strings wrapping around and leaving from the top of the stopbar. So a lot of players are very passionate about that. But, again, there’s no right or wrong.”
- Gibson now offers a Virtual Guitar Tech service that offers free online setup consultations to all players. See Gibson for more information.
Get The Pick Newsletter
All the latest guitar news, interviews, lessons, reviews, deals and more, direct to your inbox!
Jamie Dickson is Editor-in-Chief of Guitarist magazine, Britain's best-selling and longest-running monthly for guitar players. He started his career at the Daily Telegraph in London, where his first assignment was interviewing blue-eyed soul legend Robert Palmer, going on to become a full-time author on music, writing for benchmark references such as 1001 Albums You Must Hear Before You Die and Dorling Kindersley's How To Play Guitar Step By Step. He joined Guitarist in 2011 and since then it has been his privilege to interview everyone from B.B. King to St. Vincent for Guitarist's readers, while sharing insights into scores of historic guitars, from Rory Gallagher's '61 Strat to the first Martin D-28 ever made.



![Joe Bonamassa [left] wears a deep blue suit and polka-dotted shirt and plays his green refin Strat; the late Irish blues legend Rory Gallagher [right] screams and inflicts some punishment on his heavily worn number one Stratocaster.](https://cdn.mos.cms.futurecdn.net/cw28h7UBcTVfTLs7p7eiLe.jpg)


