How to lower acoustic guitar strings
A guide to dropping the action on your acoustic so the saddle can be set properly
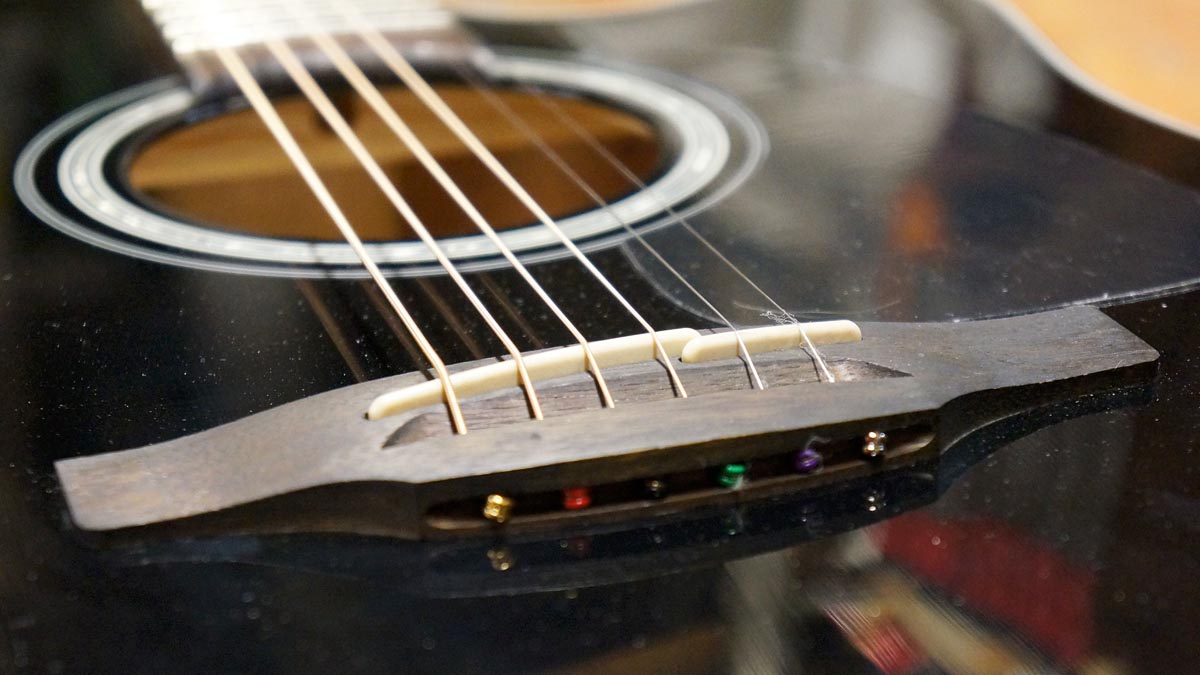
"I want to lower my action.” Sounds simple enough, right? Sometimes there’s extra steps that totally get in the way of setting your strings’ height a little lower, and sometimes these are the manufacturer’s fault.
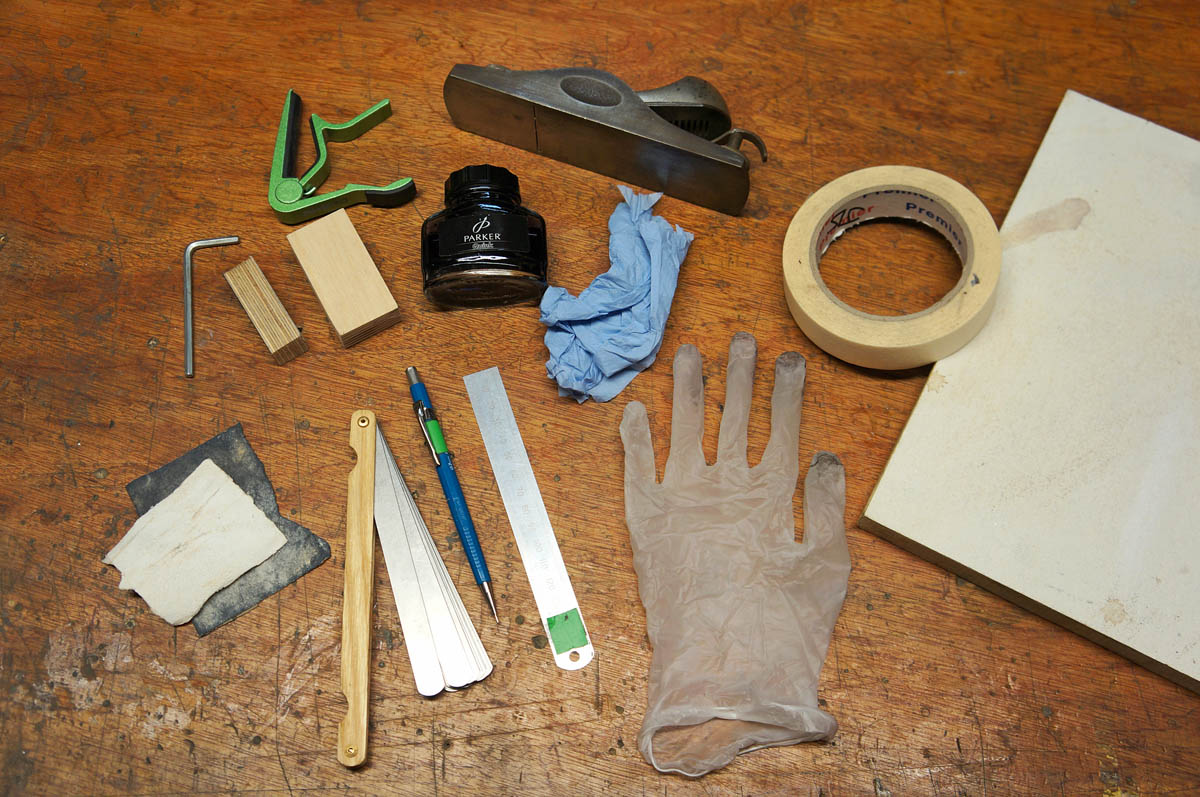
For checking / setting action:
Capo, Feeler gauge, truss rod tool, pencil, sanding board engineers’ rule.
For planing bridge height:
Masking tape, Bar runner or mouse mat; sharp, low-angle block plane; 80, 120, 240, 400 grit sandpaper; small shaping sanding blocks, blue roll; application rags latex glove; oil-based black dye (water also possible), Danish oil (if using water-based dye).
Skill level: Medium/Hard
Dropping the saddle’s height on an acoustic guitar is part of the procedure for setting the action, but what if it’s not possible to drop it as low as it needs? Be aware that the truss rod and the nut slot heights absolutely need setting right before making this judgment – we’ll show you how.
The timber bridge itself can get in the way and might need retracting with a plane. What’s the cause? There are three main causes for a bridge that’s too tall: incorrect design (the geometry between the body and neck is less than ideal), neck movement (the heel of the neck being loose) or soundboard deflection (the guitar’s top excessively bowing upward due to string tension over time).
It’s unfortunate to find a brand new guitar that’s got bad geometry but it’s surprisingly common. Here’s a DIY remedy to get it sorted.
Step 1
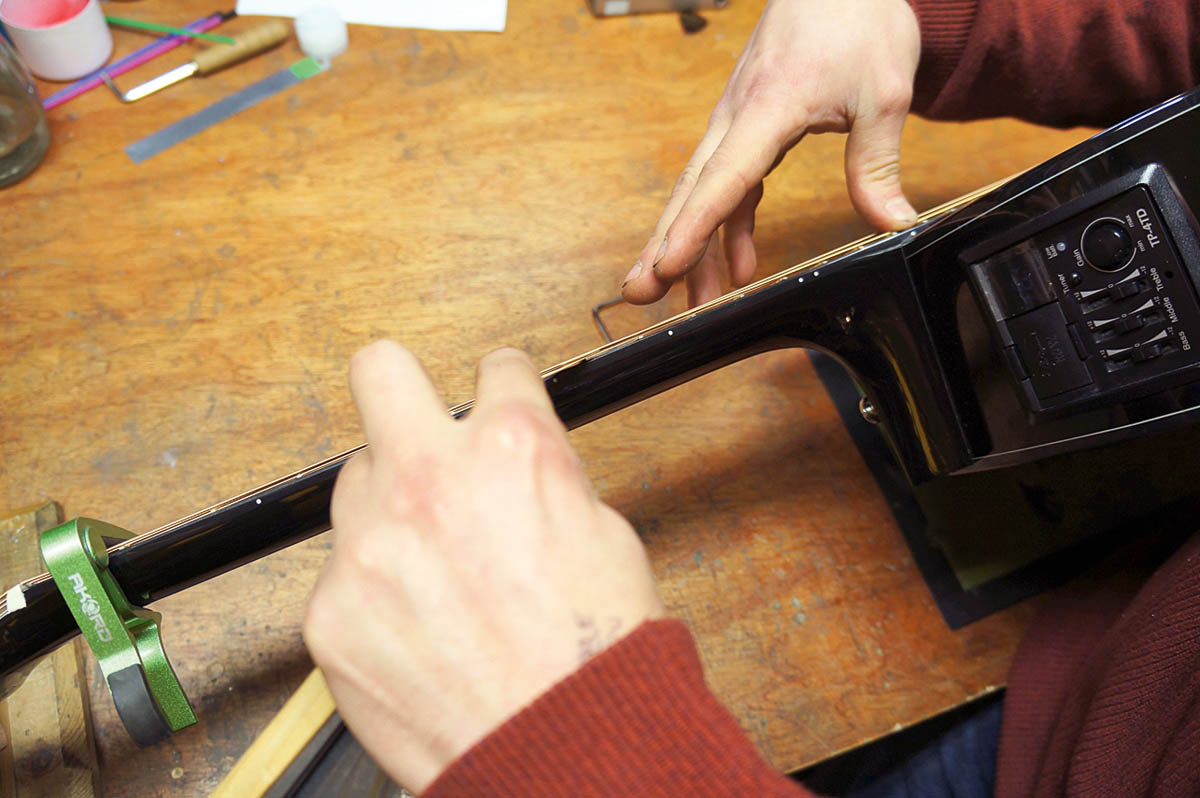
The aim of the game is to set the bridge saddle height and, if needs be, lower the bridge timber if it’s prohibitive. In order to get an accurate reading of the way the guitar is set up we need to be sure the truss rod and nut slot heights are set right first. If this is wrong then your bridge height reading is irrelevant!
Step 2
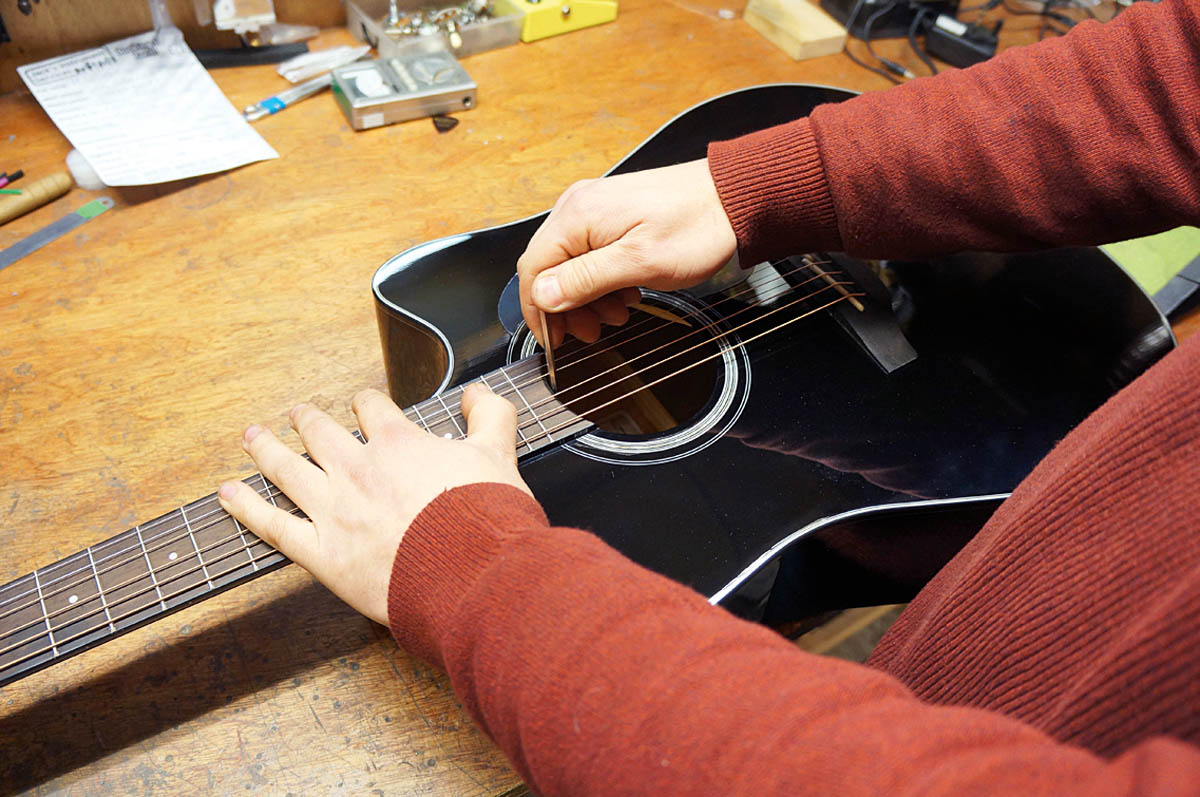
Let’s tweak that truss rod! Press on 1st fret then press down on 15th fret and we’ll use the straight string as a guide to see how bent forward the neck is. The feeler gauge is put over the 8th or 9th fret underneath the string; .007” is the magic clearance. Adjust the truss rod accordingly, ours is hiding inside the sound hole.
Step 3
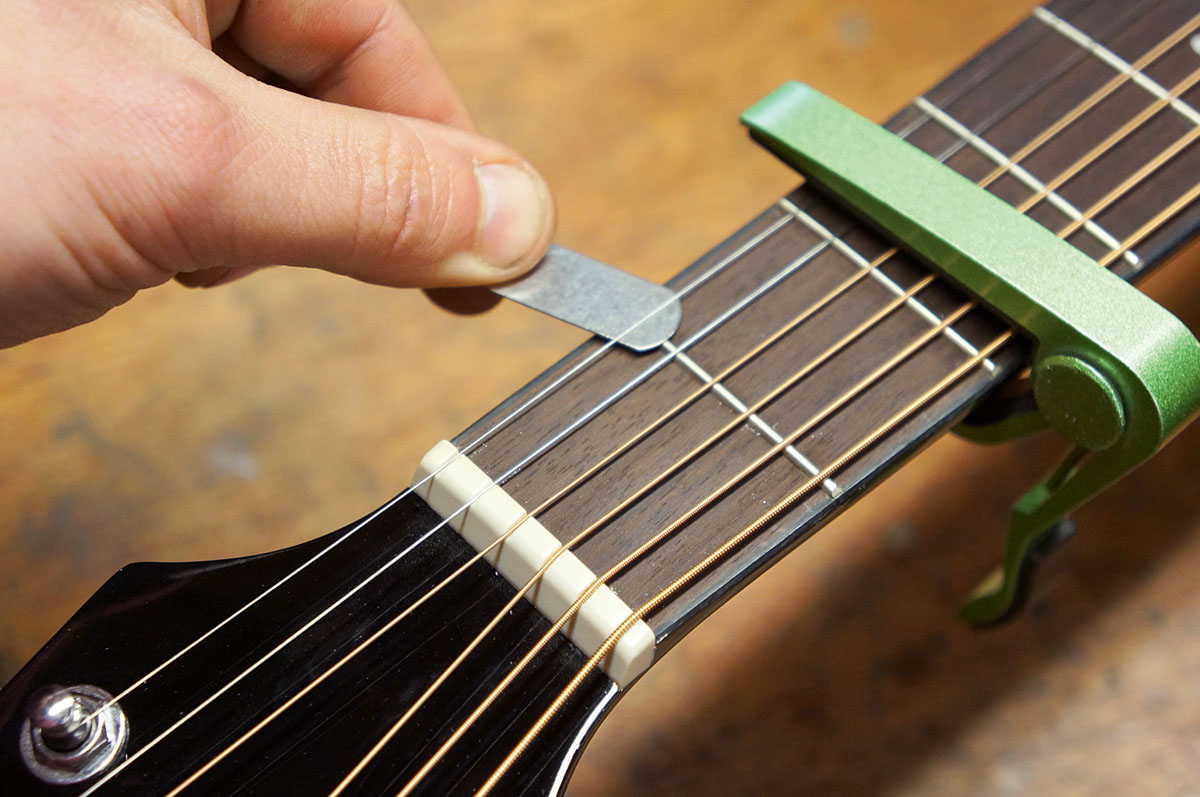
Next in the queue is checking the nut. This is how to check it to see if you have a problem, if you do then we’d advise sending it to the pros. Place a capo on at the 3rd fret and we’ll check the clearance over the 1st fret and the string. You should have .004” to .008” clearance on your feeler gauge.
Step 4
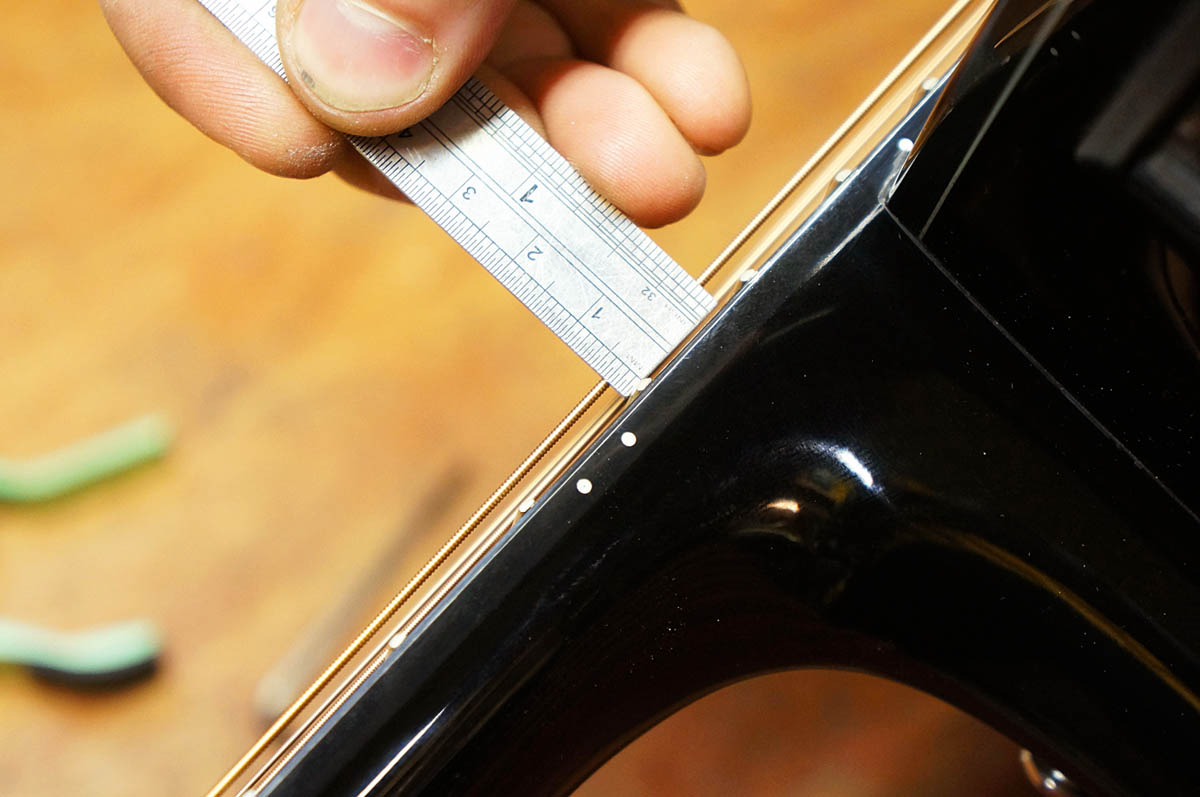
You’ll notice that moving either the nut or truss rod will have a large effect on the action. Grand, they’re set so lets take a look at the output string height at 12th fret. You should have a clearance of 2.2mm between the Low E and the bottom of the string and 1.6mm clearance on the high E.
Step 5
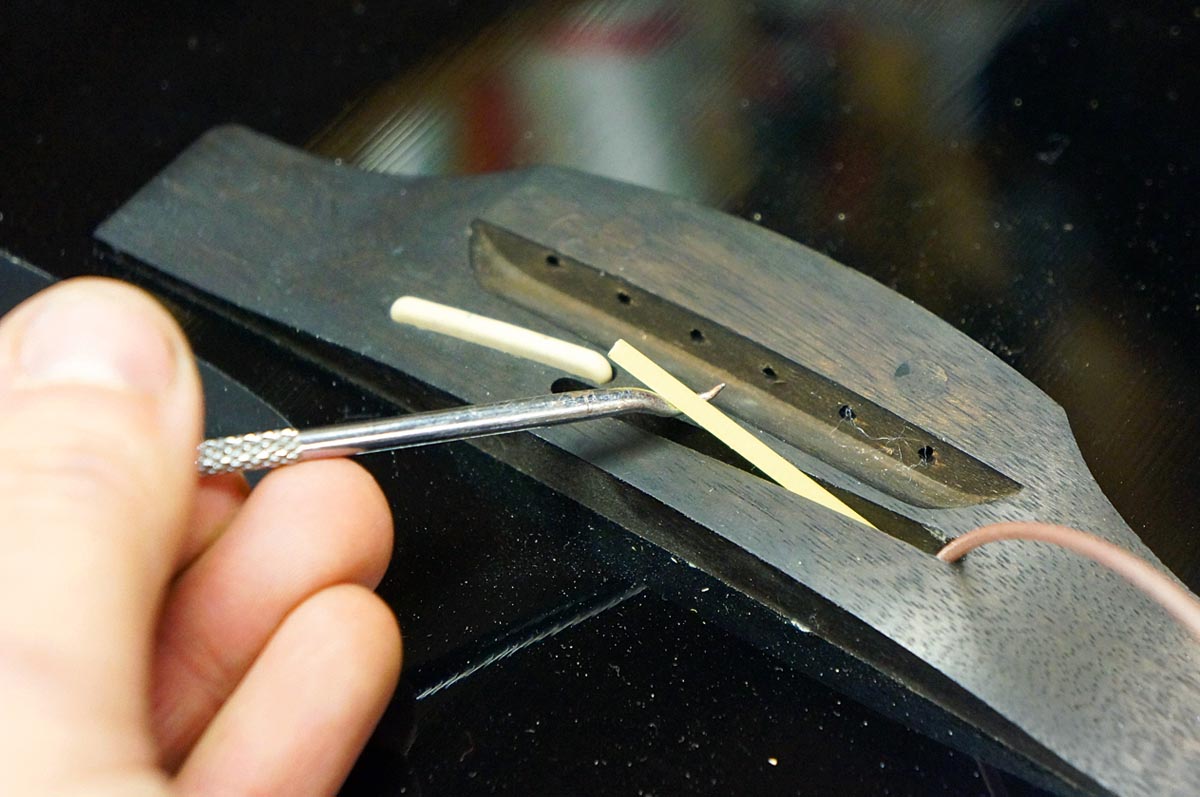
We need to make an adjustment to the height of the saddle so the right action clearances are met at the 12th fret. Watch out for shims hiding under the saddle which would skew the reading; get rid of them and check again. Your guitar will sound better for getting rid of the shims as they can sap string vibration.
Step 6
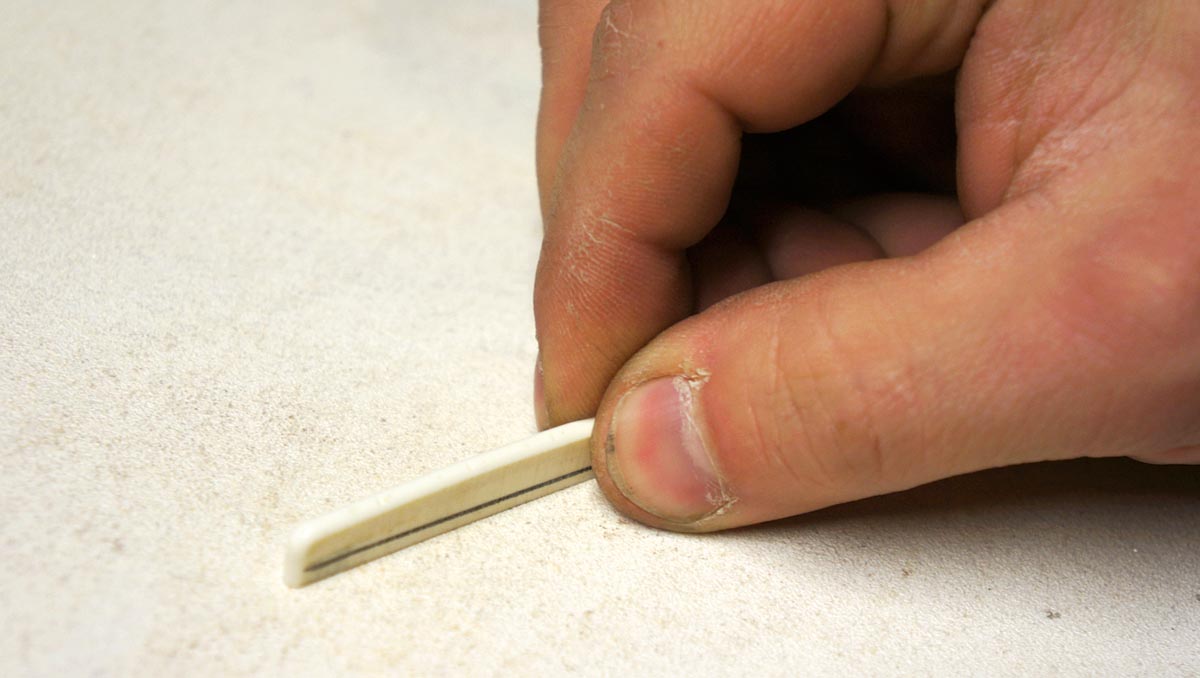
Saddle height is set by sanding material off the bottom of the saddle surface on a sanding board. Work slowly and carefully; it’s better to take a little off, check and repeat! Don’t forget, you’ll have to retune completely to check the reading. Be careful to maintain a 90 degree bottom edge on the saddle when using your sanding board.
Step 7
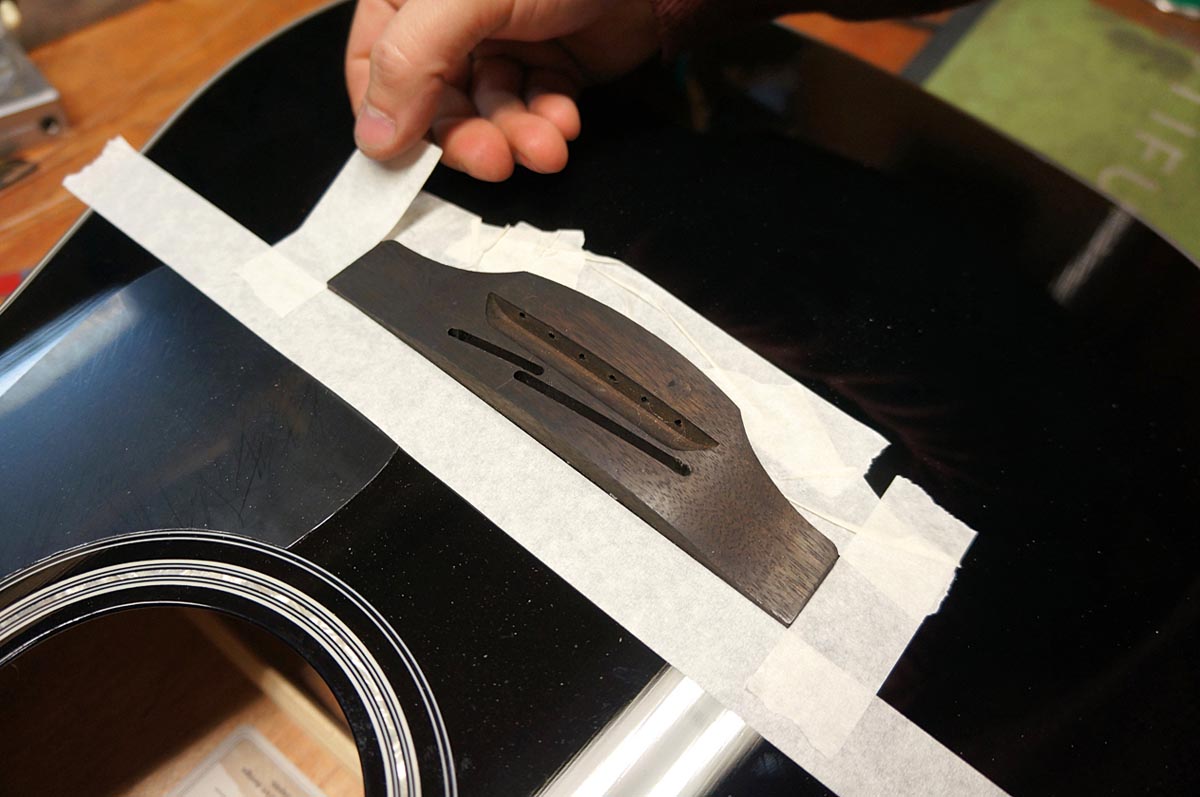
The reason we’re picking on this guitar for this article is because we know the saddle’s height needs to be lower than the bridge can allow; the timber of the bridge just gets in the way! First though we don’t want to harm the finish of the guitar. Get creative with some masking tape to cover round the edges of the bridge.
Step 8
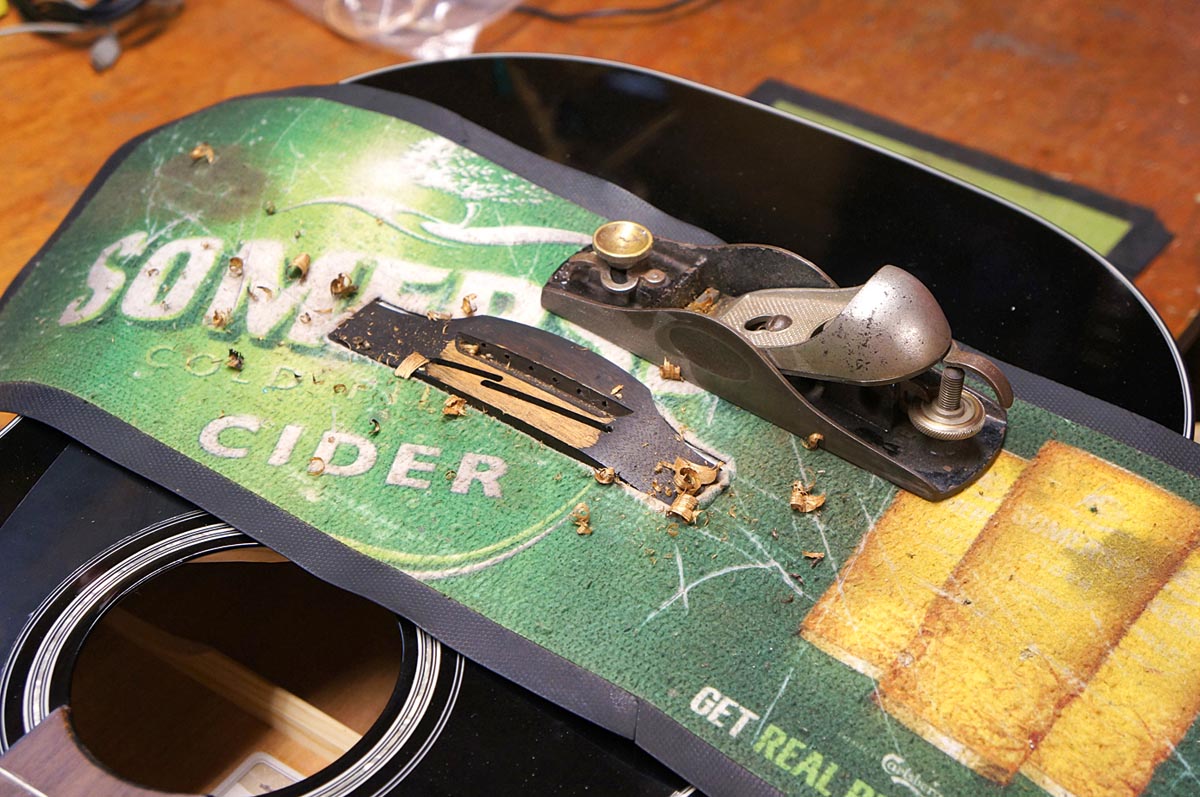
We use an old bar runner mat to protect the guitar’s top even more. This low-angle block plane is cutting back the timber with ease. Notice as this is a string-through type bridge we’re not attacking the string mounts. It turns out the timber is not what it looks like – it’s just mahogany which we’ll re-dye later on.
Step 9
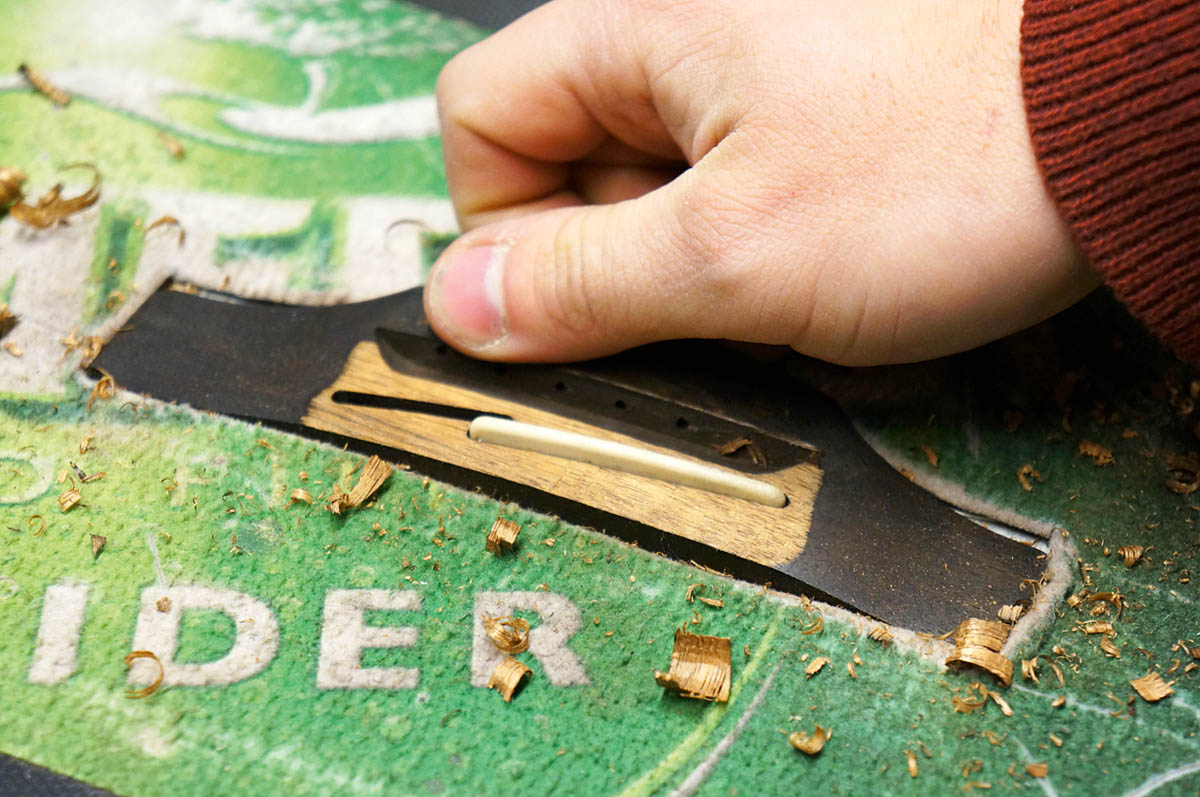
But where to stop? This is dictated by putting in your saddle (after it’s been sanded to height) and checking for a decent clearance. Your saddle height could not be checked before as the timber was in the way. Now it’s retracted a bit, you can get your saddle height set finally. Retune in it’s unfinished state and test it out.
Step 10
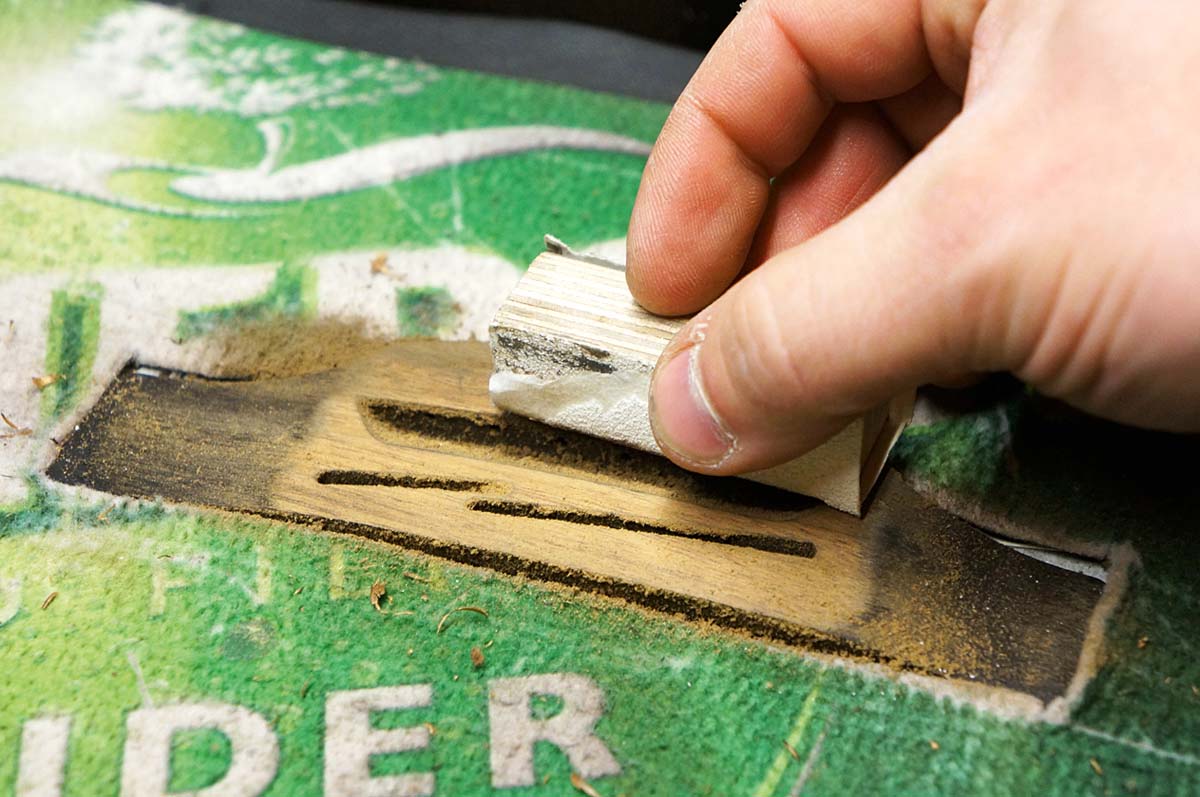
With a final saddle height happy and the bridge timber retracted to give a clearance we can begin to make it look pretty again – phew! Using a small timber block and some coarse 80 grit sandpaper, get to work in reshaping the nice curve back into it. It’s best to remove all the old dye from the bridge so it looks uniform.
Step 11
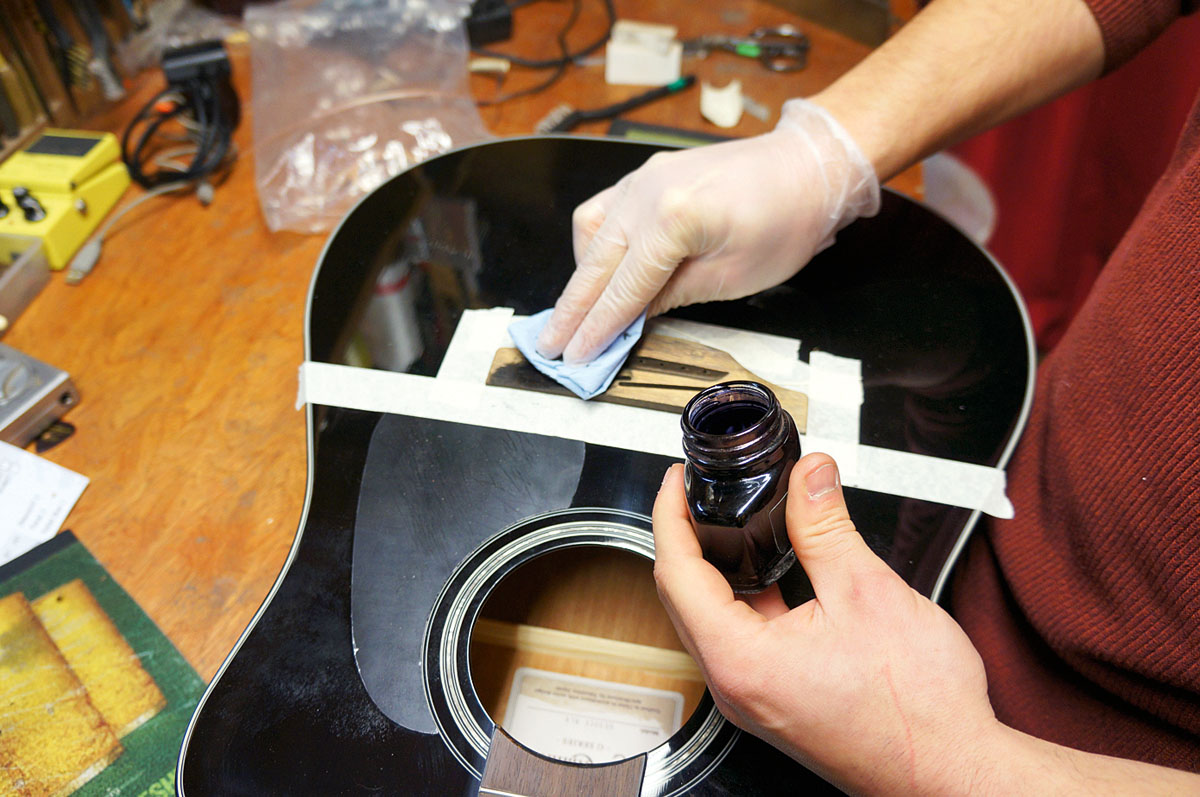
After hand-sanding finely we can apply the black dye once more. Apply enough coats with a cloth to get it nice and deep, but don’t splash it everywhere – let this dry overnight. If you have used a water-based dye then seal in the dye with a coating of Danish oil or similar; the dye will come off otherwise!
Step 12
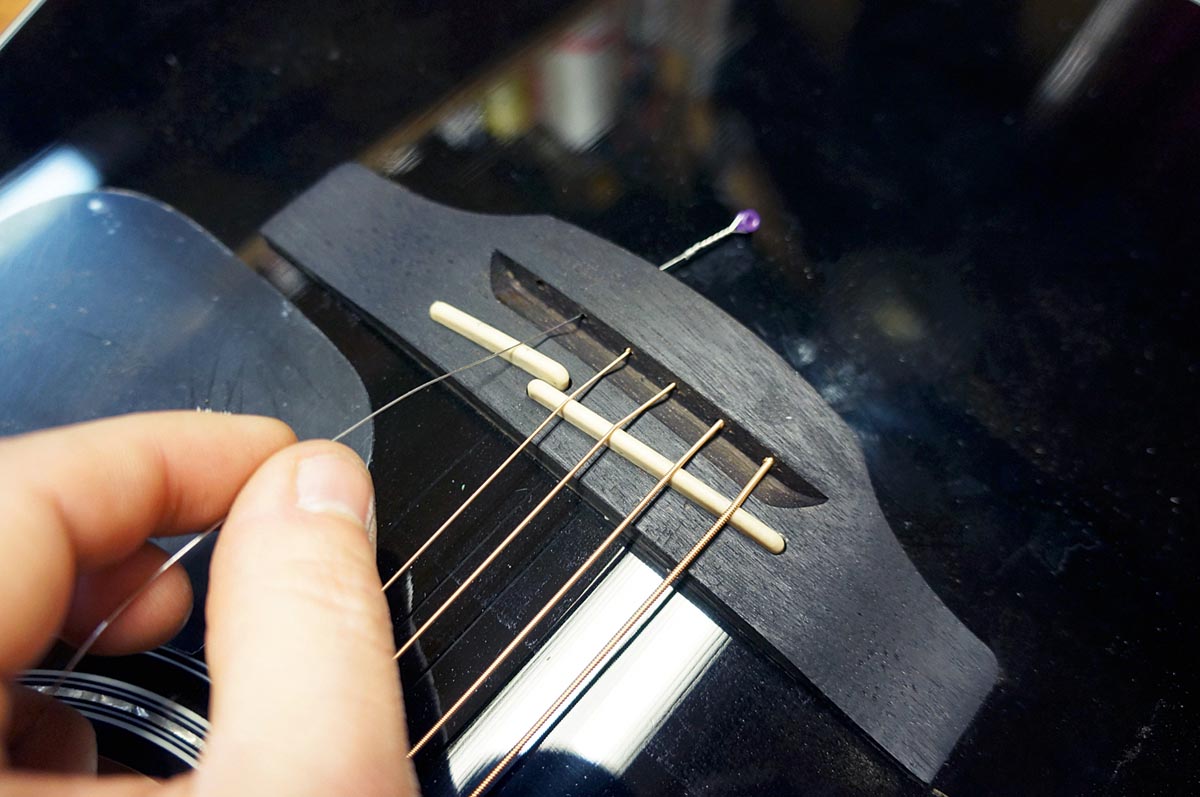
If you used Danish oil, give it a quick going over with wire wool to improve the finish. Refit your bridge saddle and restring – that’s it! It sure was a long way round just to drop the string height, but this shouldn’t have to be repeated unless the guitar develops soundboard deflection over time.
- Jack Ellis runs Jack’s Instrument Service from his workshop in Manchester, UK where he has worked on thousands of instruments.
Get The Pick Newsletter
All the latest guitar news, interviews, lessons, reviews, deals and more, direct to your inbox!
Jack runs an independent guitar setup and guitar repair service in Manchester, England. He serves the musicians of the Northwest of England, working on electric guitars, bass guitars, acoustic guitars and more. Jack has been writing the Fix Your Guitar column in Total Guitar Magazine since 2017.


![Joe Bonamassa [left] wears a deep blue suit and polka-dotted shirt and plays his green refin Strat; the late Irish blues legend Rory Gallagher [right] screams and inflicts some punishment on his heavily worn number one Stratocaster.](https://cdn.mos.cms.futurecdn.net/cw28h7UBcTVfTLs7p7eiLe.jpg)


