How to install humbucker pickups
Our guide to soldering new pickups for your guitar all by yourself
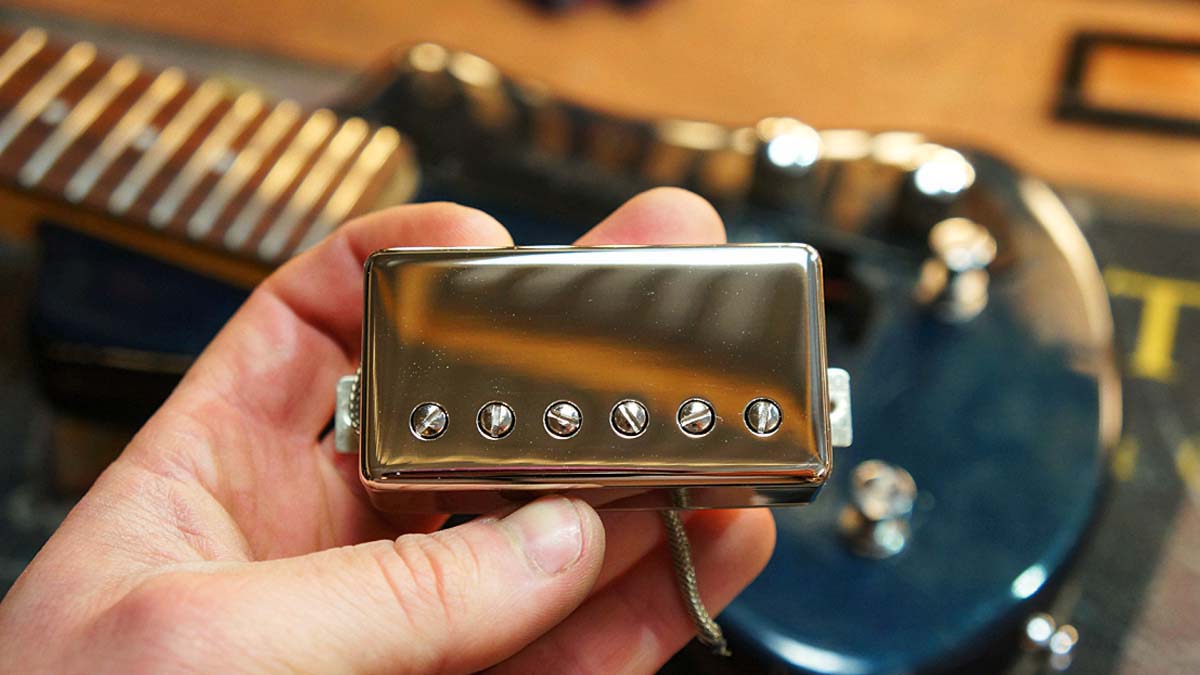
You know how it’s acceptable to have loads of guitars? We all know that’s because they all feel, look and sound different. So maybe swapping an old guitar’s pickup out would be a great way to rejuvenate and cure guitar acquisition syndrome for at least a while...
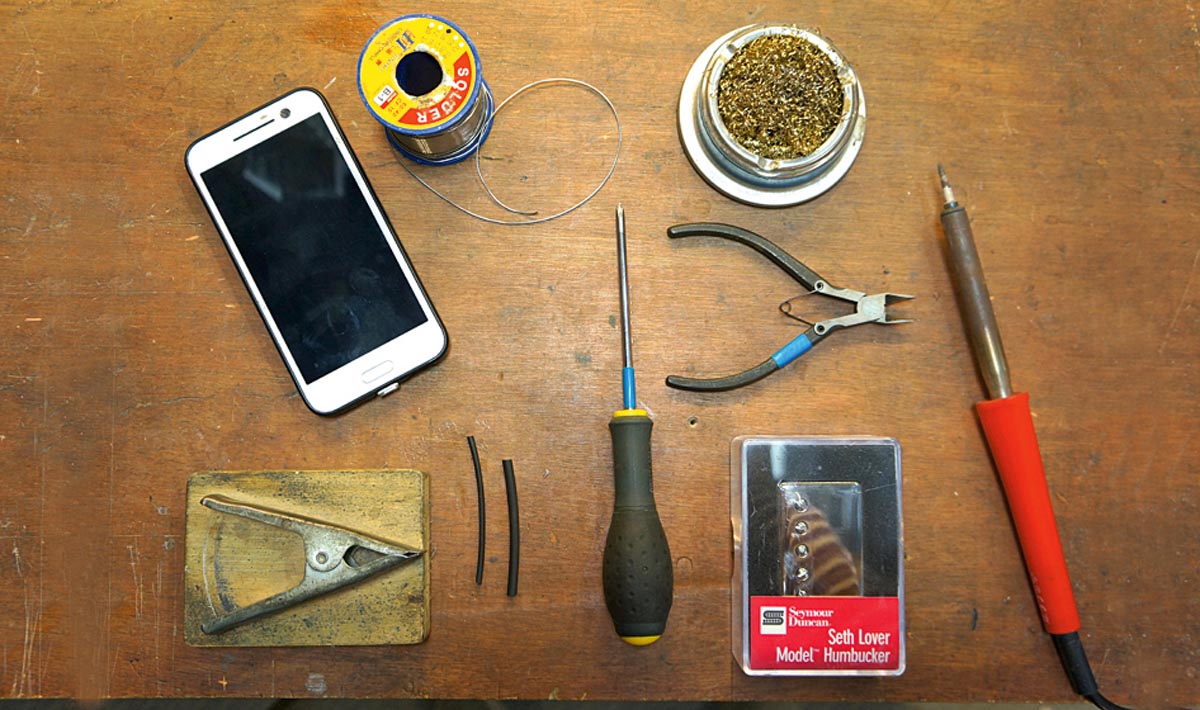
• New pickup
• Pickup springs
• Pickup bolts
• PH1 Screwdriver
• 40 Watt soldering iron
• Solder
• Soldering iron tip cleaner
• Wire cutters
• Soldering handy helper clip
• Camera Phone
• Wire strippers (for other wire types) Shrink tubing (for some pickup types)
Skill level: Medium
Whilst pickups can’t change the acoustic sound of a guitar, they’re primarily responsible for the tonality and output level of your guitar when plugged in. In this article we’ll cover how you install your own pickup without having to pay someone else to do it.
Which pickup though? There’s way too many pickups to choose from and it can be very hard to choose because of this! Our criteria was humbucker sized and a traditional sound.
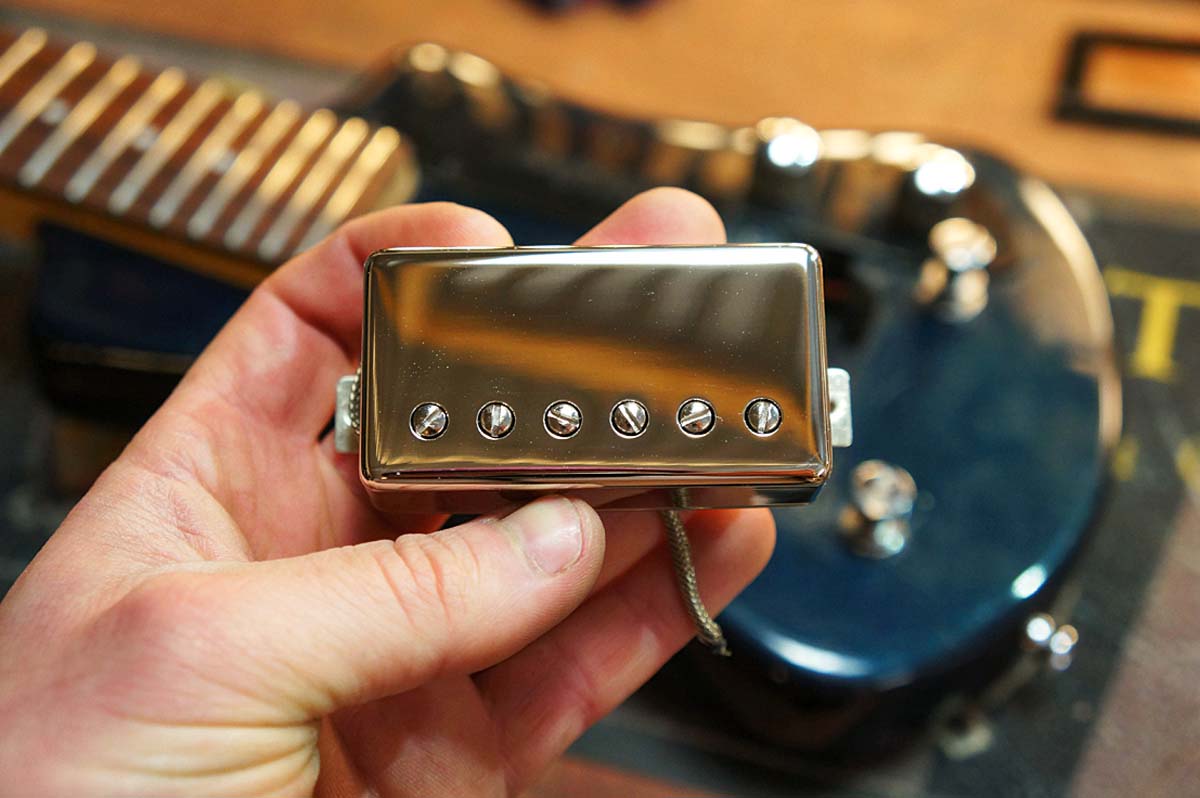
Today, we’re fitting a Seymour Duncan Seth Lover Model P.A.F humbucker into a Hofner Shorty, it’s true to say there’s not much body to this guitar so this pickup will be a welcome upgrade and the owner’s made a fine choice. Let’s hop to it...
- Looking for a new humbucker? Take a look at our guide to the best electric guitar pickups you can buy today
Step 1
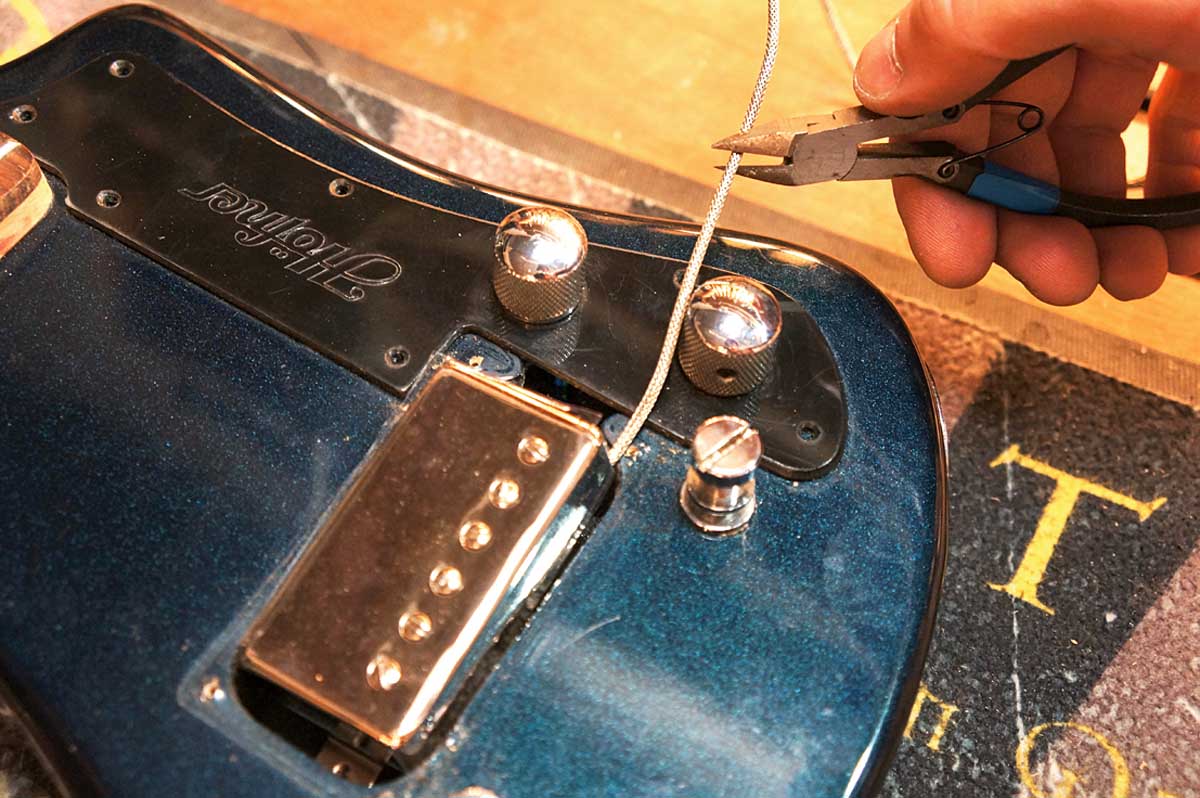
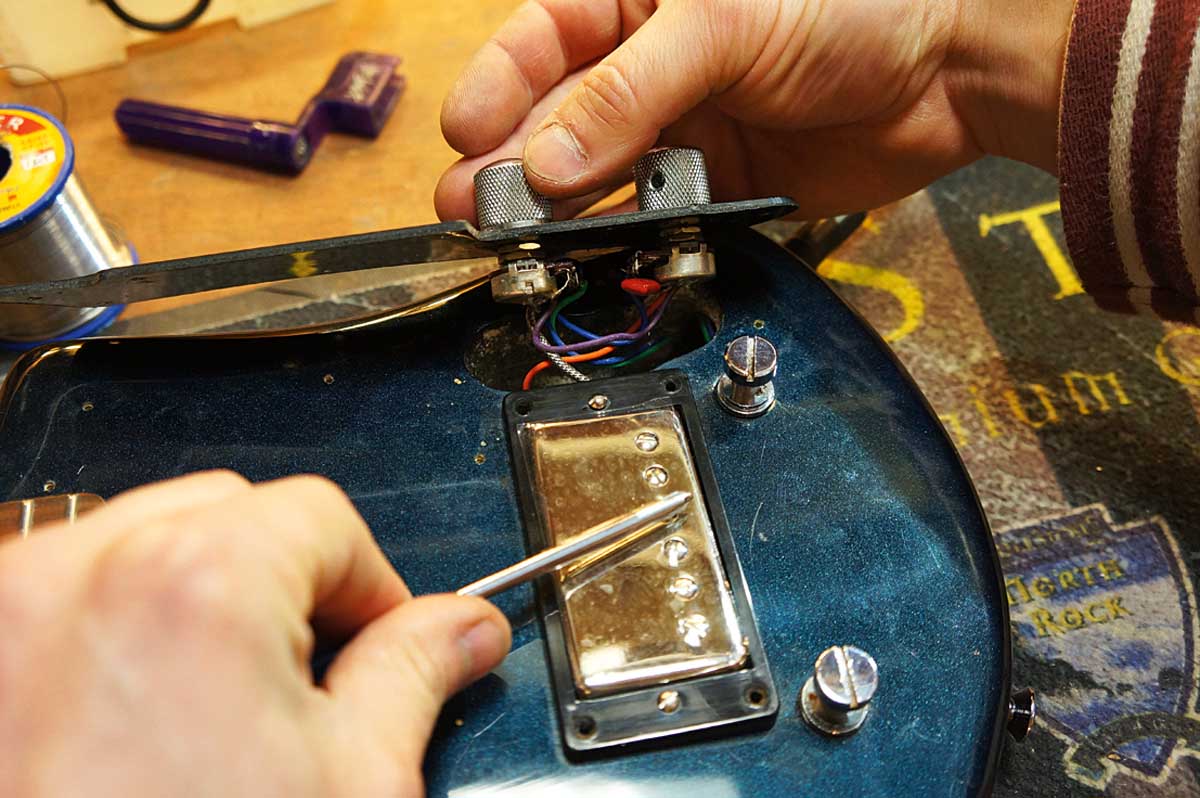
First up, let’s get into the control cavity. This Hofner Shorty has a front mount scratchplate with the controls on it; the guts are in there. We have a master volume and a master tone with wires from the pickup to the jack socket and to the tailpiece ground – a pretty simple circuit.
Step 2
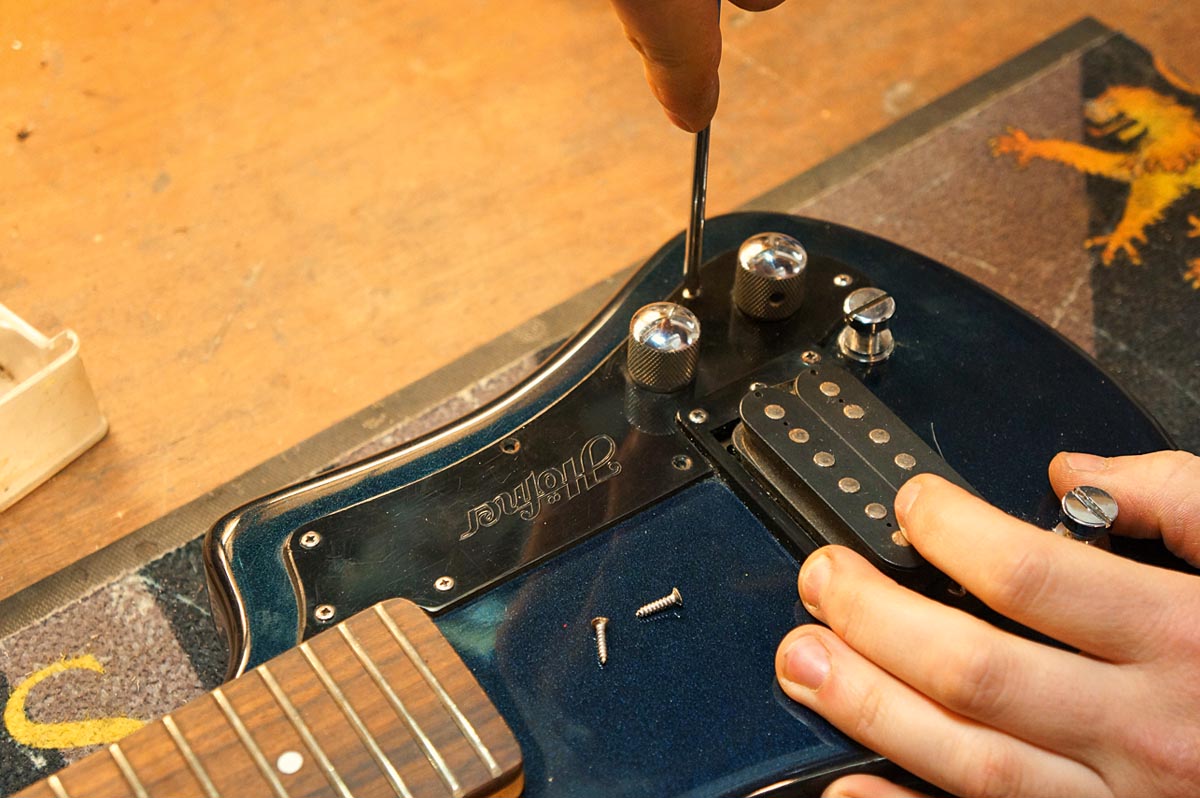
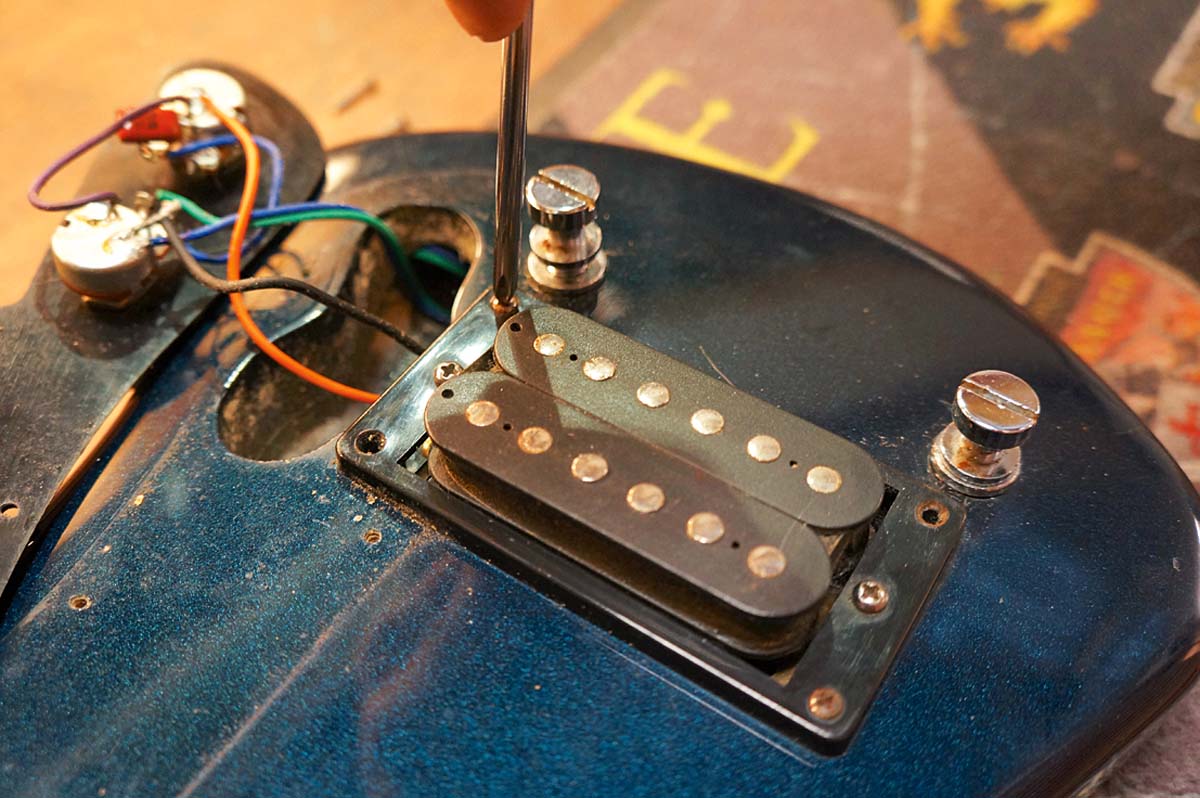
Now, let’s whip out the old humbucker. This one, as with most humbuckers, is held in place with a pickup ring. It has four screws around the edge of it which all need un-screwing and safekeeping.
Take a look to see if some are longer than others – this is needed if the pickup ring tilts like ours.
All the latest guitar news, interviews, lessons, reviews, deals and more, direct to your inbox!
Step 3
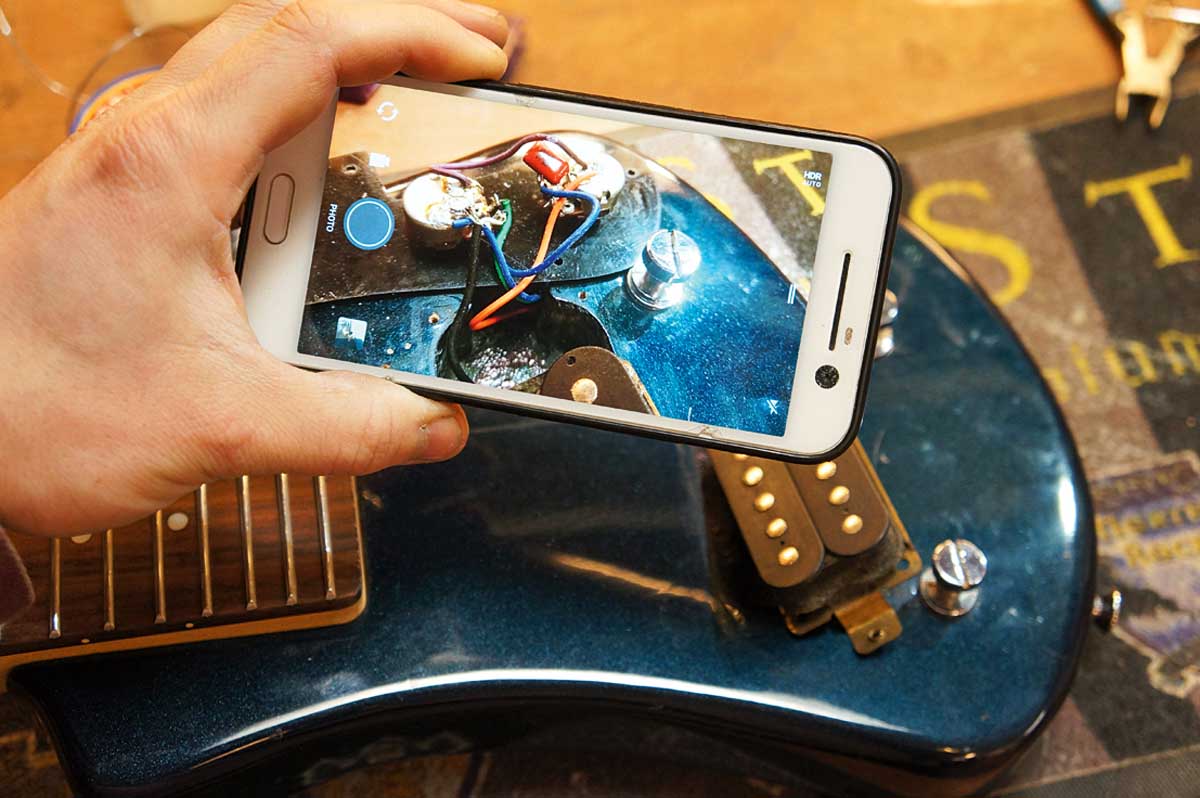
Arrange the wires nicely so you can get a good look at it. Take a picture of the current wiring. This will do for our restore point in case something goes wrong or another wire comes off by accident.
Even better would be to sketch out a wiring diagram for it on paper. Better safe than sorry!
Step 4
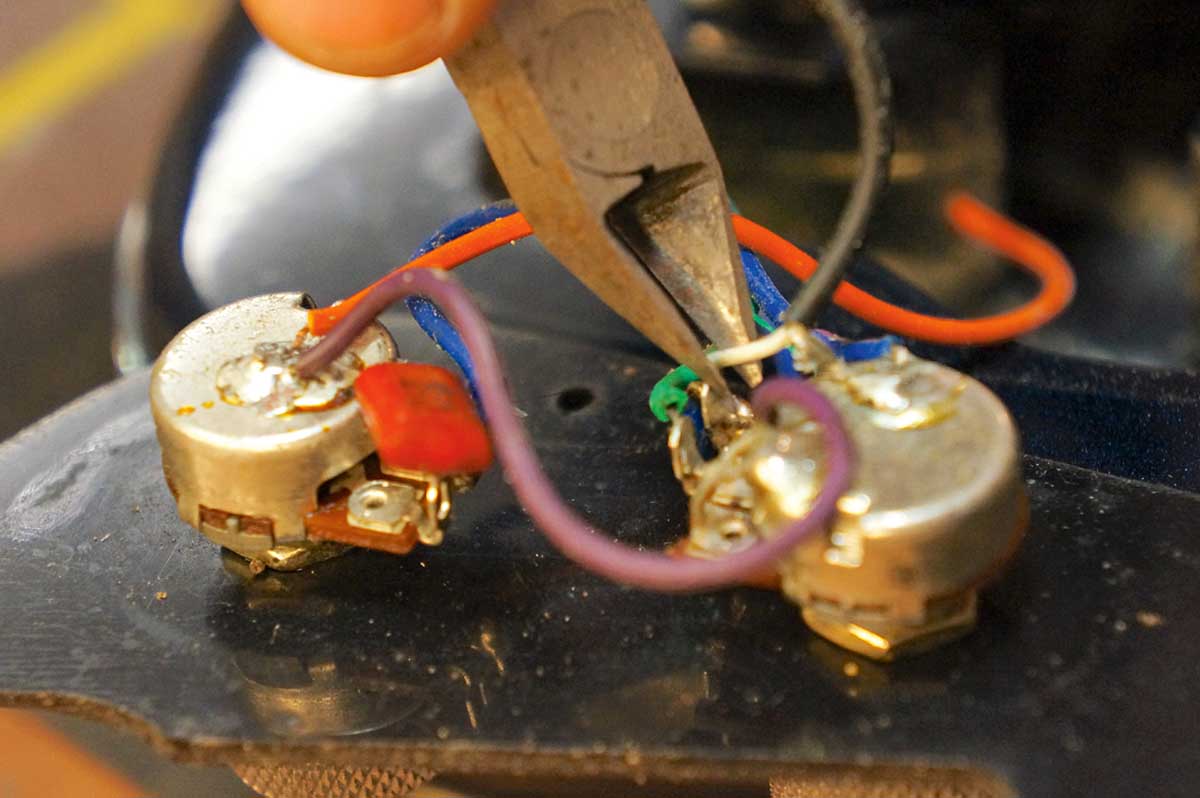
Now’s time to play bomb disposal – cut ONLY the pickup wires! Carefully trace them back to the pickup. Our single pickup guitar has one cable that has two wires inside (a screened cable). It carries the ‘hot’ signal (white in our case) and the ground signal which is woven around the ‘hot’ wire. Chop them off and remove the old pickup.
Step 5
Unbox your lovely new pickup. Here we have a Seymour Duncan Seth Lover SH-55B humbucker to install and it’s delightful. You may have new springs and screws in the pack – check the screws are suitable. Our pickup came with a nice new pickup ring but unfortunately it’s suited to a Les Paul and not this flat-top Hofner.
Step 6
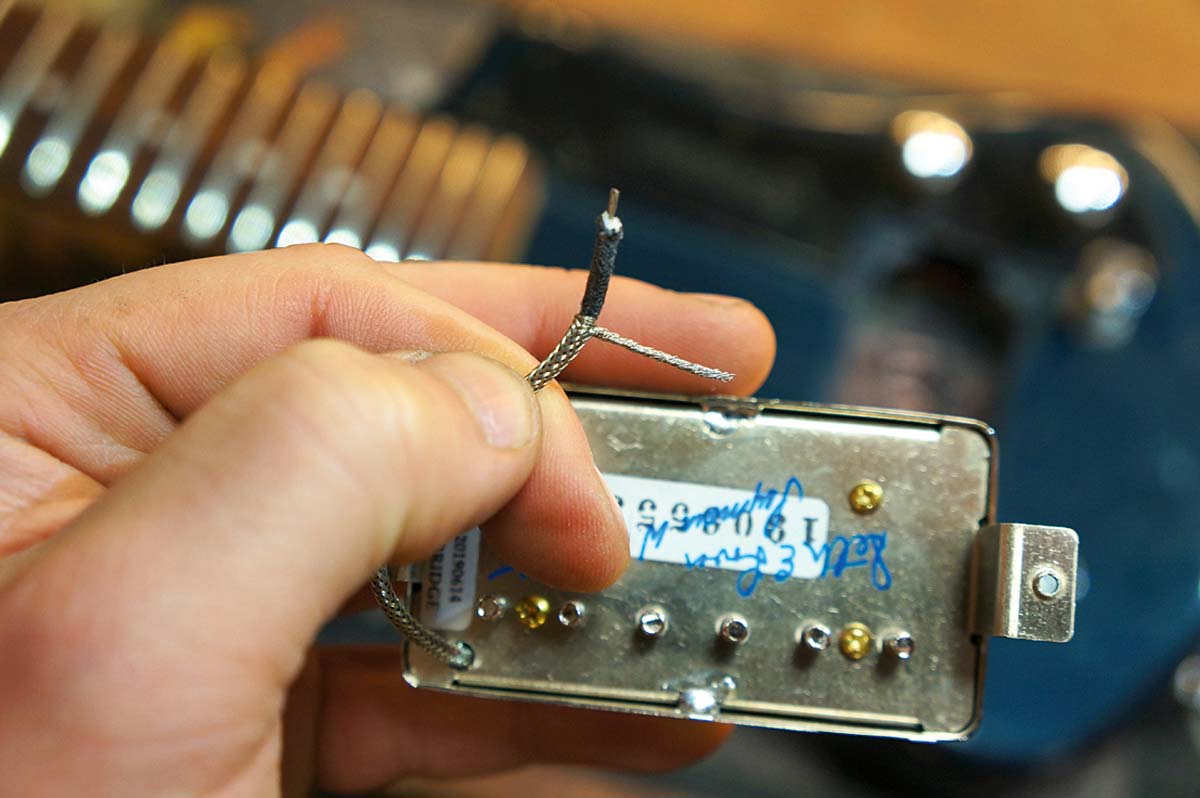
Lay the new pickup in place and see how much cable you need. Our pickup has another screened cable coming from it; however, the outer ground wire is exposed, and will be a problem if it touches other parts of the circuit. A shorter cable reduces capacitance anyway, so this will cap unnecessary treble attenuation.
Step 7
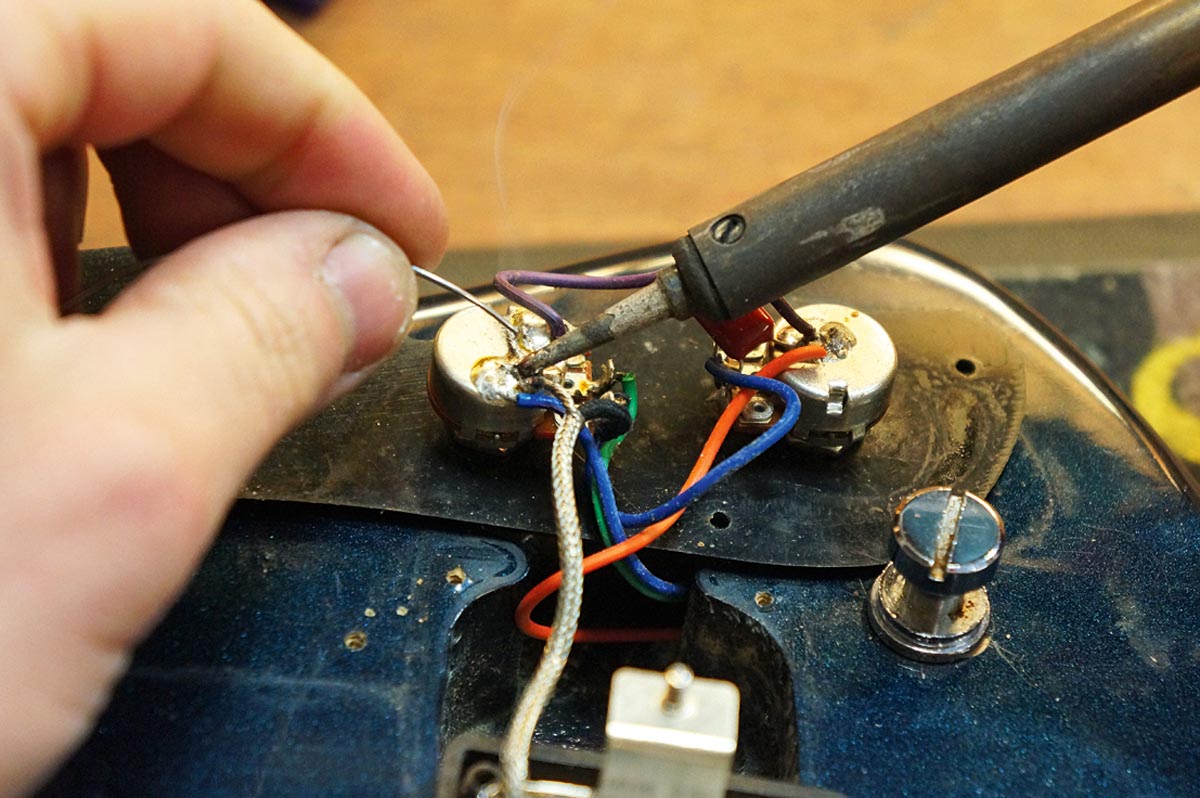
Here’s how you prepare the Gibson-style braided cable. Poke the woven ground wire and un-pick part of it away – this reveals the cloth centre with the hot wire inside. The cloth wire can be pushed back with just your fingers. Heat up the soldering iron and tin the tips of the prepared wires.
Step 8
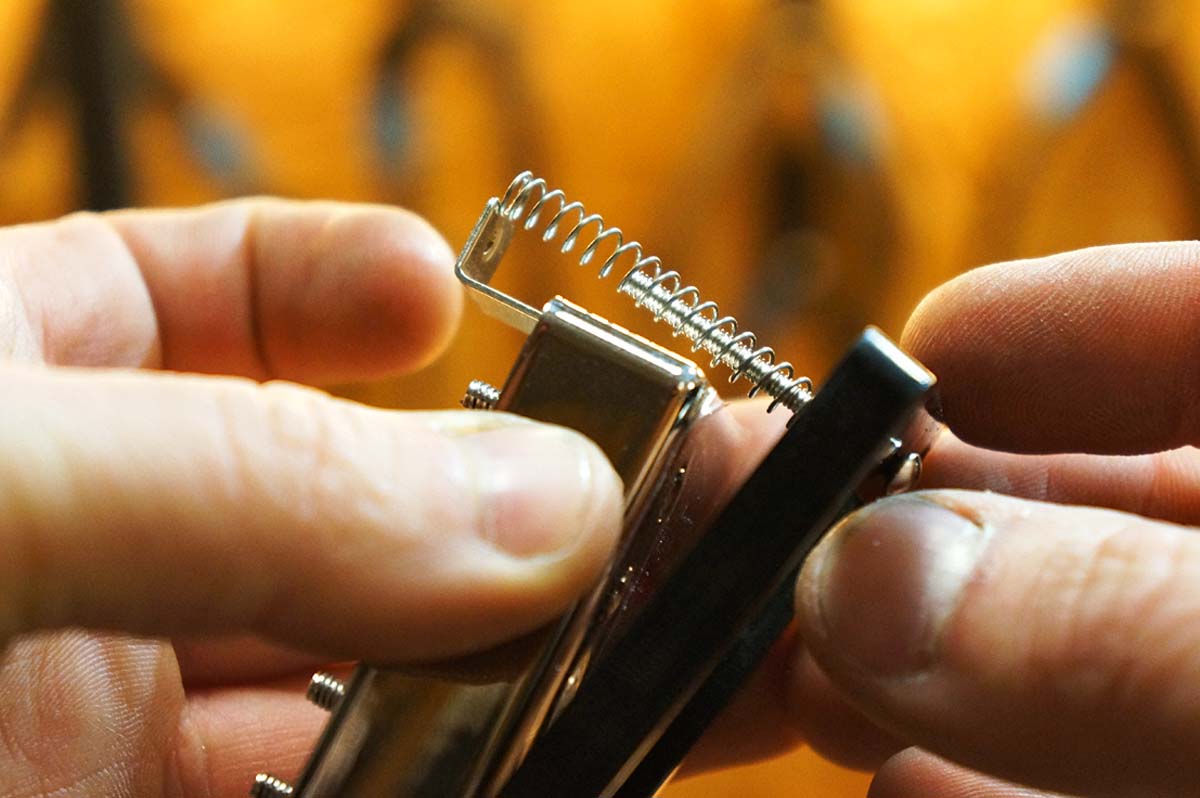
Orient the pickup the right way round according to the polepieces and the slant on the pickup ring. Put one bolt through the pickup ring hole. Load on the spring and compress it with a fingernail. Hold the pickup, ring and screw all with one hand compressed, then you can line up the tiny bolt thread with the humbucker.
Step 9
Now, go and pick up the spring from wherever it twanged off to and try again! Loading the humbuckers is always fiddly. It’s time to solder it in. Solder the hot wire to the left hand leg of the volume pot and the woven ground wire to the can of the pot. Because we’ve tinned the new pickup wires already, this is a simple operation.
Step 10
Before we get any further, let’s test it. It would be annoying to have to un-screw everything to solve a silly mistake. Plug in and turn on your amp, turn up the guitar’s volume and tone controls and gently tap on the pickup with a screwdriver. This should make a noise through the amp. Volume and tone will work too.
Step 11
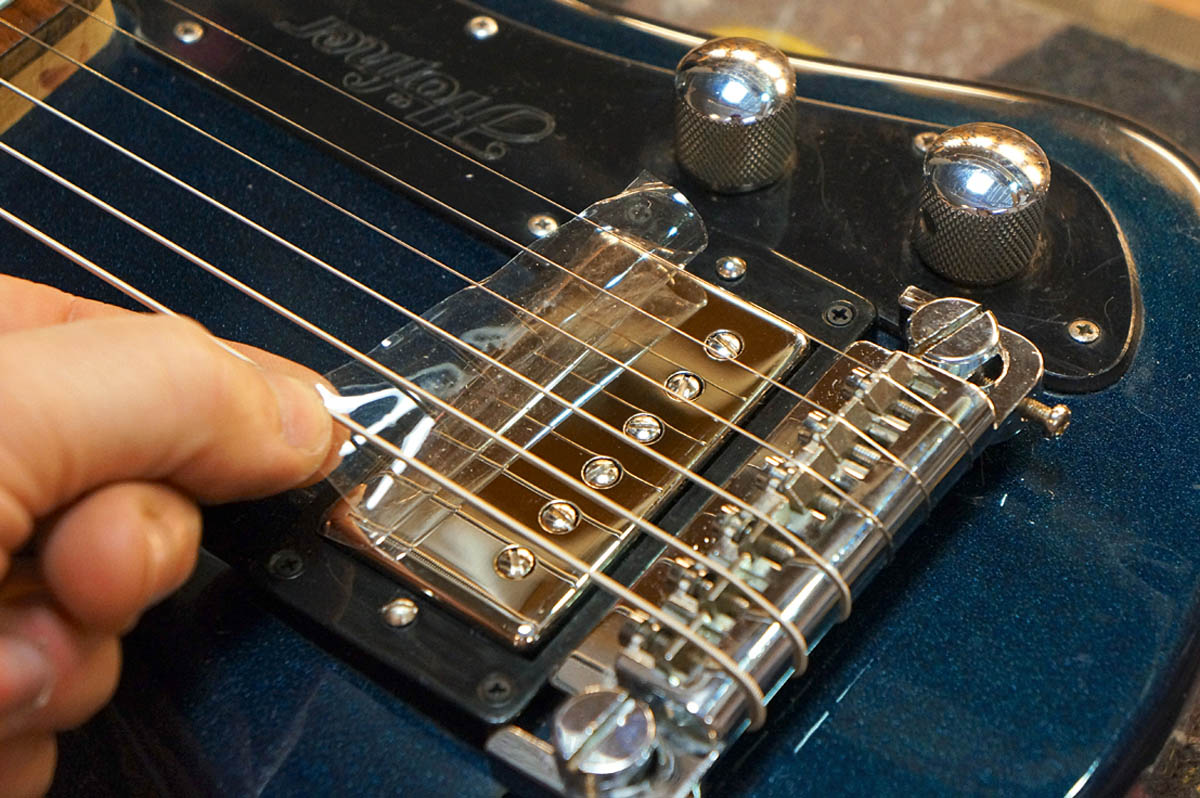
With that working, let’s fasten stuff back up, re-fit the control scratchplate with its million little screws and install the humbucker ring screws, too. We use the nice new black ones as the drill holes in the timber were accepting. Fit some strings and then take off the protective peely layer from the pickup. Lovely!
Step 12
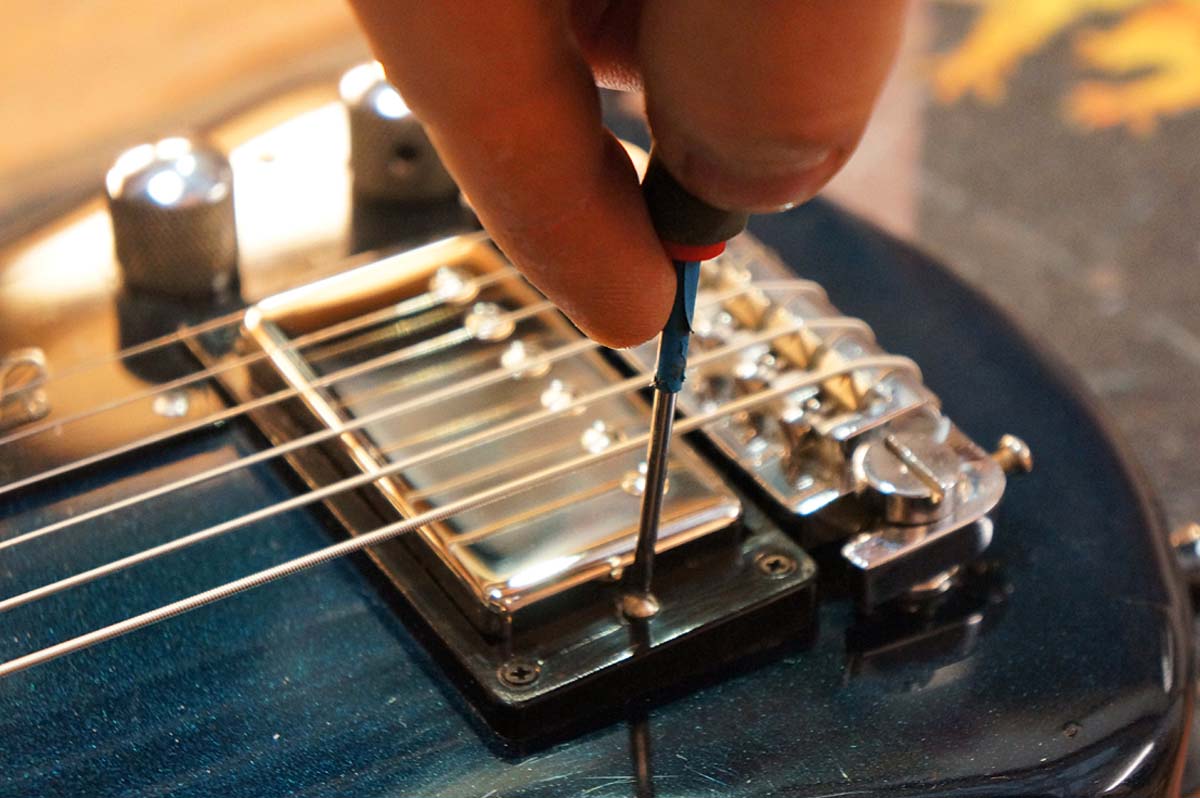
Don’t play it yet! You may be disappointed until your pickup height is set right! The height drastically changes the tonality on some pickups; roughly 3.5mm from the strings is a good start point. Some more powerful magnets can pull the string in, so use your ear and be wary of that setting. Strum and enjoy your new pickup!
Jack runs an independent guitar setup and guitar repair service in Manchester, England. He serves the musicians of the Northwest of England, working on electric guitars, bass guitars, acoustic guitars and more. Jack has been writing the Fix Your Guitar column in Total Guitar Magazine since 2017.
