How to set up your electric guitar – improve your guitar’s tone and playability with this step-by-step guide
How to set your intonation and pickup height, keep your guitar in tune and get it playing better than ever
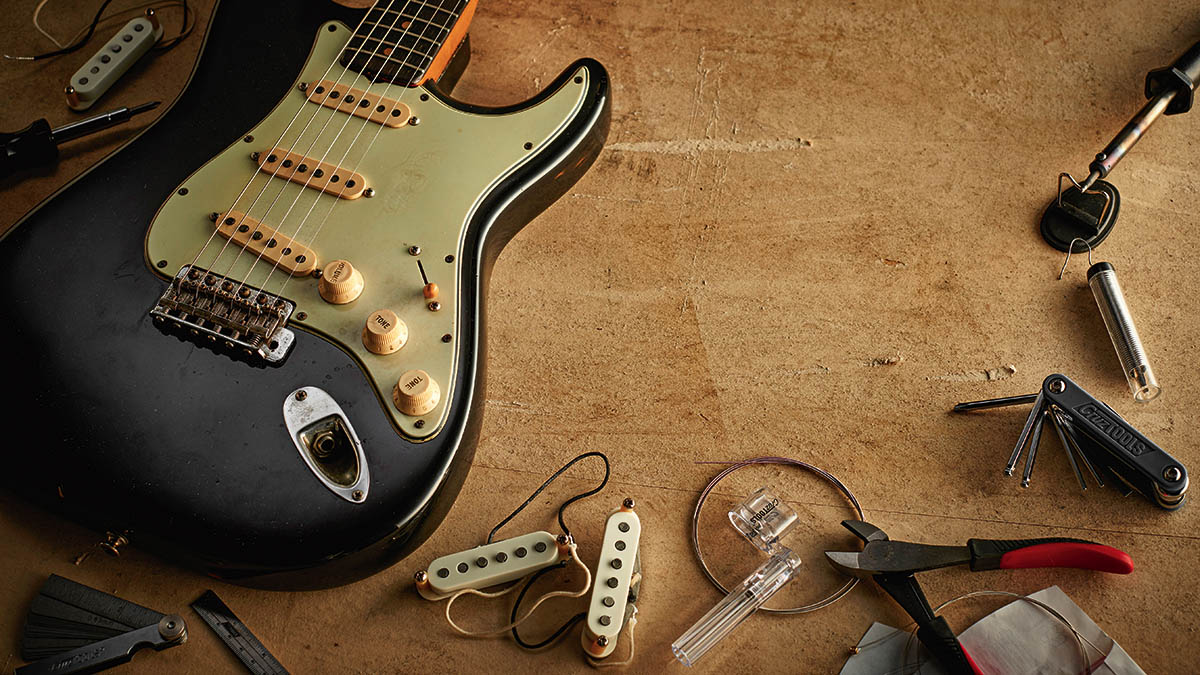
A guitar setup from an experienced luthier is the quickest way to get your guitar back into shape. If you’ve changed string gauge from the original size, there’s every chance your guitar’s nut, neck relief, string height and intonation will need adjusting too.
Some (or all) of this work can be carried out yourself – however, if you’ve never done it before then paying a professional to give your pride and joy a once-over is well worth it.
If you’re going it alone, here’s where to start – and if you're after more specific tips, check out our guides on how to improve your Les Paul and how to improve your Fender Stratocaster.
Step 1. Intonate
You wouldn’t expect your guitar to sound great without tuning it, but just because the open strings are in tune, it doesn’t mean that the guitar is accurately pitched throughout the length of the fretboard.
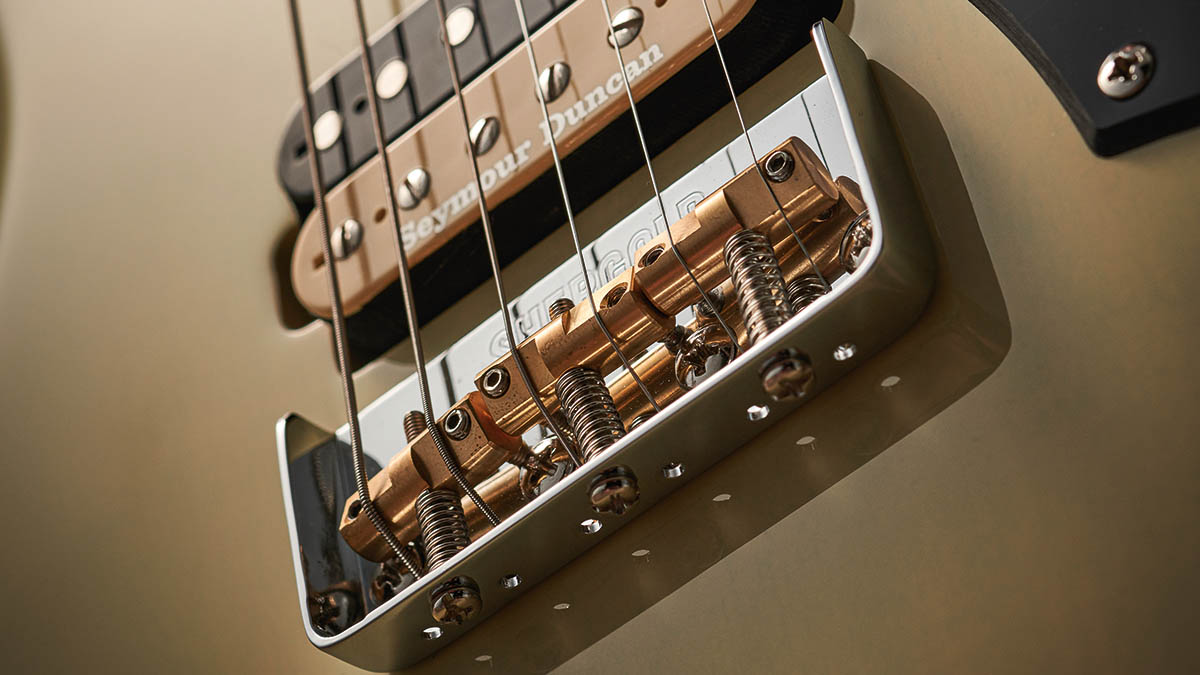
That’s where intonation adjustment at the bridge comes in, and it’s achieved by moving the saddles backwards or forwards to raise or lower the string’s pitch with the saddle adjustment screws.
You can spot these as they are encased inside a spring. It’s a straightforward and zero-cost job which requires a screwdriver, guitar tuner and a little bit of patience. Here’s what to do:
Get in tune
Get The Pick Newsletter
All the latest guitar news, interviews, lessons, reviews, deals and more, direct to your inbox!
To start, get all of your open strings to pitch at the tuning you’re going to be using the guitar in most often. You’re going to be making adjustments to the guitar so use a tuner to ensure that you’re as accurate as possible.
Harmonics vs fretted notes
With your tuner still connected, play a harmonic on the lowest string at the 12th fret. Make sure it’s played cleanly to give yourself an accurate reading. Next, fret the same string at the 12th fret and compare the pitches of the harmonic and fretted note.
Saddle up!
Your next step depends on the variance between the harmonic and fretted notes. If there is none, move on to the next string and repeat the same steps. If the fretted note is flat, you need to move the saddle towards the headstock. If the fretted note is sharp, it needs to move towards the bridge. Once the notes match, repeat the process for each string and you’re done!
Step 2. Adjust your pickup height

There’s every chance you’ve considered swapping your guitar’s pickups at some point, but have you ever considered adjusting your pickup height? This free fix takes no time at all, and might just change your mind about your magnets.
Changing your pickup height also allows you to create an even transition between the pickup positions, or make certain pickups (ie, the bridge position) louder for a perceived boost when selected.
If your tone is too thin and lacking detail, try raising them up for more power and clarity. Conversely, if your guitar is lacking sustain it could be that the pickup is too close and restricting the string’s vibration with ‘string pull’ (particularly in the neck position).
Another sign that your pickups are too high are the dreaded ‘wolf notes’: unwanted and often dissonant harmonics. Experiment with pickup height by tightening the surrounding screws to raise them, or loosening them to lower them.
If you’re adjusting the pole pieces on a humbucker or P-90, make small adjustments and set them to the same curved profile as your strings.
Step 3. Check your tuners

Keeping your guitar in tune starts, unsurprisingly, with the tuners. If you have a budget guitar, then you may want to think about upgrading.
High-ratio, locking tuners from the likes of Grover, Schaller and Gotoh allow for finer tuning and speedy string changes due to the firm locking mechanism – particularly handy if your guitar has a vibrato. As well as this, they’ll hold your tuning with greater stability as there are no string windings.
If you’re sticking with your current models, check the fastening screws and nuts next time you change strings. With your tuners attached securely you’ll give yourself the best chance at solid tuning, regardless of the brand or type.
Step 4. Try different pots
The resistance value of your guitar pots – along with the capacitors on your tone control(s) – also contributes to your overall tone. As a general rule, guitars fitted with brighter pickups (such as single coils) tend to use lower resistance, 250k pots.
This filters out and tames some of the high end, while humbucker-equipped guitars often use a higher resistance value (500k) so as not to become too muddy. You can experiment with this by using a different pot value in order to allow more or less high end through.
Step 5. Earth your components
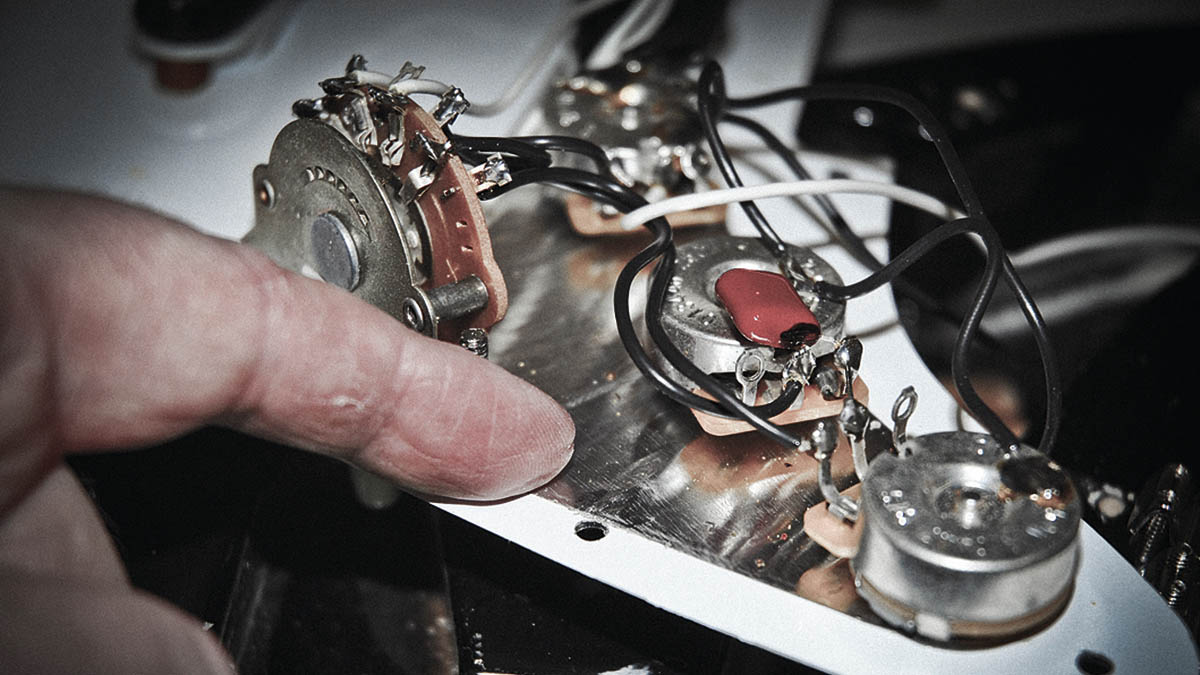
Every component on your guitar is earthed via a connection to the back of your control pots. If you’re experiencing electronic buzzing until you touch the metal parts of your guitar, it’s likely you have an earthing issue.
So, it’s worth checking that there are no loose wires inside the control cavity, and don’t forget that your bridge should also be connected to ground.
Step 6. Fix loose pots
Ever turned your controls to their minimum or maximum setting and had them continue to move? That’s a loose pot, friend, and if left unaddressed, it’ll most likely sever the wire connection. The good news is, it’s easy to fix with a simple spanner.
Pull the plastic knob off your guitar and position the pot correctly, then tighten the nuts up to hold it securely in place. Set the control to min or max, put the control knob back on in the correct position and you’ll be back to stability.
Step 7. Get your jack socket secured
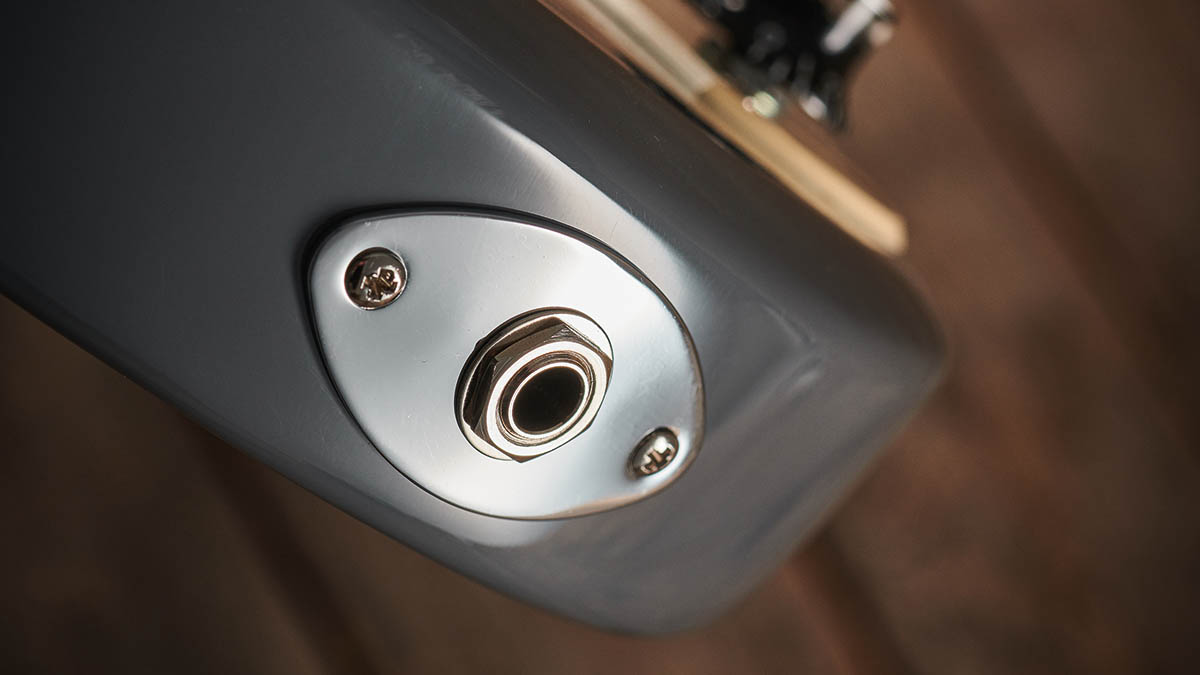
Much like your pots, a jack socket that isn’t secure will eventually break, but worse than that, it can cause all kinds of unwanted popping and crackling before it does. Tighten up your jack socket nut and you’ll keep it firmly in place.
Ideally you’ll remove the scratchplate or jack socket plate to do this, but for a quick fix, try plugging a cable in and use it to gently pull the socket up. This will give you the maximum amount of thread to tighten the nut onto.
Step 8. Keep your electronics dust-free
Dust inside your pots and switches can result in scratching and popping when you operate them. Before you look to replace these parts, try some contact cleaner.
You’ll need to access the components via the control cavities in your guitar and apply the cleaner to the moving parts of the contacts. For pots, that means the hole in the metal casing. Spray it, move it and hopefully you’ll have a smooth signal.

Stuart has been working for guitar publications since 2008, beginning his career as Reviews Editor for Total Guitar before becoming Editor for six years. During this time, he and the team brought the magazine into the modern age with digital editions, a Youtube channel and the Apple chart-bothering Total Guitar Podcast. Stuart has also served as a freelance writer for Guitar World, Guitarist and MusicRadar reviewing hundreds of products spanning everything from acoustic guitars to valve amps, modelers and plugins. When not spouting his opinions on the best new gear, Stuart has been reminded on many occasions that the 'never meet your heroes' rule is entirely wrong, clocking-up interviews with the likes of Eddie Van Halen, Foo Fighters, Green Day and many, many more. If he's not playing the guitar, you'll likely find Stuart behind the kit playing Valerie to newlyweds.


