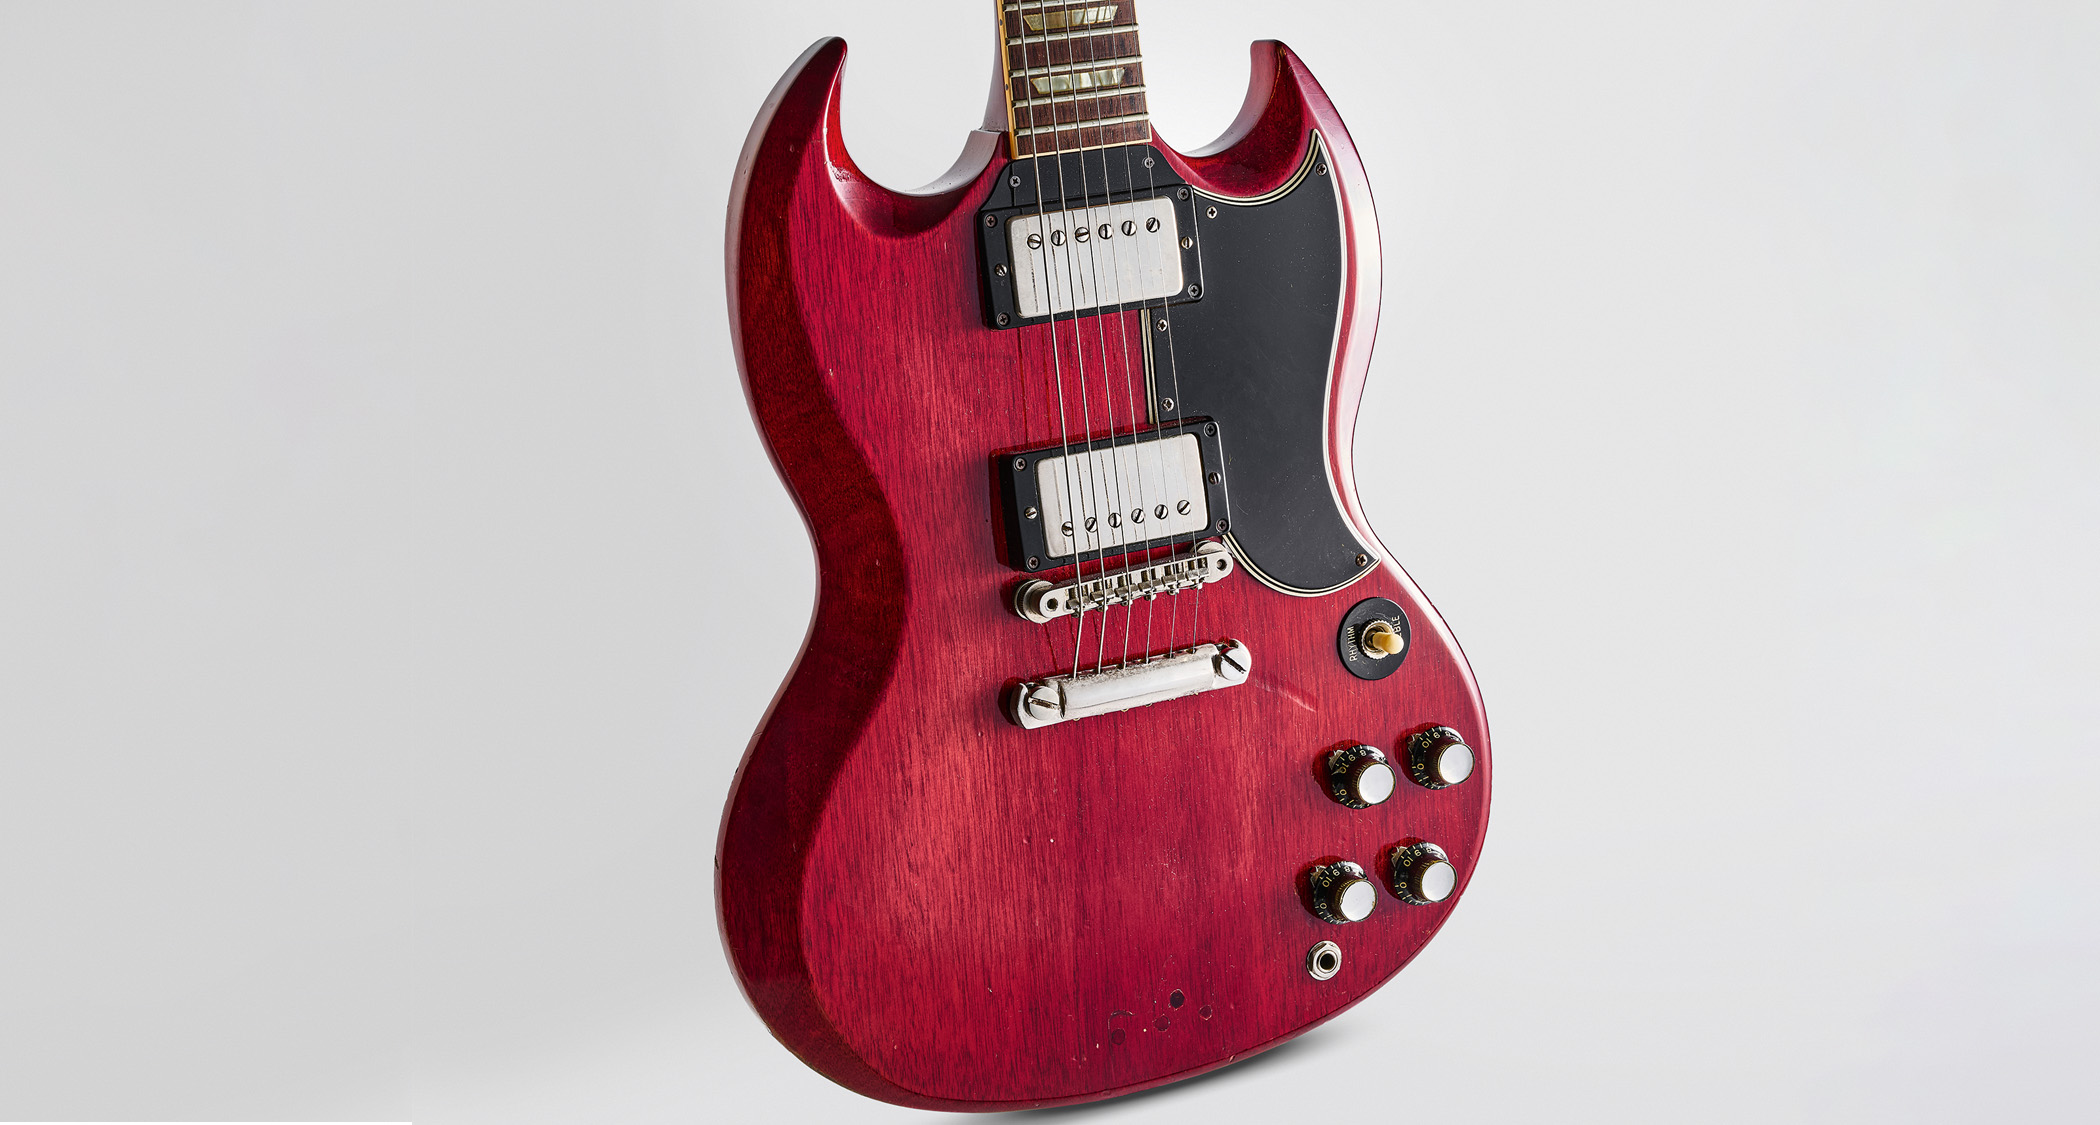
“A fretboard with a flatter radius makes it easier to enjoy a low action with buzz‑free bends”: You should never underestimate the impact of fretboard radius – it dramatically affects the way your guitar plays
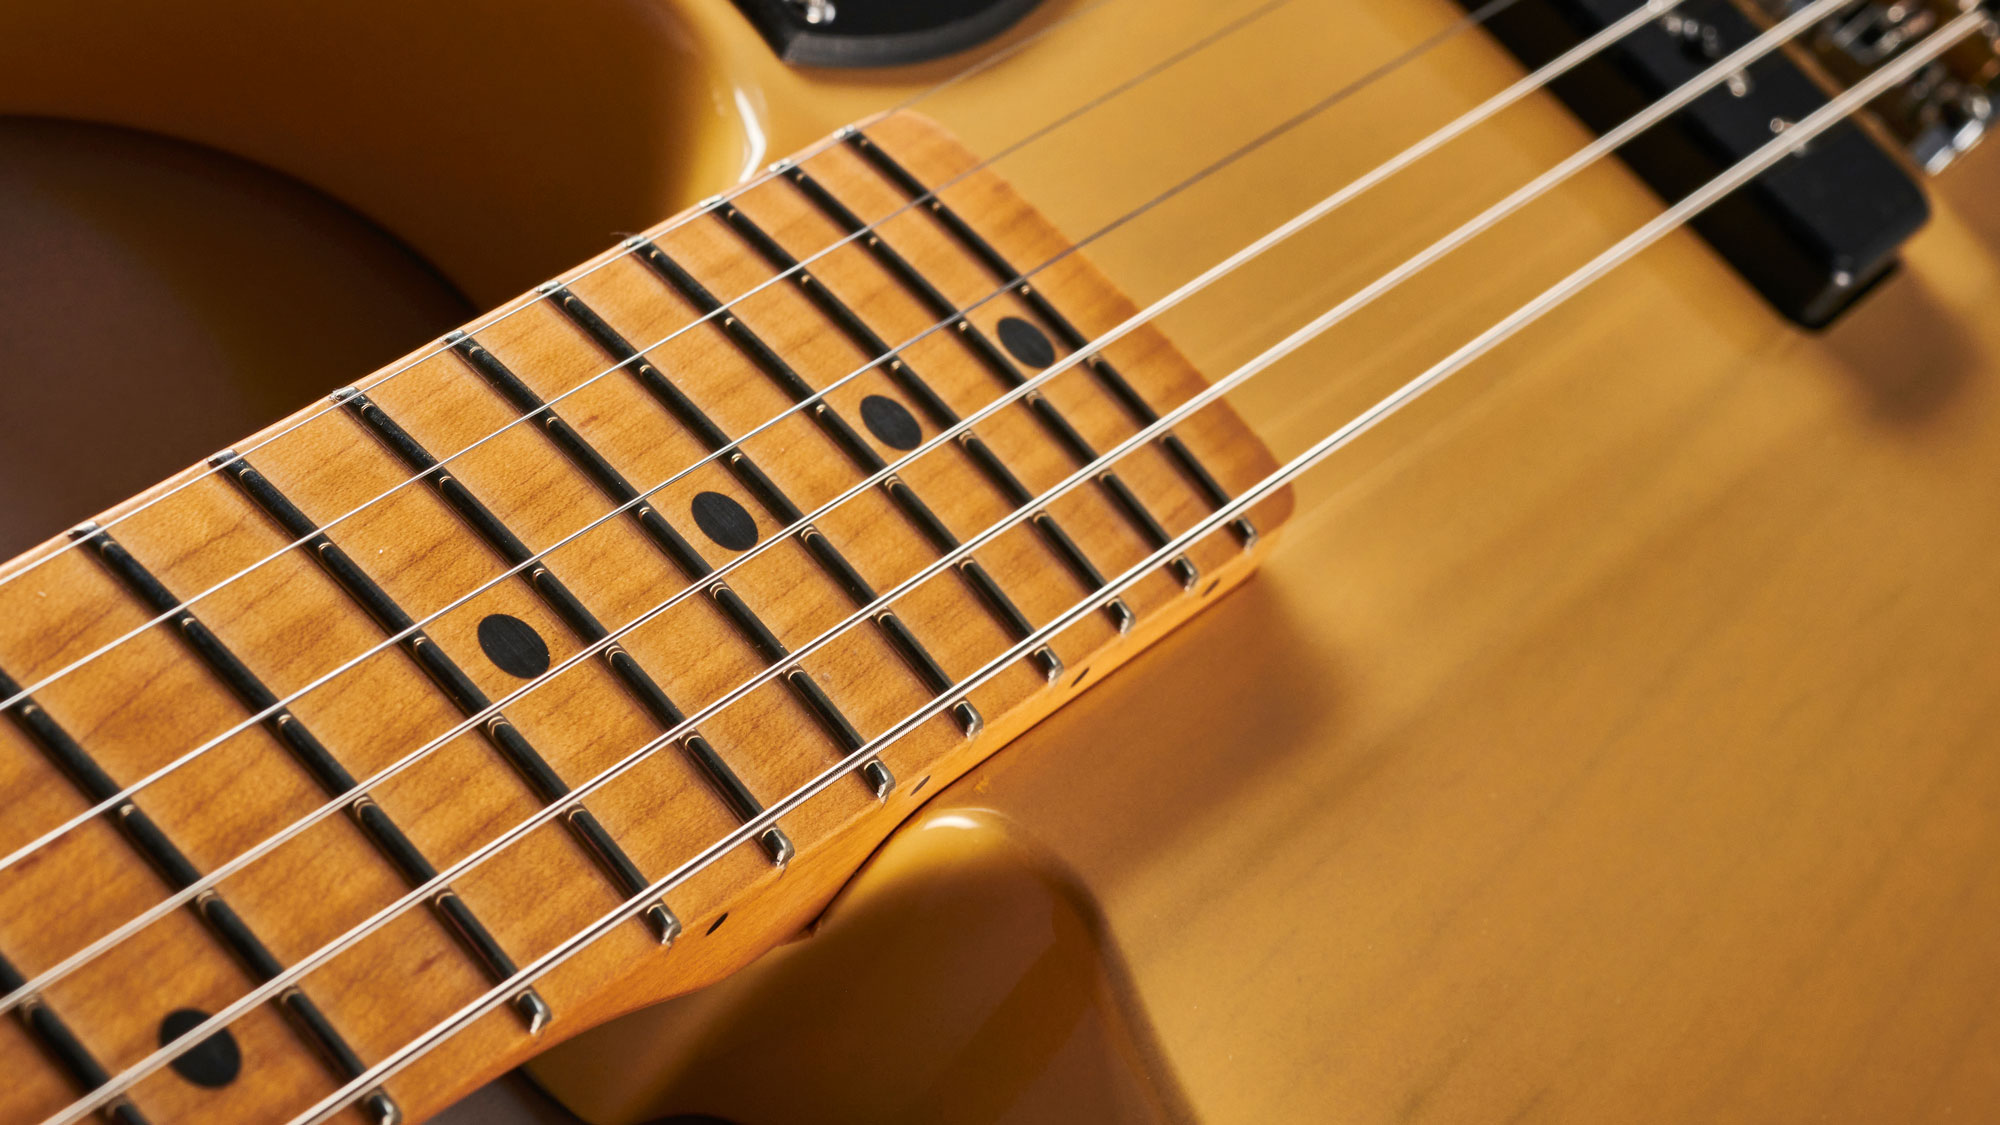
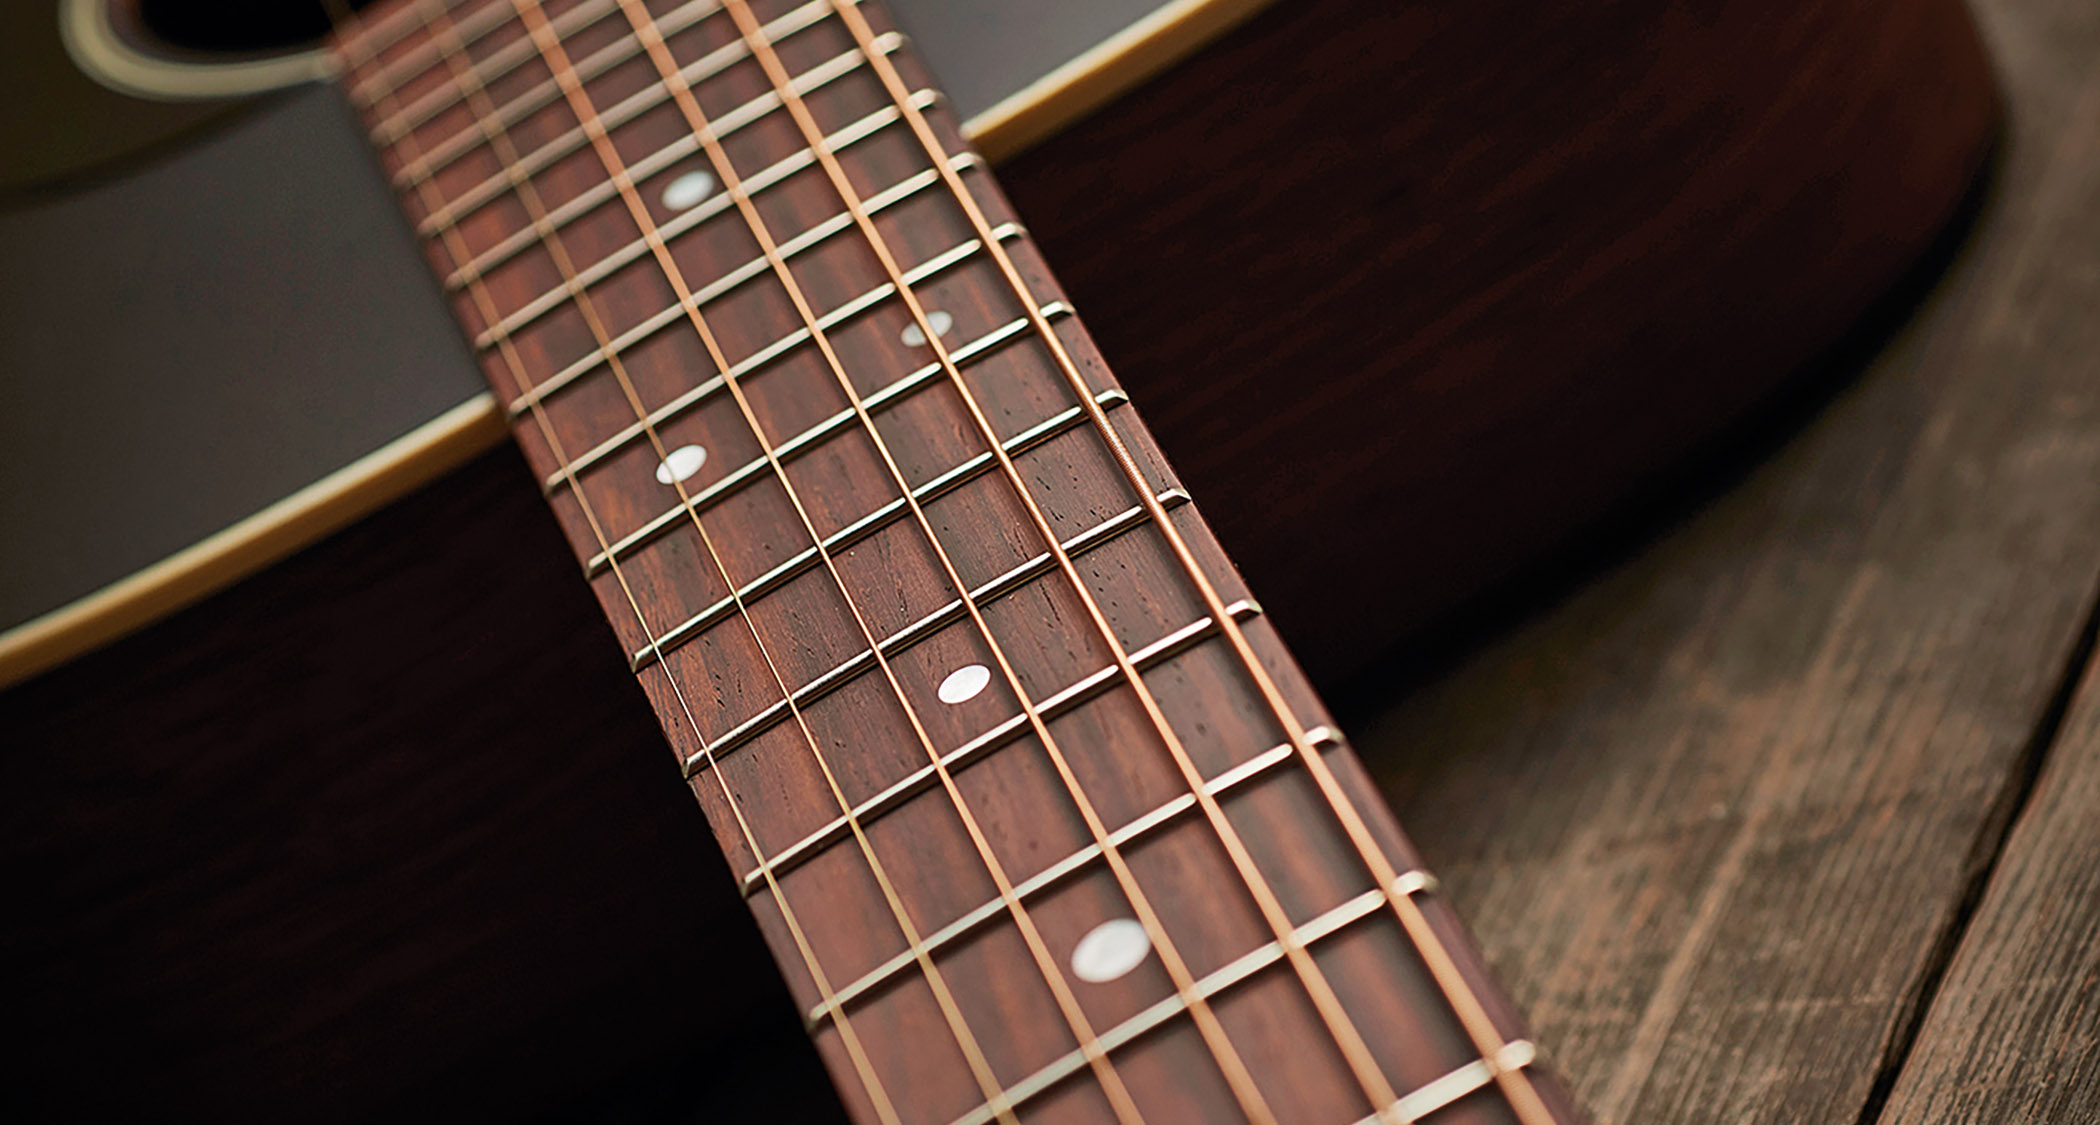
The earliest guitar-like instruments probably had flat fretboards, but these days pretty much every guitar has a curved ’board. We’re not talking about an up-bow or back-bow, but rather the curve that joins both edges of the fretboard with its highest point all along the centre line of the neck.
If you’re wondering why a fretboard radius is generally preferred, try forming an imaginary barre chord with your fretting hand and you’ll probably see that your index finger is slightly curved. Now grab your guitar and try barring across all six strings using your index finger alone and you may notice that the D and G strings are the ones least likely to play cleanly.
Going back to our ‘air’ barre chord, place your thumb where the back of the neck would normally be and your index finger will probably straighten instinctively. The thumb’s bolstering effect and the fretboard radius conforming to the natural curve of the index finger combine to make chord playing more comfortable and less fatiguing.
Even so, traditional classical guitars have flat fretboards to suit classical playing techniques and low-tension nylon strings. But nylon-strung guitars with slightly radiused fretboards – so-called ‘hybrid’ models – are now being made for steel-string acoustic and electric guitarists who are interested in crossing over without the need to adapt their playing style too much.
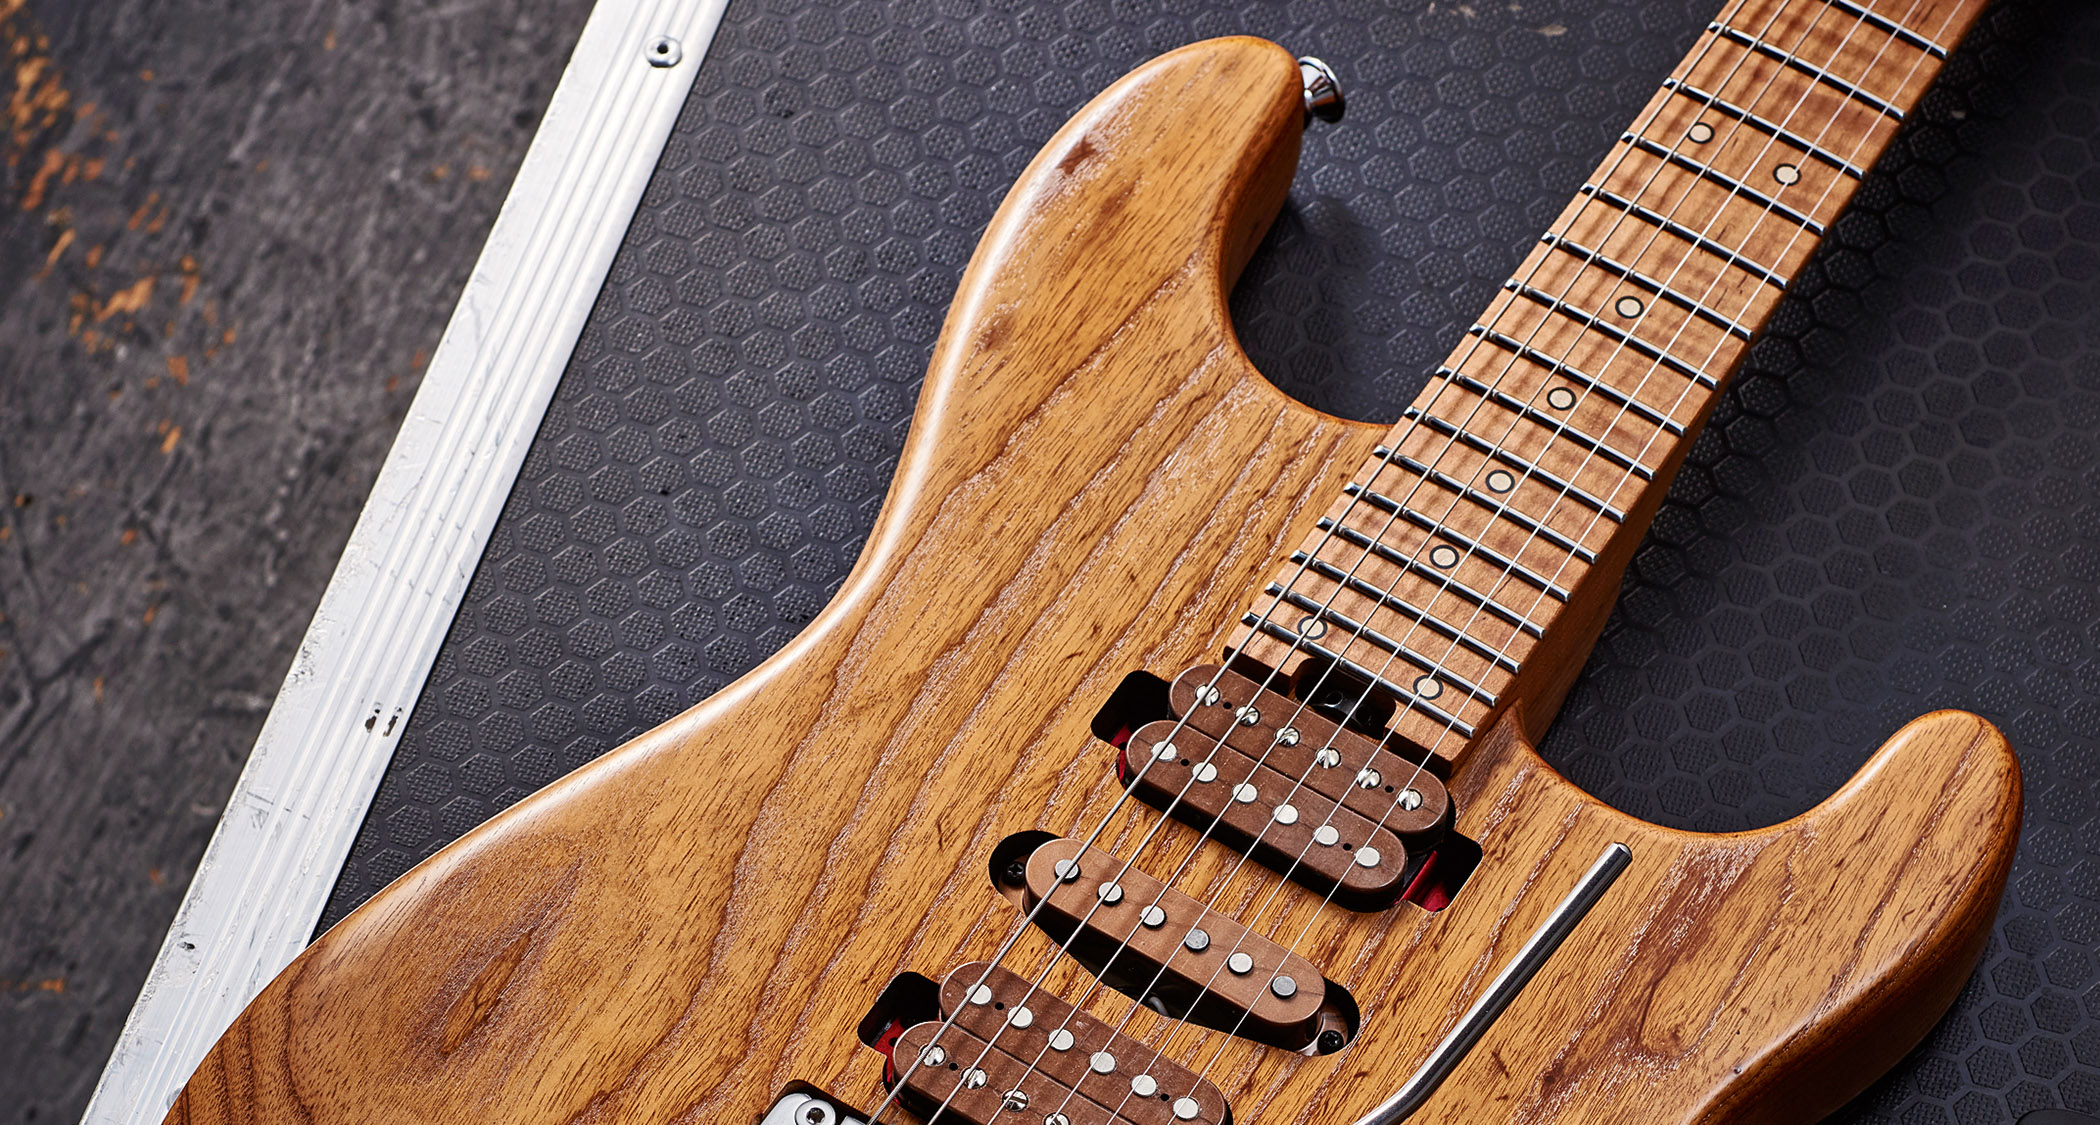
Most of the major manufacturers are associated with specific radiuses. For instance, Martin has traditionally used 16‑inch (406.5mm) radiuses, vintage Danelectros had 14 inches (355.5mm), and Fender was always associated with a measurement of 7.25 inches (184mm). In recent years 9.5-inch (241mm) radius Fender necks have become commonplace, while PRS favours 10 inches (254mm).
Gibsons are widely assumed to have 12-inch (305mm) radius ’boards, but most of the electric guitars they built prior to the mid-’60s measure closer to 9.5 inches or 10 inches.
During the halcyon days of ’80s shredding, players began demanding flatter radiuses and companies such Charvel, Jackson and Ibanez were offering 12-inch, 16-inch or even 20-inch (508mm) options. Raw speed and slinky bends were the priority and a flatter ’board can facilitate that, for reasons that will soon become clear.
All the latest guitar news, interviews, lessons, reviews, deals and more, direct to your inbox!
String Radius
Radius considerations apply to strings as well as fretboards. If the fretboard is completely level, then the string height above the ’board can remain constant all the way along its length. And this applies regardless of whether the strings run parallel to one another or splay out between the nut and bridge.
As the distance from the nut increases, so does the gap between the ’board and the outer string in particular, which results in higher action
Let’s say the nut slots give the strings a 7.25-inch radius over a 7.25-inch radius ’board. With a ’7.25-inch string radius at the bridge, a consistent string height above the ’board can only be achieved when the strings run parallel to one another. But on most guitars, the strings spread out between the nut and the bridge and the fretboard widens accordingly.
As the distance from the nut increases, so does the gap between the ’board and the outer string in particular, which results in higher action. If the action is lowered to compensate, this means that, when bent, the top two strings can come into contact with higher frets, which causes ‘choking’ or ‘fretting out’.
It happens because the saddle height remains fixed, but the bent strings no longer angle upwards towards the saddle and instead level off or even angle downwards. This is why a fretboard with a flatter radius makes it easier to enjoy a low action with buzz-free bends.
Setting up guitars is a complex topic that’s way beyond the scope of this article, but if you’re interested in trying it yourself, a set of gauges can help. Full sets are available on well-known auction sites for under £10. If you’re unsure of the ’board radius, you can quickly determine what it is, but remember to take measurements at both ends for reasons we’ll explain later.
Gauges can also be used for setting saddle height to achieve your preferred string radius at the bridge. Some like to match the bridge and ’board radiuses, but others prefer a larger bridge radius, with maybe 9.5 inches for a 7.25-inch fretboard or 12 inches for a 9.5-inch ’board. Start by lowering the action of the top E string until you can bend it maybe a tone and a half without choking. Similarly, set the low E string height until you can hit it hard with no fretbuzz, or a degree of buzz that you can live with.
When placed across the E strings, gauges provide an accurate visual reference. We find it best to drop the saddle height of all four inside strings and then raise them until the strings just touch the gauge.
So long as you don’t adjust the E saddles, then it’s quick and easy to try various bridge radiuses to determine which best suits your guitar and playing style. Clearly, this can only be done with bridges that have individually adjustable saddles.
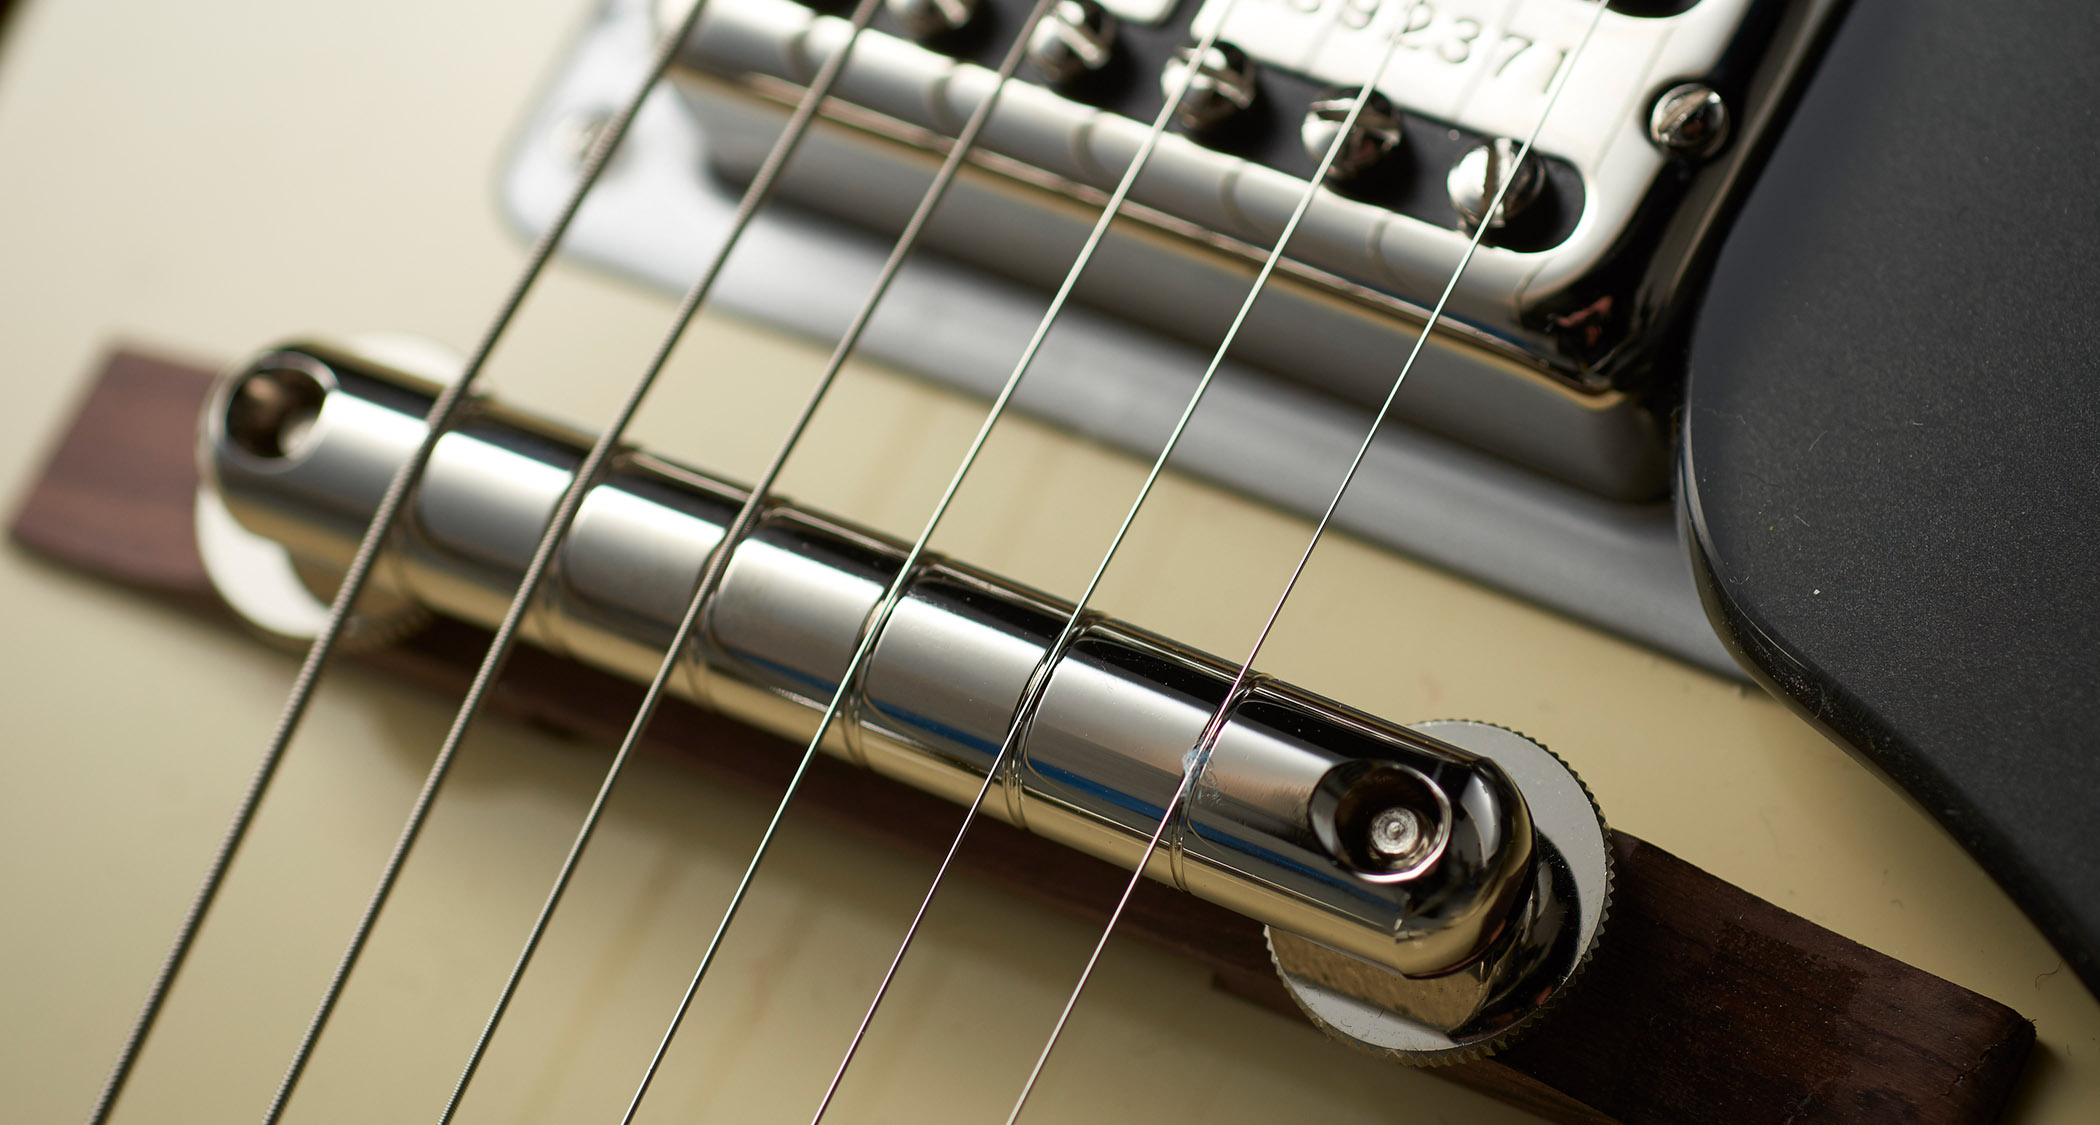
With tune-o-matic, wraptail and Gretsch-style bar bridges, the radius is always built in, so there’s limited scope for fine tuning. This is also something worth bearing in mind if you’re considering a bridge upgrade because its radius will need to be compatible with your fretboard.
When a bridge radius is too flat relative to the ’board, and when you set your preferred action for the outer strings, the middle strings may become too low and buzzy. The opposite may occur if the bridge is too curved because the middle strings will feel unnaturally high off the ’board. But some guitars, such as vintage Gretsches, have stock bridges that are mismatched and fitting an aftermarket bridge with a better radius match can improve playability as well as tone.
Compound interests
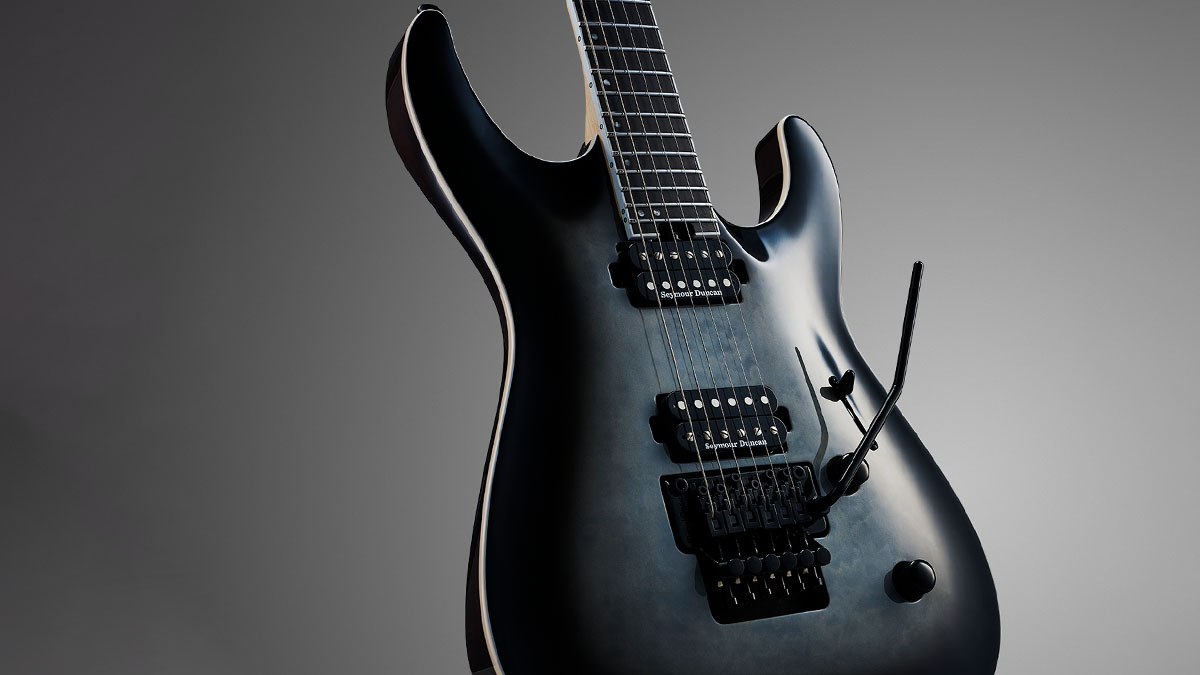
Most fretboards retain a consistent radius along the entire length, but some don’t. With many guitarists favouring a tighter curve for chordwork but a flatter radius for slinky string bending, you may wonder if you can have the best of both worlds. The answer is yes and the common term for these hybrid fretboards is ‘compound radius’.
One way to visualise this is to consider a straight pipe. If you took an even slice off it lengthways, you’d have a constant radius all the way along. Now do the same to a cone and the result will be a radius that is tight at the narrow end but gradually becomes flatter as the cone widens. In essence, a compound radius fretboard is like a section of a cone and this minimises the gap increase between the ’board and the strings as they splay outwards over the upper frets.
Various manufacturers have claimed credit for ‘inventing’ the compound radius fretboard, but it’s possible that some well-used guitars ended up with compound radius ’boards by accident.
Some luthiers routinely sand fretboards as part of the refretting process, and years ago it was common practice to sand out divots – especially with rosewood and maple ’boards. Without radiused sanding blocks, this would have been done by eye, meaning areas with heavy wear may have ended up somewhat flatter, not least after several refrets.
This is certainly what Stevie Ray Vaughan’s tech René Martinez says about his ‘Number One’ Strat. Legendary luthier Dan Erlewine took measurements in 1989 and reported that the radius graduated towards somewhere between 9.5 and 10 inches.
No doubt techs and guitarists noticed that some guitars played a little easier after a refret – and many figured out the reason. By the 1980s, compound radius necks were all the rage, particularly for ‘SuperStrat’ shredding, but they remain popular with a wide range of players.
Bender’s fret dress
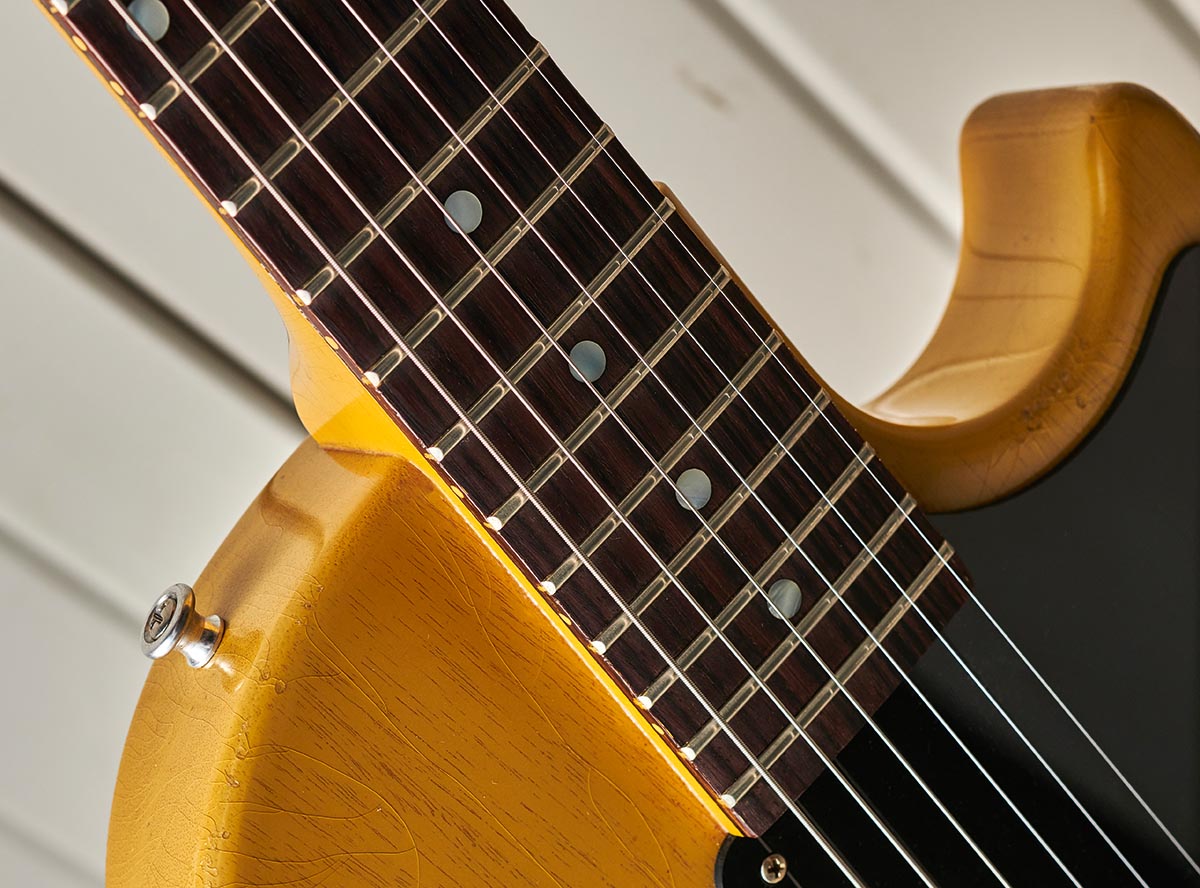
Having a compound radius is certainly appealing, but aggressively sanding the fretboards of vintage or high-end vintage replica guitars isn’t advisable. This is especially true of maple- and veneer-’board necks. But there is another option.
Installing taller fretwire makes it possible to have a compound radius feel without damaging the fretboard. Called the ‘string bender’s fret dress’, it involves filing the frets to achieve the desired radiuses, rather than sanding wood. It’s a relatively straightforward procedure and any competent tech should be able to do this for you if you’re struggling with higher action simply to prevent string choke out.
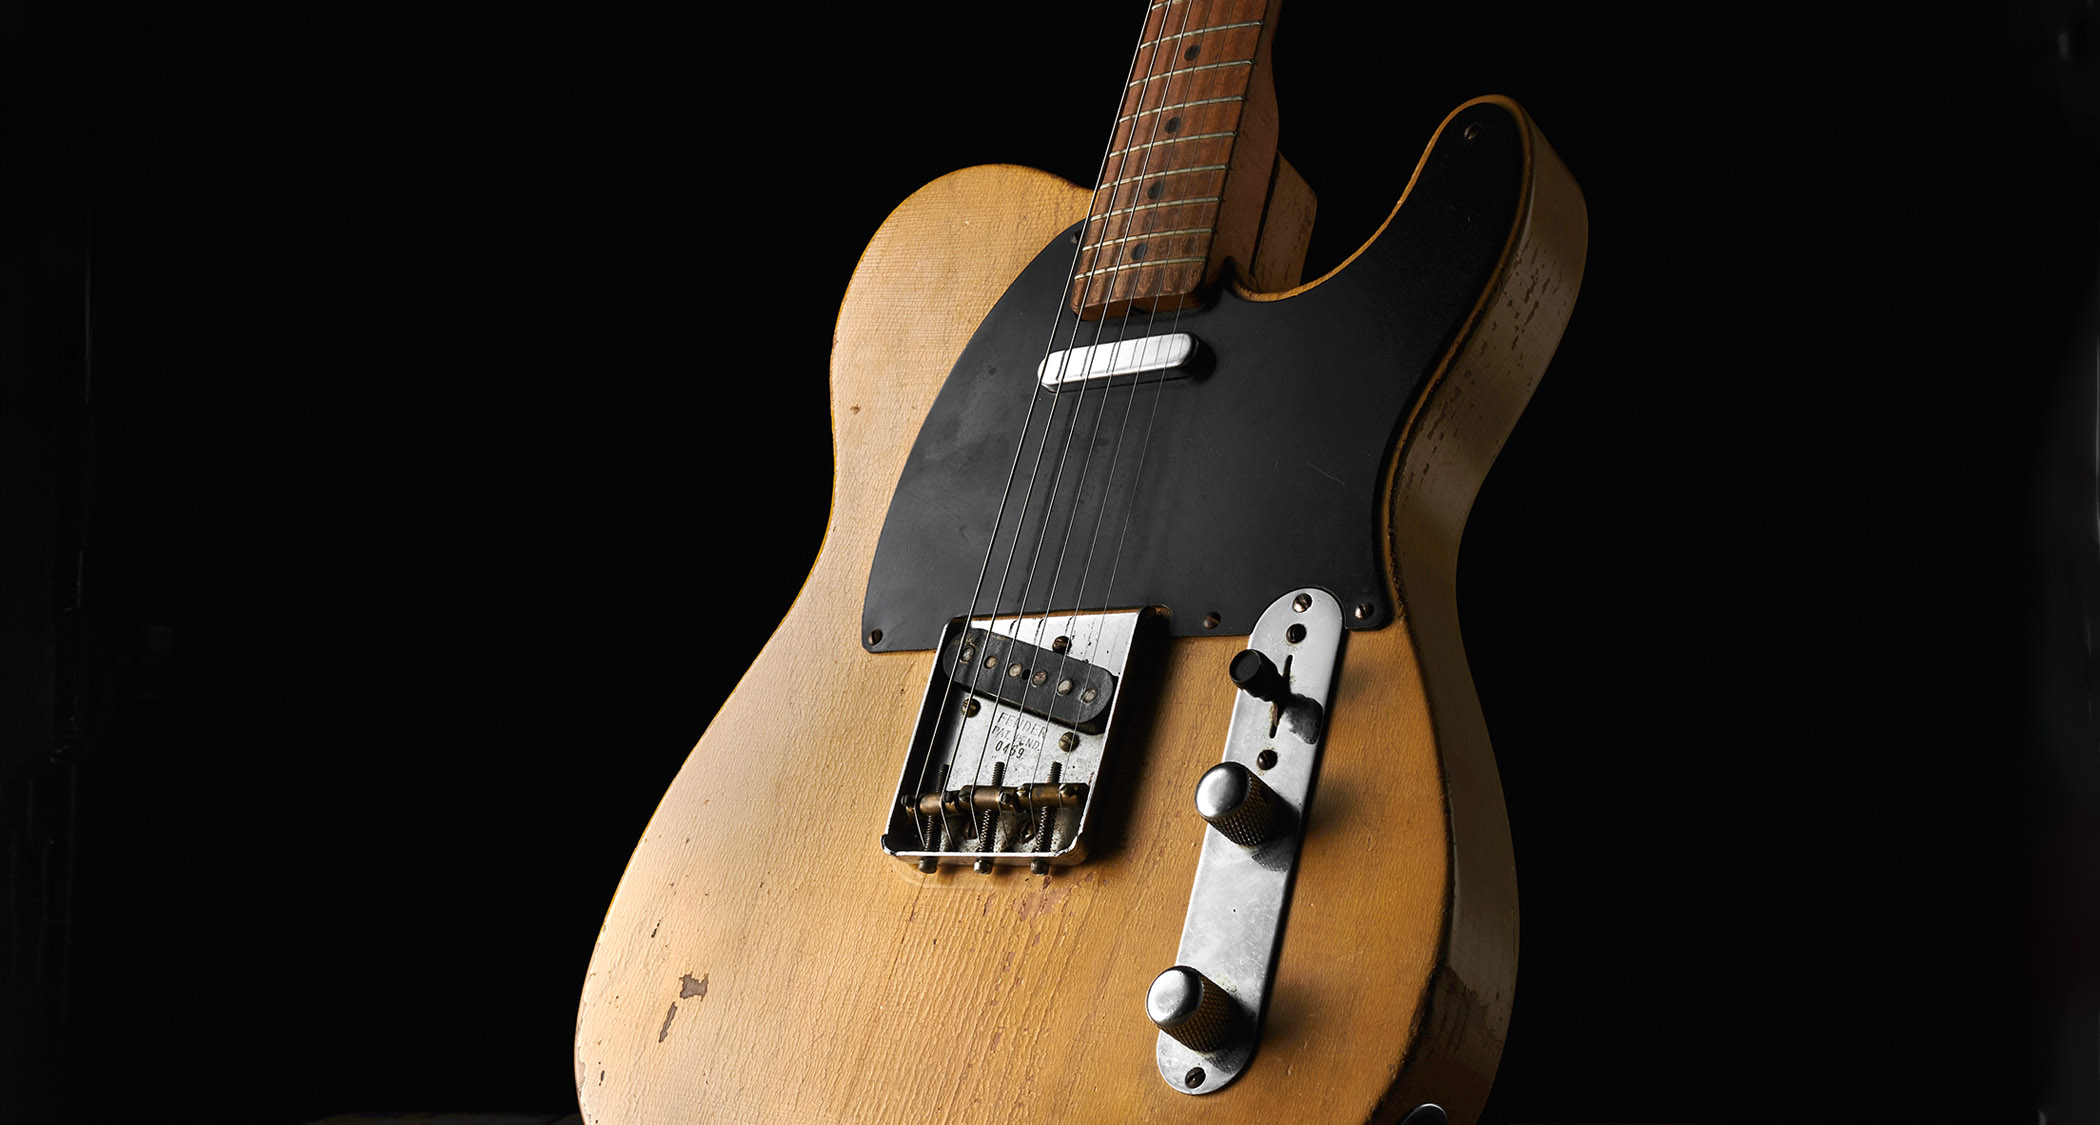
It works the other way around, too, as this writer recently discovered when asked to refret a mid-’50s Fender Telecaster. The all-original Tadeo Gomez neck had never felt quite right to the owner, and radius gauges quickly revealed that the fretboard radius started out at 7.24 inches but ended up closer to six inches above the 14th fret. In other words, it had a reverse compound.
The ’board had never been sanded or refinished, so we’d have to assume that Tadeo was having an off day or someone else had radiused the ’board while Tadeo carved one of his typically great profiles. The only non-invasive solution in this scenario was to install tall wire and then dress the frets to achieve a consistent 7.25‑inch radius.
Rounding up
There are many things to consider when we’re buying guitars, but we should never overlook fretboard radius. It dramatically affects the playing feel of a guitar, and a tight radius will limit how low the action can be set.
Conversely, a flatter radius may become uncomfortable if your playing is mostly chordal, rather than lead-based. And unlike pickups, hardware and even a guitar’s finish, modifying a fretboard radius may prove expensive and detrimental to the guitar’s value.
Huw started out in recording studios, working as a sound engineer and producer for David Bowie, Primal Scream, Ian Dury, Fad Gadget, My Bloody Valentine, Cardinal Black and many others. His book, Recording Guitar & Bass, was published in 2002 and a freelance career in journalism soon followed. He has written reviews, interviews, workshop and technical articles for Guitarist, Guitar Magazine, Guitar Player, Acoustic Magazine, Guitar Buyer and Music Tech. He has also contributed to several books, including The Tube Amp Book by Aspen Pittman. Huw builds and maintains guitars and amplifiers for clients, and specializes in vintage restoration. He provides consultancy services for equipment manufacturers and can, occasionally, be lured back into the studio.


