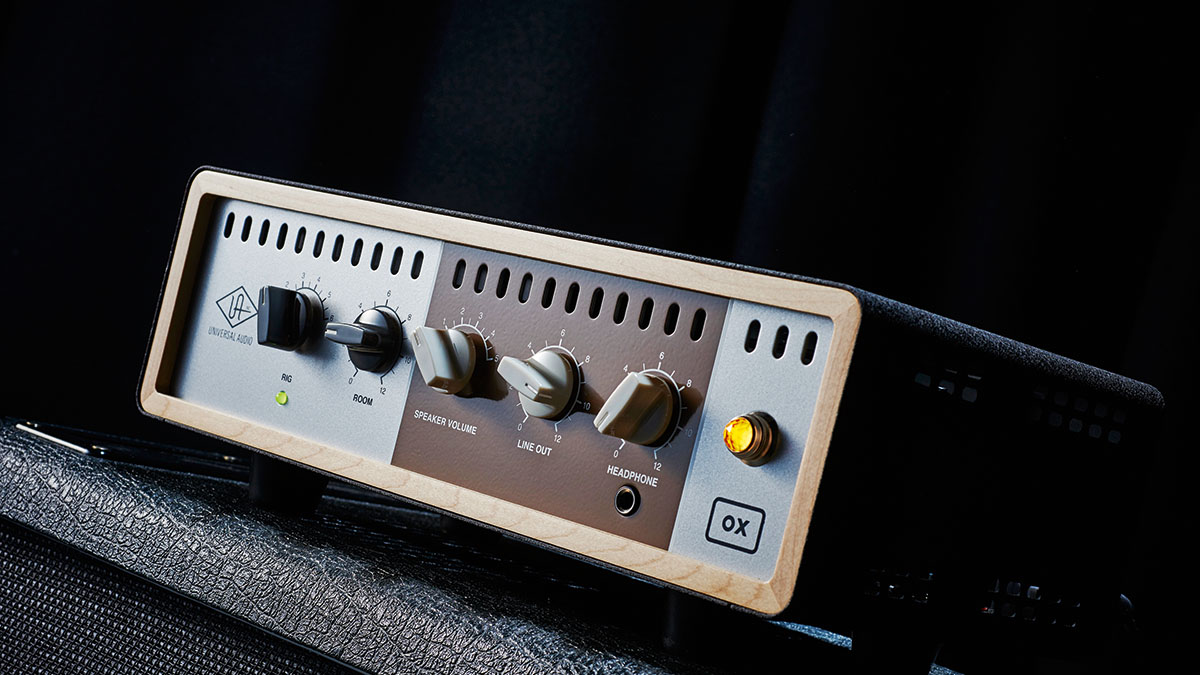
All tube amps have a sweet spot where they’re at their most touch-sensitive, notes begin to sustain effortlessly and dynamics start to compress.
In an ideal world, our amps would always be dialled into that sweet spot, but that risks incurring the wrath of bandmates, sound engineers, and the local constabulary. So, how can we crank our amps but never exceed acceptable volume levels? One solution is to use an attenuator.
Amplifiers generate a lot of electrical energy, but the speakers actually produce the sound by generating sound waves. At the risk of grossly oversimplifying, the more power it’s fed, the louder a speaker will sound.
Since the object is to reduce volume without compromising our amp settings, attenuation is usually achieved by placing a device between the amplifier output and the speaker in order to reduce the amount of energy reaching the speaker itself.
Variacs and voltage controllers such as the AmpRx BrownBox can be used to achieve overdrive at reduced volume, but valve life may suffer. Power scaling offers a different approach because it maintains heater voltage going to the valves but starves them of plate voltage to achieve the same result without stressing the valves.
In contrast, outboard attenuators do not increase distortion and they’re designed to have minimal impact on tone. This is achieved by dissipating the energy as heat or mechanical energy. But before we discuss those options, there is a cheap and easy remedy if your cabinet contains multiple speakers.
Speaker Solutions
Many powerful amps are designed to interface with multiple speakers. Multiple speaker cones provide a larger surface area to generate sound waves, so they’ll sound louder than a single speaker being driven by the same amp with identical settings. If in doubt, try running a four-watt Fender Champ through a 4x12 cabinet and prepare to be amazed…
Get The Pick Newsletter
All the latest guitar news, interviews, lessons, reviews, deals and more, direct to your inbox!
Since the aim is to reduce volume, we can achieve this by disengaging one or more speakers. The amp will still need to ‘think’ the speaker is in circuit to maintain the correct impedance, so the trick is to replace the speaker with a resistor of the same value.
Building a switchable speaker defeat box with an onboard resistor is a simple way to turn a 2x12 cabinet into a 1x12, or a 4x10 cabinet into a 3x10 or 2x10. It’s possible to achieve a significant drop in volume with little discernible change in tone. Make sure the resistor’s power rating is equal to or greater than the speaker’s, and if you’re switching out a speaker, use a resistor of the same value.
L-Padding
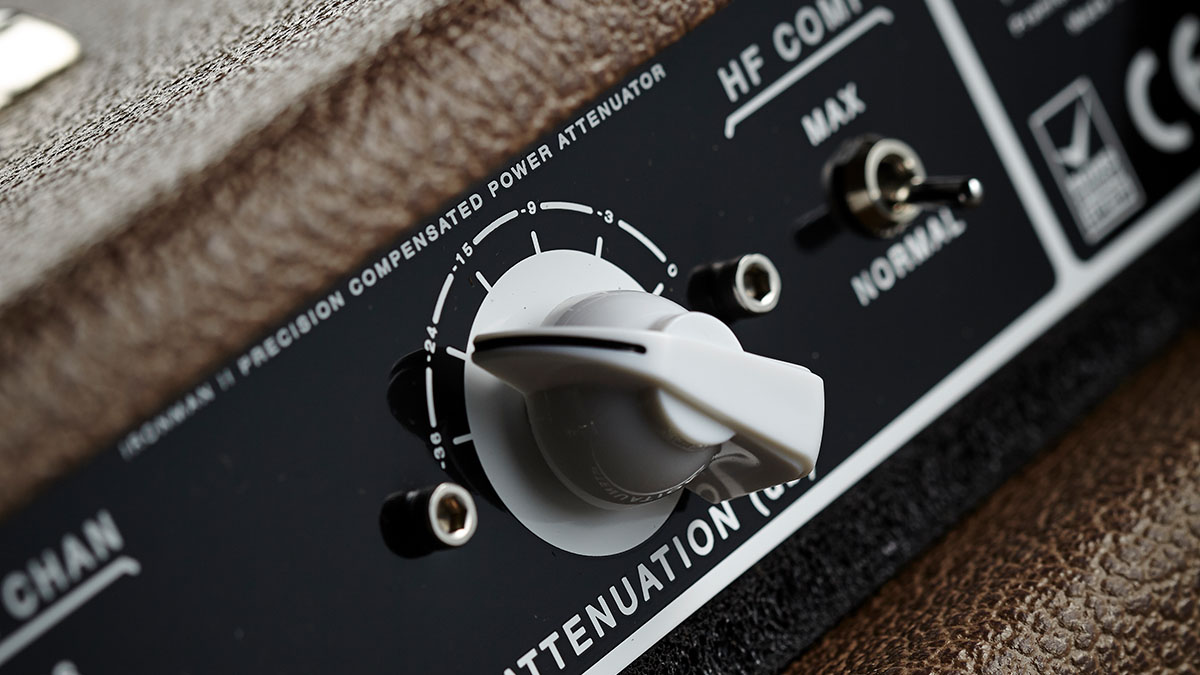
While speaker switching is effective, it is fairly crude, so passive attenuators offer finer degrees of control. They don’t require an external power source and most operate using a rotary switch offering several preset stages of attenuation. Most are connected between the amplifier output and speaker, but some boutique amps have them as onboard features.
Passive attenuators offer finer degrees of control. They don’t require an external power source and most operate using a rotary switch offering several preset stages of attenuation
Passive attenuators of this type usually work on the L-Pad principle. This combines a couple of resistors with the speaker load. Let’s assume the amp is designed to power an eight-ohm speaker. If an eight-ohm resistor is connected across the speaker connections, the amp sees a four-ohm load.
However, if another four-ohm resistor is connected in series on the positive side, the load resistance is restored to eight ohms. The amp is perfectly happy, but now the power it’s generating is shared between the speaker and the two resistors. Consequently, the speaker only gets some of the power and the resistors turn the remainder into heat.
Resistors of different values can be combined with the speaker to achieve specific degrees of attenuation – all the while maintaining the same load impedance for the amp. L-Pad resistor tables can be found online and building an L-Pad attenuator using a rotary switch and a handful of high-power wire wound resistors is a fairly easy DIY project and an elegant solution to the problem.

Power Revolution
In practice, stepped L-Pad attenuators always seem to be slightly too loud or slightly too quiet. But there is an alternative that’s even easier to assemble if you use a rotary L-Pad. These look much like a very large potentiometer with three solder tags, and all you need is a couple of jack sockets, some hook-up wire, and an enclosure to house all the parts.
Inside the L-Pad itself there are two wire wound resistor tracks that maintain a consistent load impedance but offer infinitely variable level control. They are available in four-, eight- and 16-ohm versions, so if your amp is configured for an eight-ohm load, buy an eight-ohm L-Pad.
Also consider the power rating, because it would be dangerous to use a 15-watt L-Pad with a 50-watt amplifier. To prevent burning it out, use an L-Pad with a power handling that exceeds that of your amp. The initial outlay may be higher, but it’s better to be safe than sorry.
Load Down
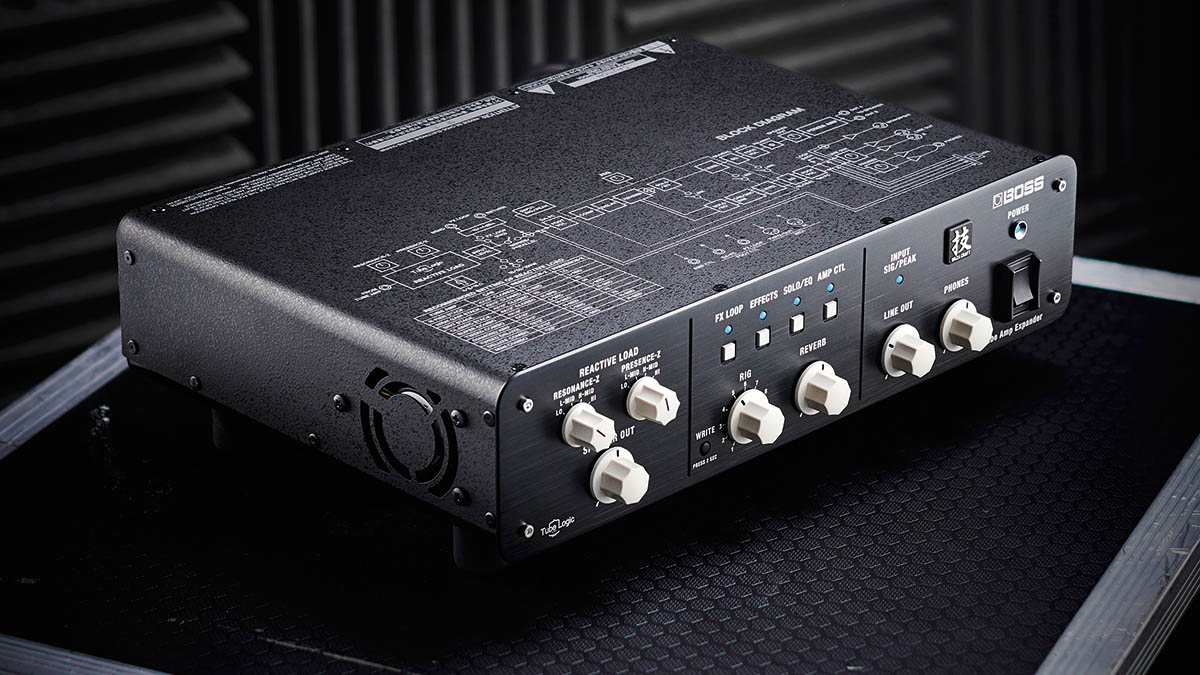
At this stage, it may be helpful to differentiate between attenuators and load boxes. Load boxes are generally used to completely silence an amplifier and provide a line level signal that can be used for recording or sent into a PA. In the raw, this line level output can sound pretty poor because the amp sees a purely resistive and constant load, rather than the ever-shifting reactive load of conventional speakers.
The interaction of the amplifier’s output stage and a speaker impedance that actually varies across the frequency range is very complex and it contributes greatly to the frequency response and dynamics. In short, simple load boxes sound and feel ‘wrong’, and to be of practical use they must employ some sort of speaker simulation.
There are plenty to choose from, with passive devices featuring filter networks at the lower end and highly sophisticated digital cabinet simulations at the top end.
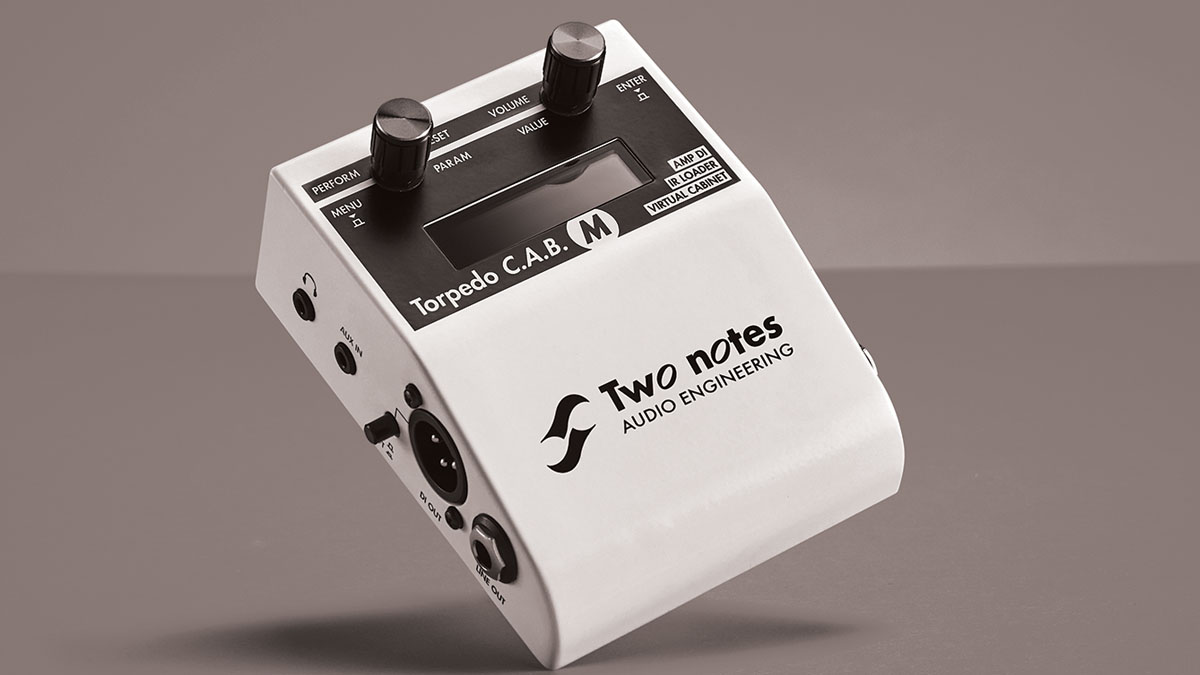
The Two Notes Torpedo range (which you’ll now find integrated into some amps on the market, such as the Ashdown MF 484 2.N head, Laney’s Supergroup LA-Studio, and Victory’s V4 The Jack) and Universal Audio’s Ox (which also features a stepped attenuator) are popular examples of modern attenuators with load box and cabinet simulator technology.
Reaction Times
L-Pad attenuators retain some degree of reactance because a speaker remains in circuit, but the system is less reactive than a direct speaker connection. This is why some players feel that L-Pad attenuators have their shortcomings.
Weber Speakers’ MASS design is an attempt to create an attenuator with a reactive load. The box contains a coneless speaker frame with a voice coil that moves as it would in a regular speaker and converts electrical energy into mechanical energy.
Because there’s no cone, it’s effectively a ‘silent’ speaker. The downside is that energy is converted less efficiently and the dummy speaker dissipates much of the energy as heat – just like a resistor. Having no cone also makes the reactance of dummy and conventional speakers slightly different.
Inductors and stepped transformers can also be used to provide reactive attenuation. Tone King’s Ironman is well regarded, but there have been reports of amplifier damage with some transformer attenuators. Others use lightbulbs and electric fans to dissipate energy – often in conjunction with resistive loads. The amp signal illuminates the bulb or moves the fan, so these devices do not require external power.
Reactance amplifiers such as the Bad Cat Unleash and Fryette Power Station offer a very interesting alternative. Both present the guitar amp with reactive load, and a small portion of that amp signal is fed to an onboard amplifier that can be set to the desired volume level.
The Bad Cat is solid‑state, but the Fryette is actually valve. In addition to lowering level, both can output 50 to 100 watts. So not only does this tame your stack, these devices allow you to take a Champ, Pro Junior, or any other low-wattage amplifier to a gig and bump up the volume significantly.
Tones of Contention
Some argue that attenuators adversely effect tone, but much depends on expectations and the amount of attenuation being applied. As a rule, small amounts of attenuation have a less audible effect than larger amounts.
Lowering a 100-watt stack to around 50 watts will sound better than trying to tame it to acoustic guitar levels. If you’re doing a small pub or club gig, or jamming at home, however, then attenuating an amp between 10 and 20 watts will produce better results.
All guitar speakers distort and compress to some extent when they’re pushed hard, and that’s part of the tone equation. Since attenuators allow less power to reach the speakers, they cannot contribute in quite the same way – and the tone is inevitably different. But it’s arguably less so than using a master volume.
Also consider how your perception of bass and treble response changes at different volume levels. This is why some attenuators feature switches that shape the bass and treble, but there’s nothing to stop you using your amp’s tone controls to compensate for any perceived changes instead.
Attenuators have been linked to amplifier failures. In some cases this may be true, but remember that using an attenuator allows us to play an amp flat out for extended periods of time.
Habitually pushing an amp hard will inevitably shorten valve life, but that’s more of a wear-and-tear issue than poor reliability. If it means you have to buy a new set of power valves after enjoying a few years of inspiring tone, rather than a decade of indifferent tone, you may decide that’s a price worth paying.
And if you fancy having a go at building your own, check out Huw’s DIY attenuator tutorial above.
Huw started out in recording studios, working as a sound engineer and producer for David Bowie, Primal Scream, Ian Dury, Fad Gadget, My Bloody Valentine, Cardinal Black and many others. His book, Recording Guitar & Bass, was published in 2002 and a freelance career in journalism soon followed. He has written reviews, interviews, workshop and technical articles for Guitarist, Guitar Magazine, Guitar Player, Acoustic Magazine, Guitar Buyer and Music Tech. He has also contributed to several books, including The Tube Amp Book by Aspen Pittman. Huw builds and maintains guitars and amplifiers for clients, and specializes in vintage restoration. He provides consultancy services for equipment manufacturers and can, occasionally, be lured back into the studio.
"I never use my tube amp at home now, because I have a Spark Live": 5 reasons you should be picking up the Positive Grid Spark Live in the massive Guitar Month sale
“Our goal is to stay at the forefront of amplification innovation”: How Seymour Duncan set out to create the ultimate bass amp solution by pushing its PowerStage lineup to greater heights


