Guitar Mods: Hot Rodding an Early '80s Squier Telecaster, Part 7
The set-up:I'm modifying an early-'80s ash-bodied Squire Telecaster that is all original and in very clean condition. Its appointments include a 21-fret maple neck, vintage-style bridge and pickups and Fender Japan branded sealed gear tuners.
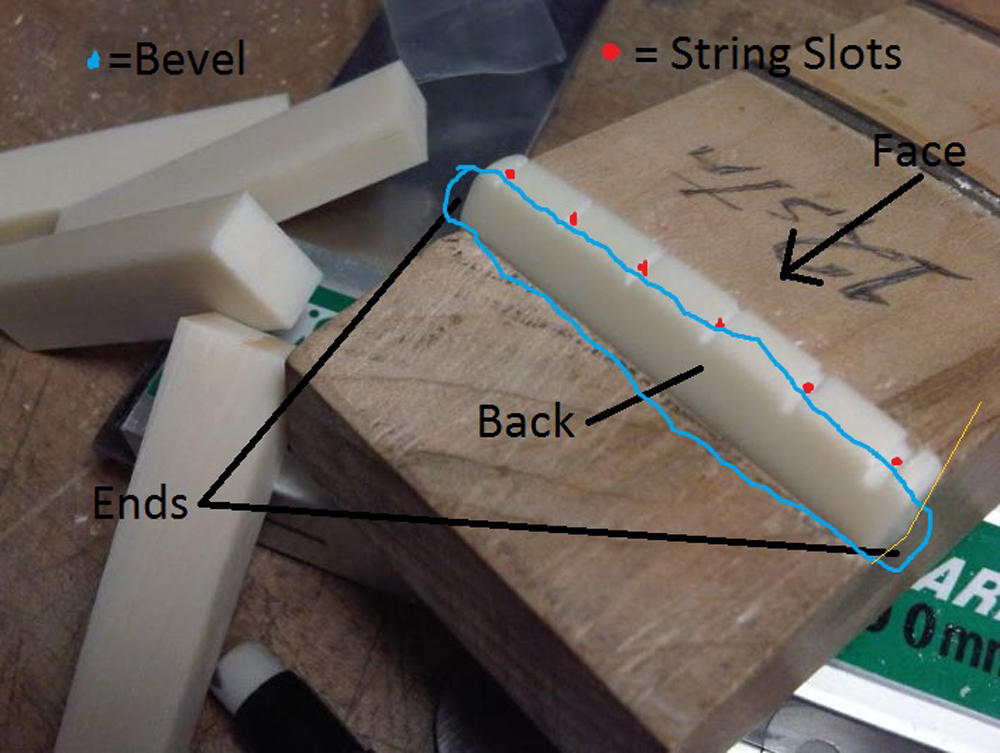
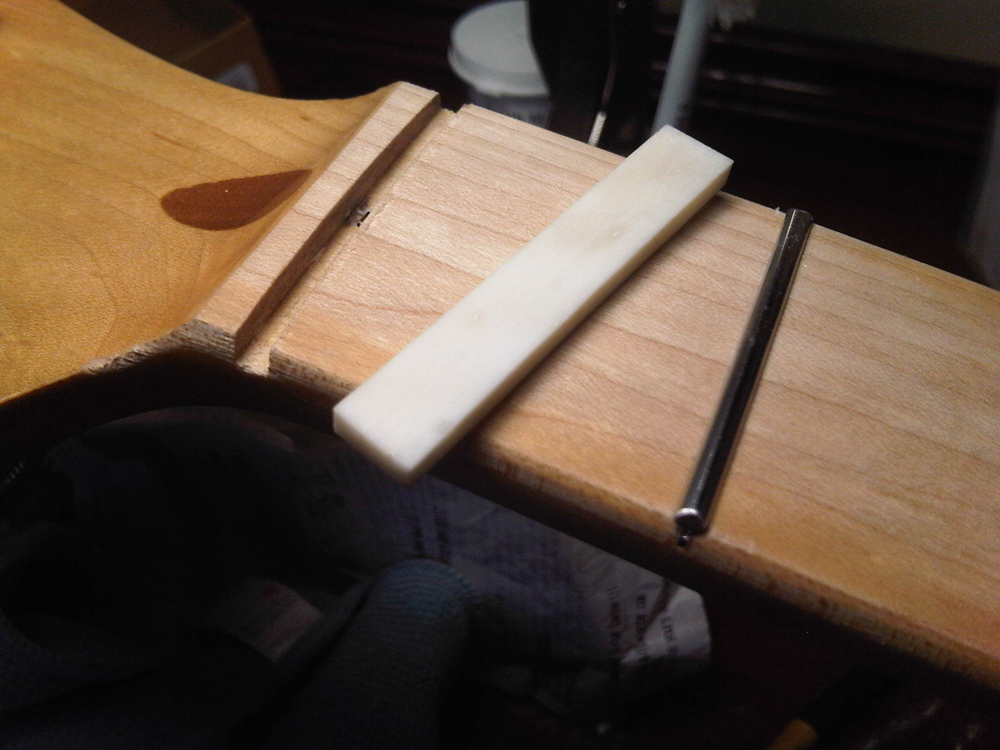
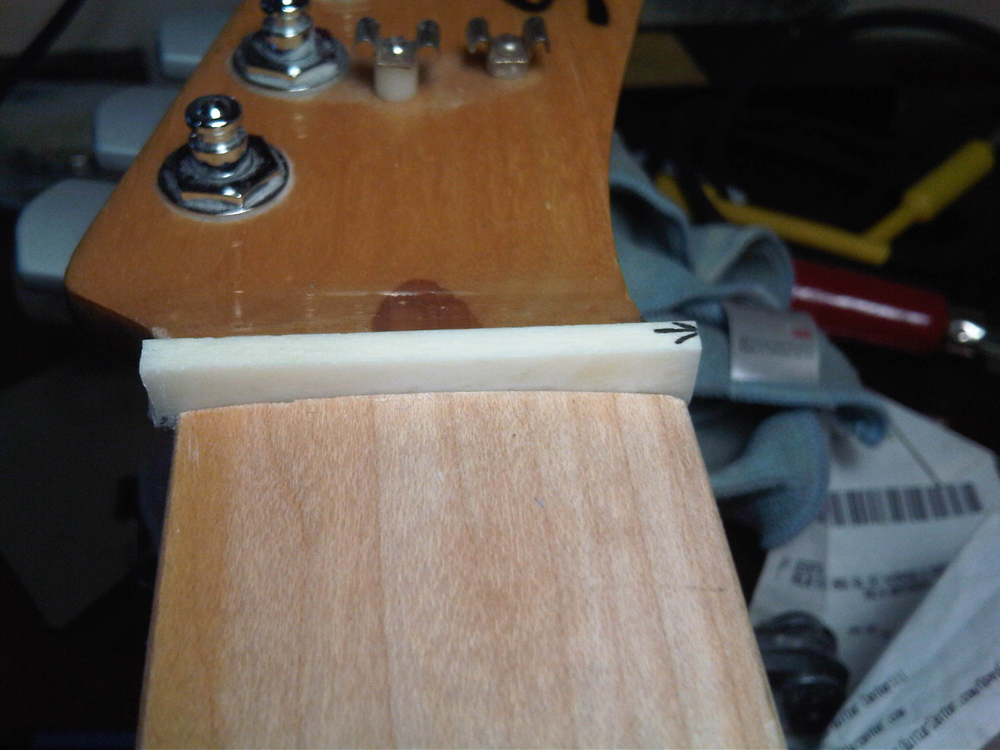
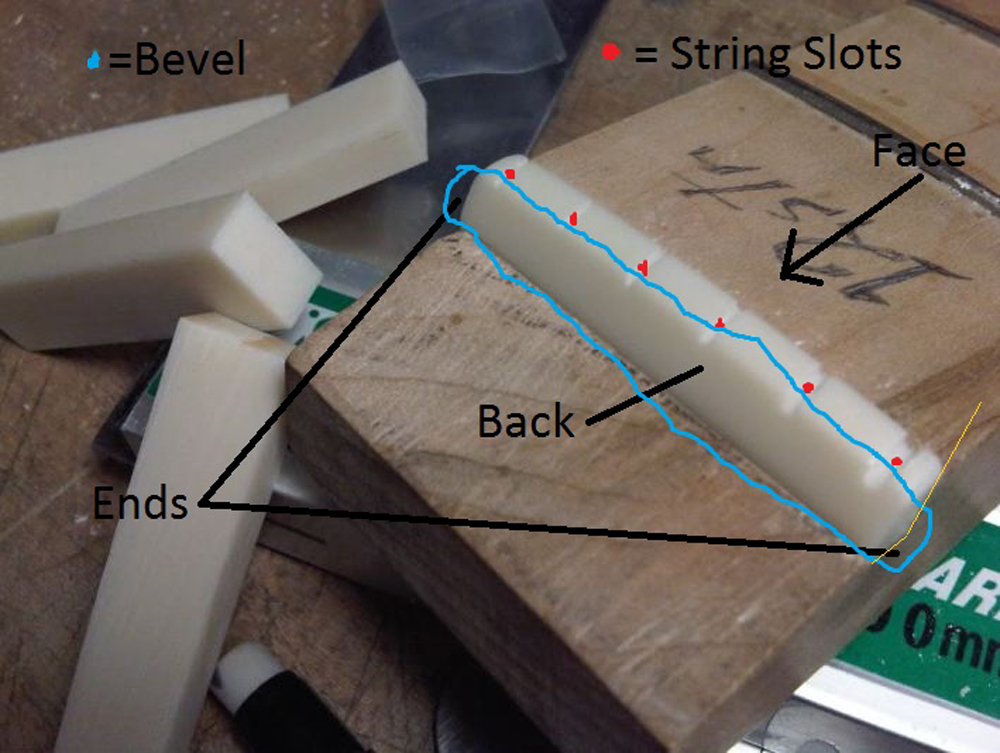
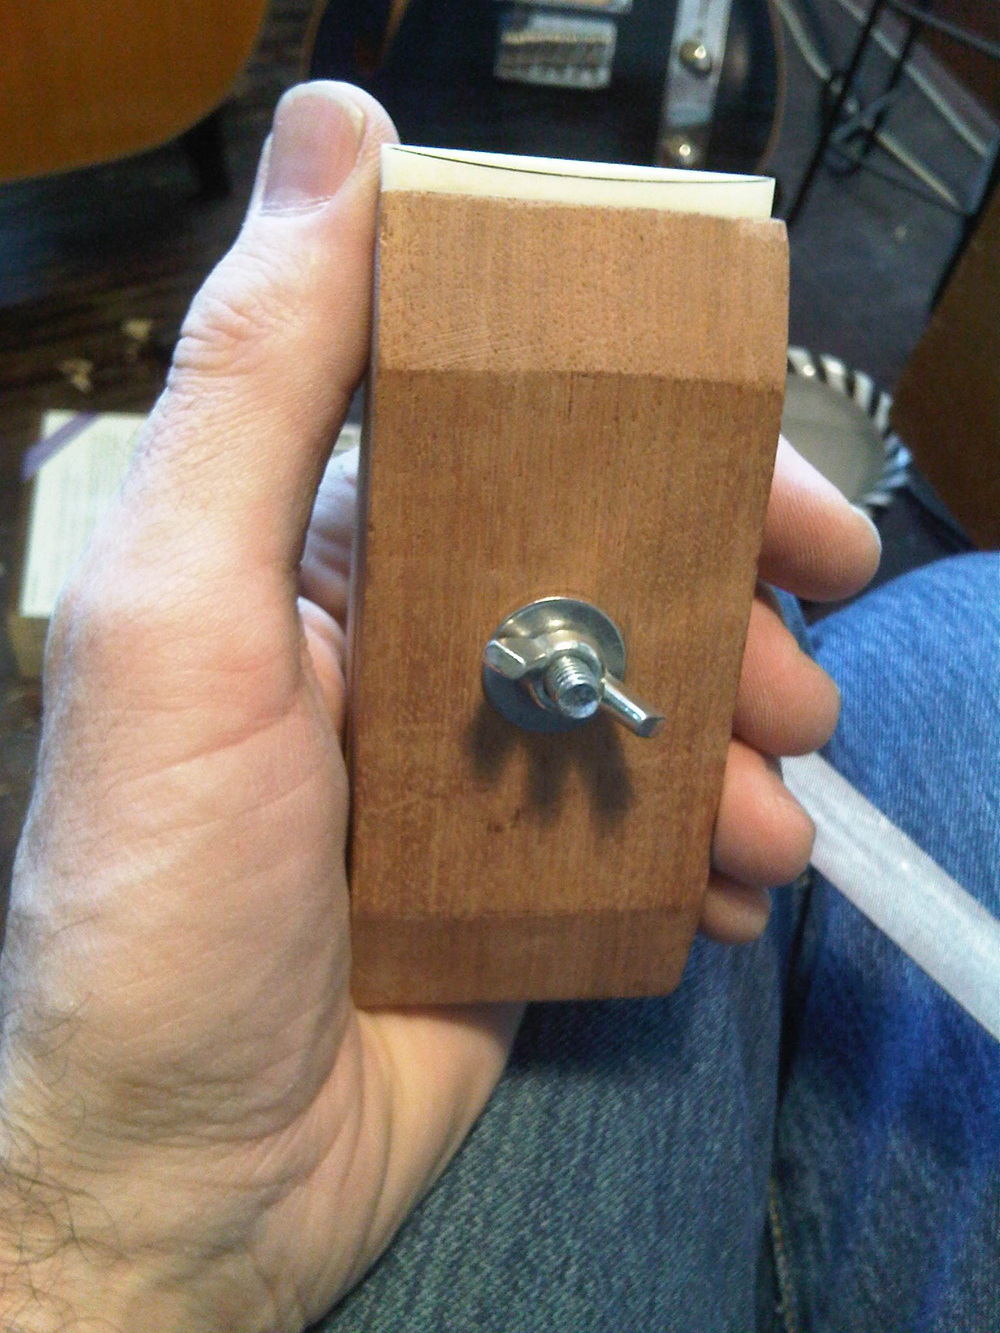
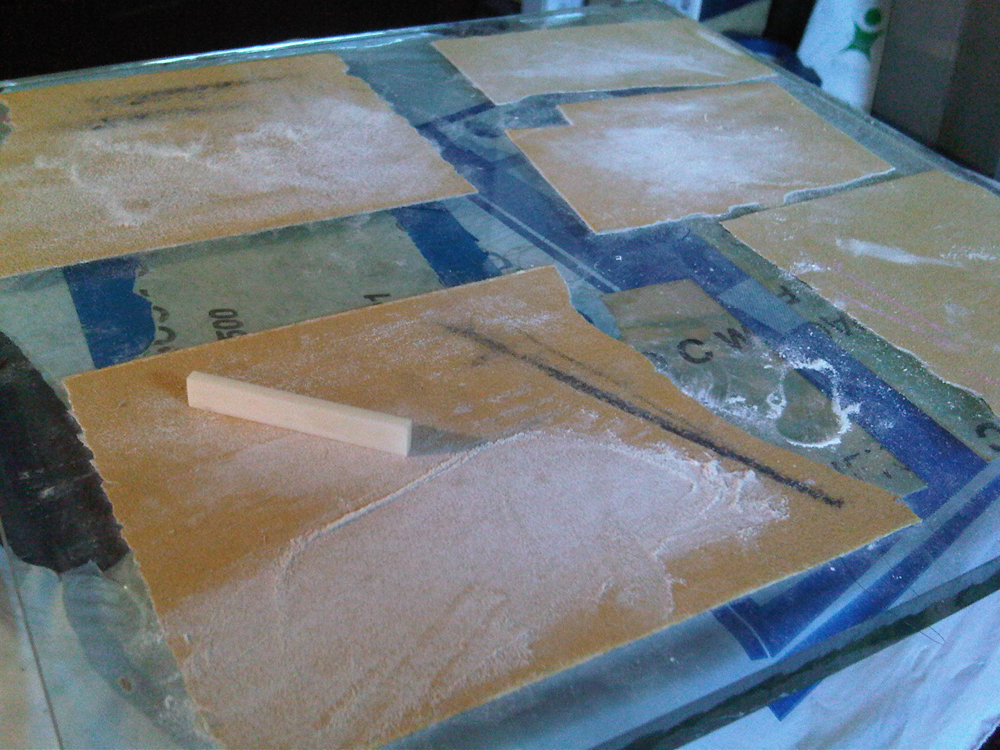
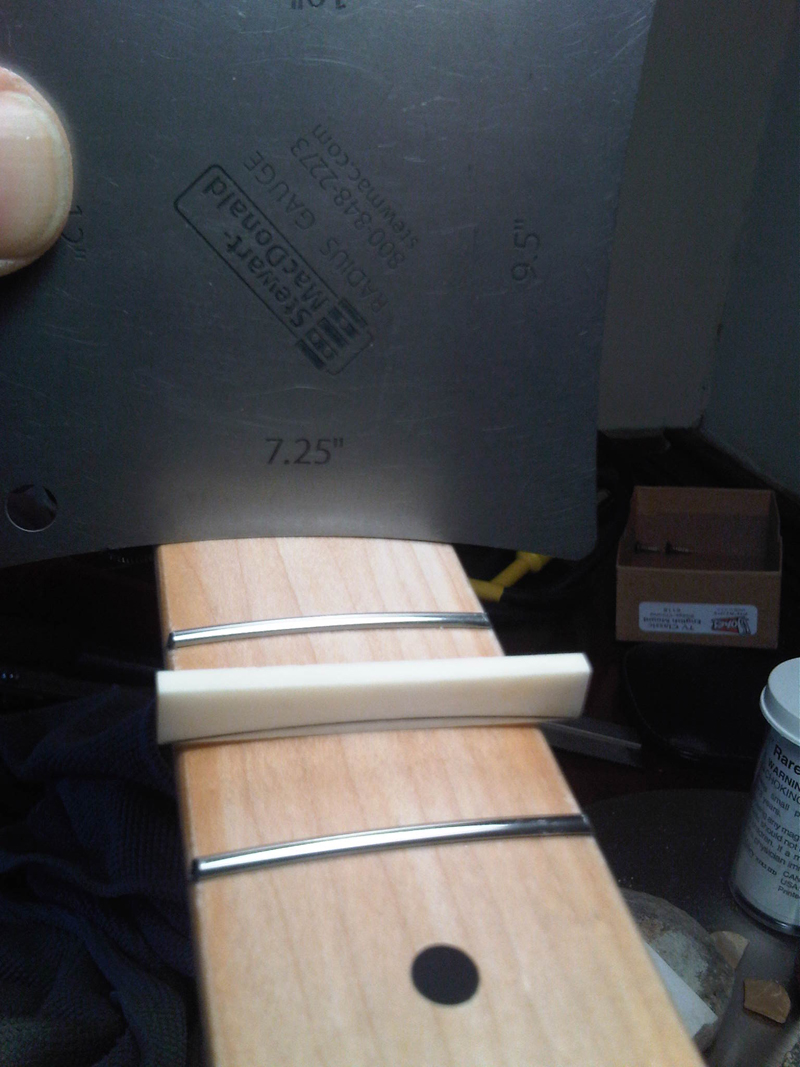
Changes I will make include installing a Callaham Vintage Tele bridge, Lollar Special-T single coils, CTS brand pots and a four-way switch. This switch allows the option of having both pickups available in series and in parallel besides either pickup by itself. Sperzel locking tuners round out the component mods and will make sure this axe stays in tune. I also will install Jescar stainless steel medium-jumbo frets and a bone nut.To check out parts one through six of this series, look for the stories under RELATED CONTENT to the left.OK, we’re back and ready to begin. Let me start off by making a correction to my last post. I indicated that I had pressed in 22-frets to the Tele neck I’m working on, and that was not correct. Our hotrod subject is a vintage-style Tele, and those have only 21 frets. Moving on …Our next move is making a nut for this guitar. This component is one of the most important found on any guitar. No matter how beautiful your fret work is, the nut will make or break your guitar. Many people take a nice nut for granted. That’s because a guitar won’t work right without one. Even the cheapest production guitars are usually sold with a functional nut. Typically, these are molded plastic. Mid-grade guitars might come with a machine-cut “one size fits all” nut made from Corian or some other high-density synthetic material. High-end guitars, electric and acoustic, frequently sport a nut cut from bone. While bone can be somewhat brittle and prone to chipping, it is usually very dense and hard. A properly fashioned nut is critical for a guitar to sound and play as good as is possible. In this blog post, I’ll cover the points that matter most.Before picking up any tools, the nut slot has to be prepped. That means cleaning the slot of glue residue and any other debris. A dental pick is a good tool to have on hand. A selection of small files can be used to “true” the slot if needed. The slot should have walls that are perpendicular to the floor. The prep work moves to the nut blank and involves flattening a face and squaring an edge to that face. I use a piece of plate glass and a range of self-stick sandpapers to accomplish this. I check my work with a high-quality square and insure that I do indeed have a 90-degree angle along the entire length of the blank. This establishes the orientation of the nut. Fender electric guitars usually have a nut slot that is radiused to match the fingerboard. I use my radius gauge and confirm that my slot has a 7.25-inch radius. I use the radius gauge to draw this curve onto my nut. A spindle sander makes quick work of removing the excess material, creating the needed radius. A half-round file and a roll of sandpaper will do the trick too. I work to my line, but never through it. Simultaneously, I maintain the continuous 90-degree edge. Once this step is complete, all rough fitting work is done by sanding the area opposite the face. See the photo gallery below for a quick nut-anatomy lesson.Now I’ll begin rough fitting to the slot. It is important to observe the orientation of the blank throughout the fitting process. I make a mark on the blank to remind me. Then I try to place the nut in the slot. If it doesn’t fit, I carry on sanding. I stop every once in a while and check again. The closer I get to a fit, the more often I check. Ultimately, the blank should have a snug fit, but not tight. Pressed into the slot, it should stay in without glue, but should not come out unless you pull it out.A good fit is important to the concept of coupling. Good coupling contributes positively to tone and sustain. Bad coupling isn’t really coupling, then, is it? It’s just bad. Don’t do it. Say it with me. Snug, but not tight.Once you’ve got that, the ends are trimmed to fit the slot’s length. For now, I like to leave a tiny bit extra length. This allows me to really make a perfect fit later on when I’m polishing for fit and finish. What I usually do is flush up the best-fitting end of the nut in the slot and then trim the opposite end. I start with a tiny saw and then use files to clean up the work.The next post will cover more shaping and marking the locations of the string slots. We are nearing the end of this long job. Soon I will be stringing this guitar and performing a setup. Stay tuned.Marlin Hall is a self-taught guitarist with 27 years of experience and a strong DIY ethic, gigging on blues, cover tunes and original rock music on both coasts and in Minneapolis since 1991. Hall, a former sound engineer in Minneapolis, recently graduated from a guitar-building and repair program and provides repair and custom-guitar-building services in the Twin Cities area. For more info, visit lowstrungguitars.com or timbuildsguitars.blogspot.com.
Get The Pick Newsletter
All the latest guitar news, interviews, lessons, reviews, deals and more, direct to your inbox!


