Guitar Mods: Hot Rodding an Early '80s Squier Telecaster, Part 6
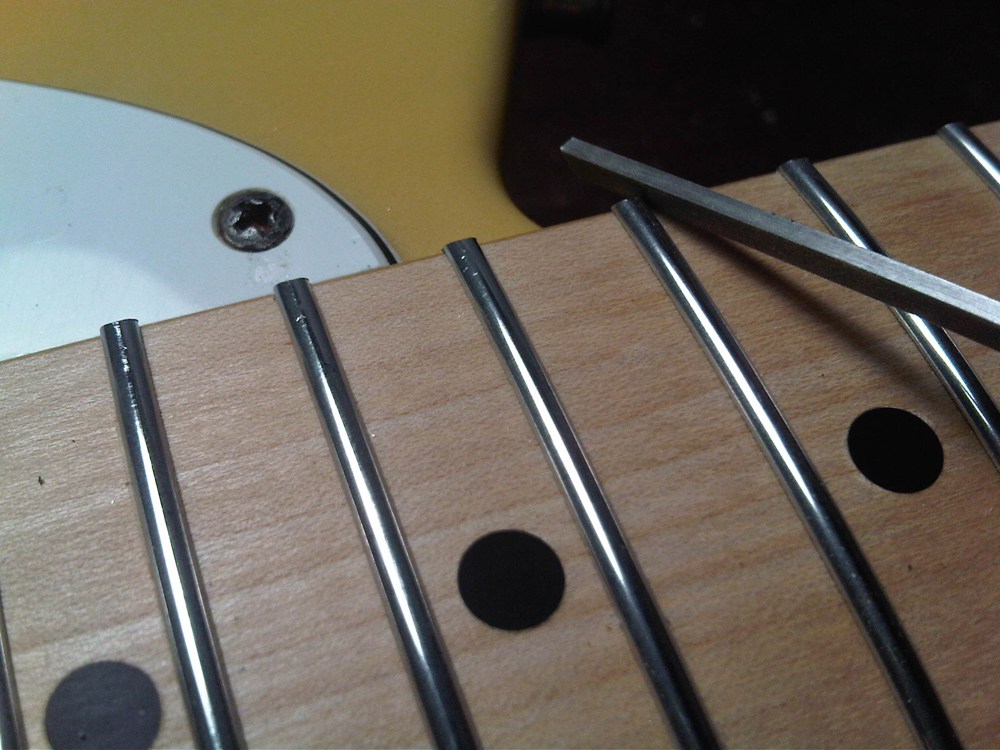
The set-up:I'm modifying an early-'80s ash-bodied Squire Telecaster that is all original and in very clean condition. Its appointments include a 21-fret maple neck, vintage-style bridge and pickups and Fender Japan branded sealed gear tuners.
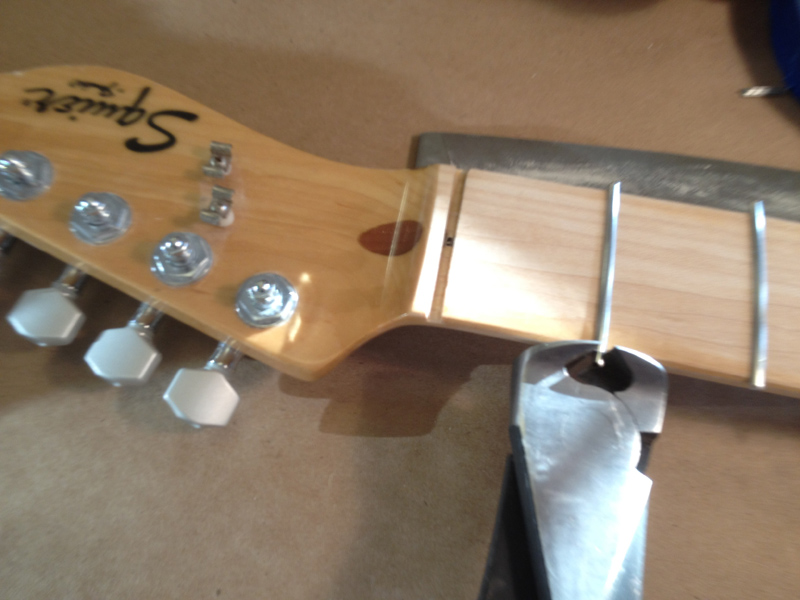
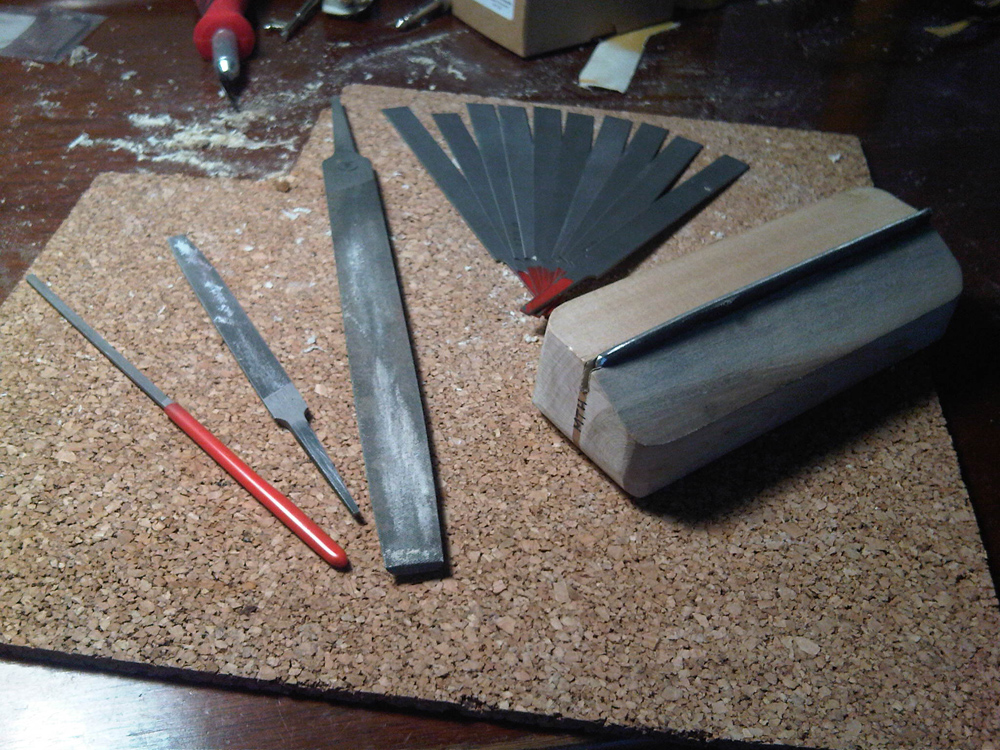
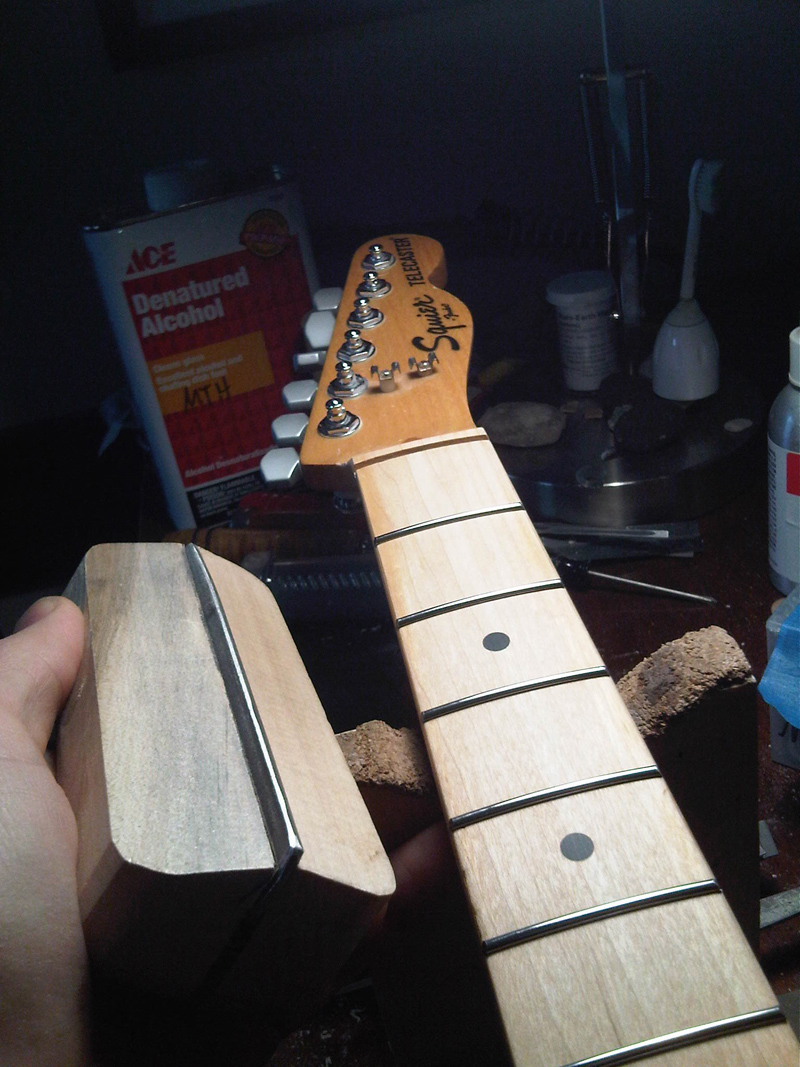
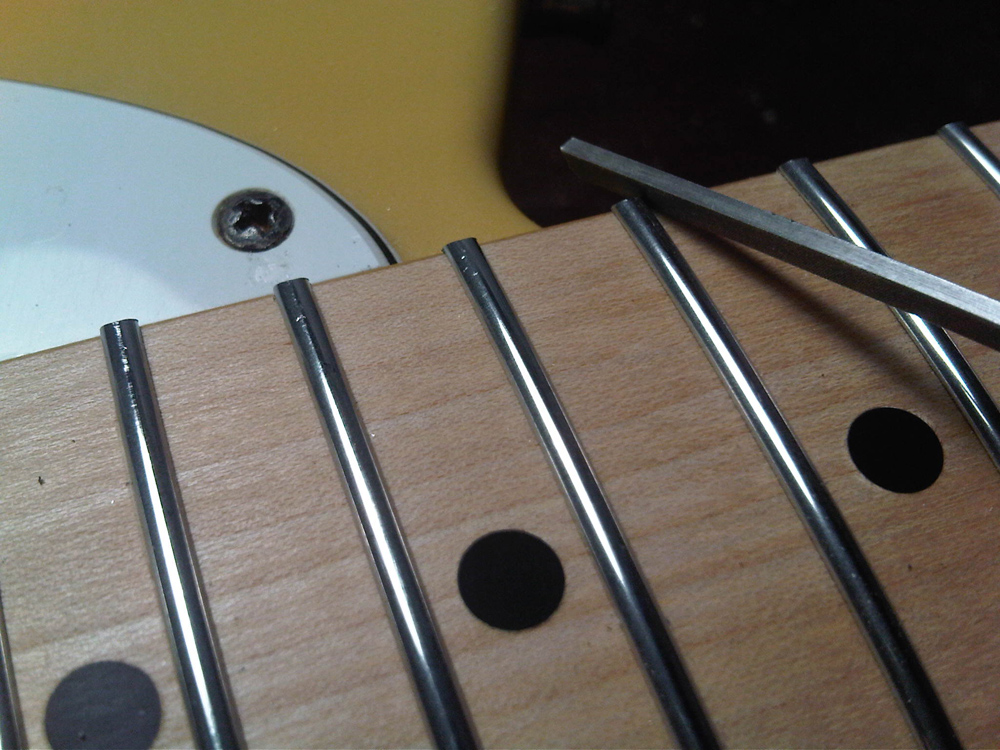
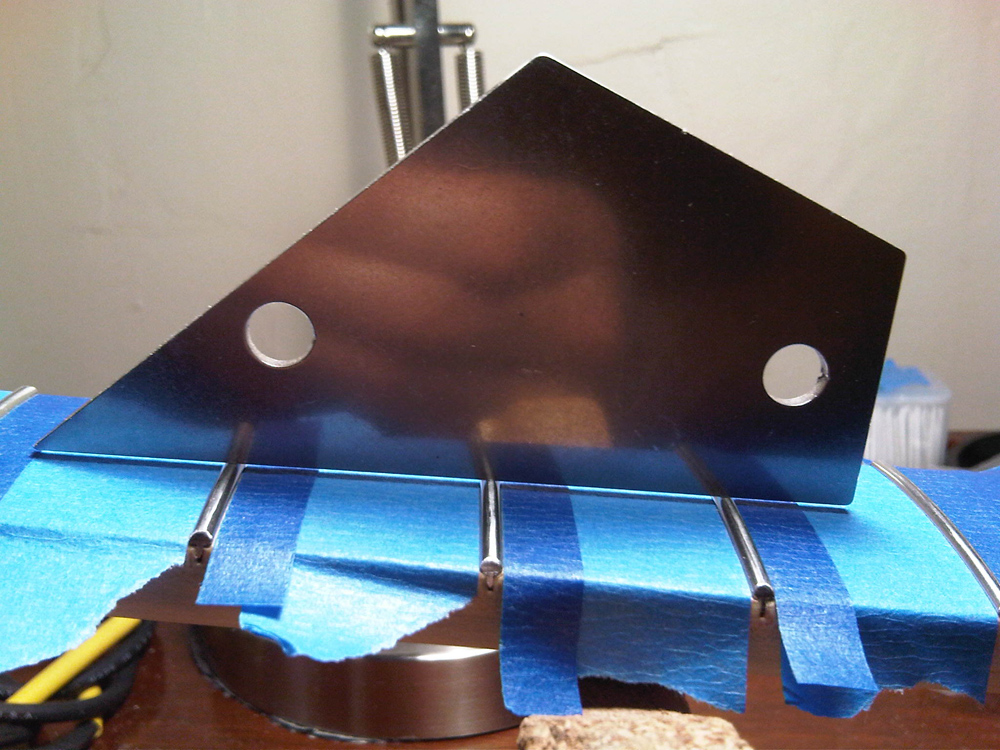
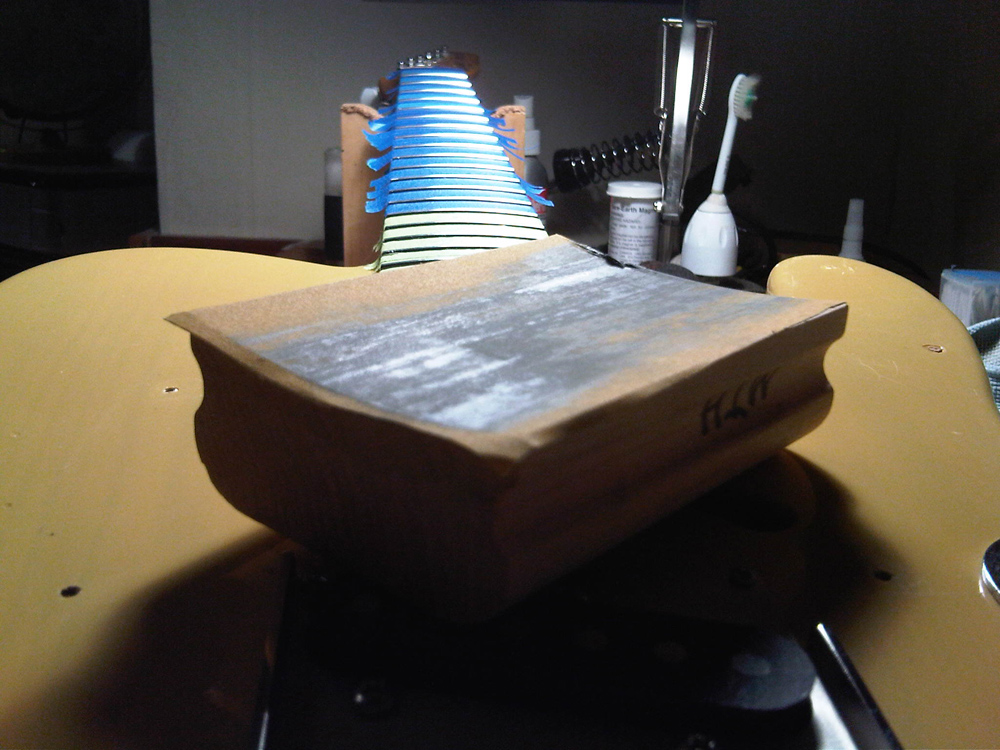
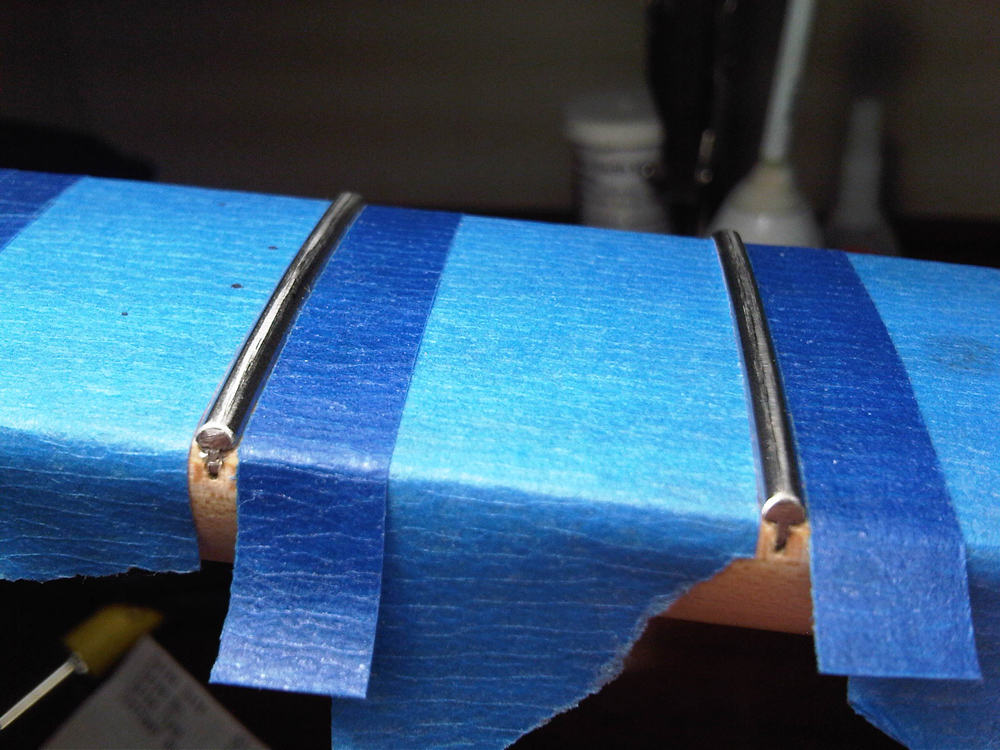
Changes I will make include installing a Callaham Vintage Tele bridge, Lollar Special-T single coils, CTS brand pots and a four-way switch. This switch allows the option of having both pickups available in series and in parallel besides either pickup by itself. Sperzel locking tuners round out the component mods and will make sure this axe stays in tune. I also will install Jescar stainless steel medium-jumbo frets and a bone nut.To check out parts one through five of this series, look for the stories under RELATED CONTENT to the left.OK, we’re back and ready to begin. When I left off, I had just finished pressing 22 stainless steel frets into the maple fingerboard of an ’83 Squire Telecaster. The next job is to file down the fret ends. They are sharp now and easier to work on after this step. Using a smooth-cut file, I ride down the little tabs of the frets along each edge of the fretboard. Don’t over-do it. Make passes in the “cut direction” of the file until the edges of the fingerboard feel smooth.I have another file that is glued into an angled slot in a block of wood. This file is used to bevel the fret ends. It adds to the comfort of a neck and gives a look and feel of quality. File just until all frets are consistent with their brothers and sisters. Only the tiniest line of a bevel should appear on the side of the fret board. The final operation on the fret ends is the micro-bevel. A tiny file is used to smooth over the rough edges left by the larger beveling file. See the photo gallery for a clear view of this. The amount of filing done here is a matter of taste and style. Some folks barely touch the edge, others go for a completely rounded fret end. Consistency is the key to achieving a professional look.I’m ready to move on to leveling. Leveling is used to make the heights of all frets on a neck equal. This explanation is oversimplified but it’s good enough for now. In order for a guitar to play comfortably and without a lot of fret noise, the frets all need to be very consistent in height.I’ll begin by protecting the fingerboard with masking tape. It goes between the frets. I try to be a miser with the tape because it isn’t cheap. Next, I take a Sharpie marker and ink over all of the frets. Cover the entire fret from end to end. For this part, you gotta have the right tool. There is no way around it. The choices are a leveling file, a radius block that matches your fingerboard or a leveling bar and sandpaper. My frets went in nicely and the fingerboard was in good shape, so I am using a radius block. This 4-inch block of wood is curved to the same radius as my fingerboard. (That would be the classic Fender 7.25-inch radius.) This choice makes sense because there isn’t a lot of work to do here. More level calls for a bigger tool. I like the leveling bar and sandpaper for that.I’m starting with 320-grit self-adhesive paper on my block. It will take several passes with the block to see the signs that I am looking for. The “signs” are scratches that mark all of the frets from edge to edge. The entire fret does not need to be scratched as long as there is a continuous line all the way across the fret. I control the block to make sure that the center of the block rides down the center of the neck at all times. I line it up with the dots on the fingerboard. The idea is to create a precision curve over the tops of all the frets. This curve should match the curve of the fingerboard.In general, every pass that I make goes from one end of the neck all the way to the other end. No back-and-forth scrubbing here; only gentle, full-length, one-way passes. Stop as soon as each fret has a little stripe of scratches that goes all of the way across. If the stripe is interrupted with shiny spots, keep sanding, but pay attention to your progress. Stop when the last fret to show the scratches has a scratch pattern that is 1/32nd-inch wide.The next step is called crowning. The crowning file shapes the top of the fret and makes sure all the scratches we put in during leveling have the same width from fret to fret. We shoot for a width of 1/32nd-inch. Get out the granny glasses!The finer grits of sandpaper are used in sequence (320, 400, 500, 600) to remove scratches while maintaining the tiny little landing strip down the center of the fret. It’s repetitive work and takes a bit of practice to develop your technique. I finish up with micro-mesh pads that progress from 800 grit all the way through 12000! Shiny.See you next time. Marlin Hall is a self-taught guitarist with 27 years of experience and a strong DIY ethic, gigging on blues, cover tunes and original rock music on both coasts and in Minneapolis since 1991. Hall, a former sound engineer in Minneapolis, recently graduated from a guitar-building and repair program and provides repair and custom-guitar-building services in the Twin Cities area. For more info, visit lowstrungguitars.com.
Get The Pick Newsletter
All the latest guitar news, interviews, lessons, reviews, deals and more, direct to your inbox!


