Guitar Mods: Hot Rodding an Early '80s Squier Telecaster, Part 4
The set-up:I'm modifying an early-'80s ash-bodied Squire Telecaster that is all original and in very clean condition. Its appointments include a 21-fret maple neck, vintage-style bridge and pickups and Fender Japan branded sealed gear tuners.
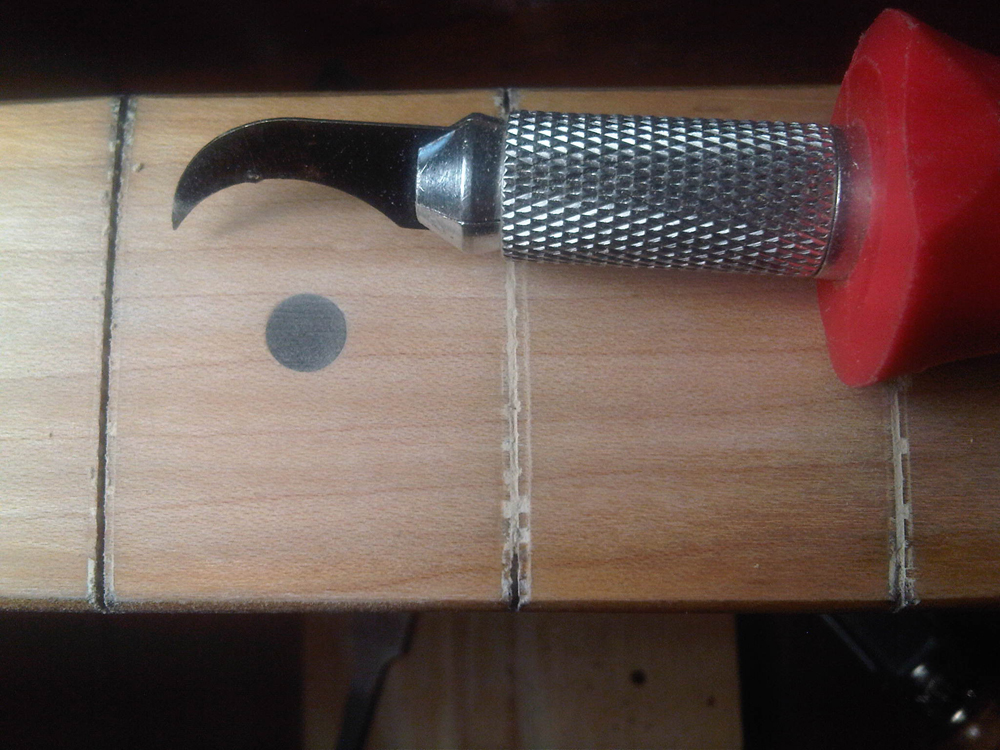
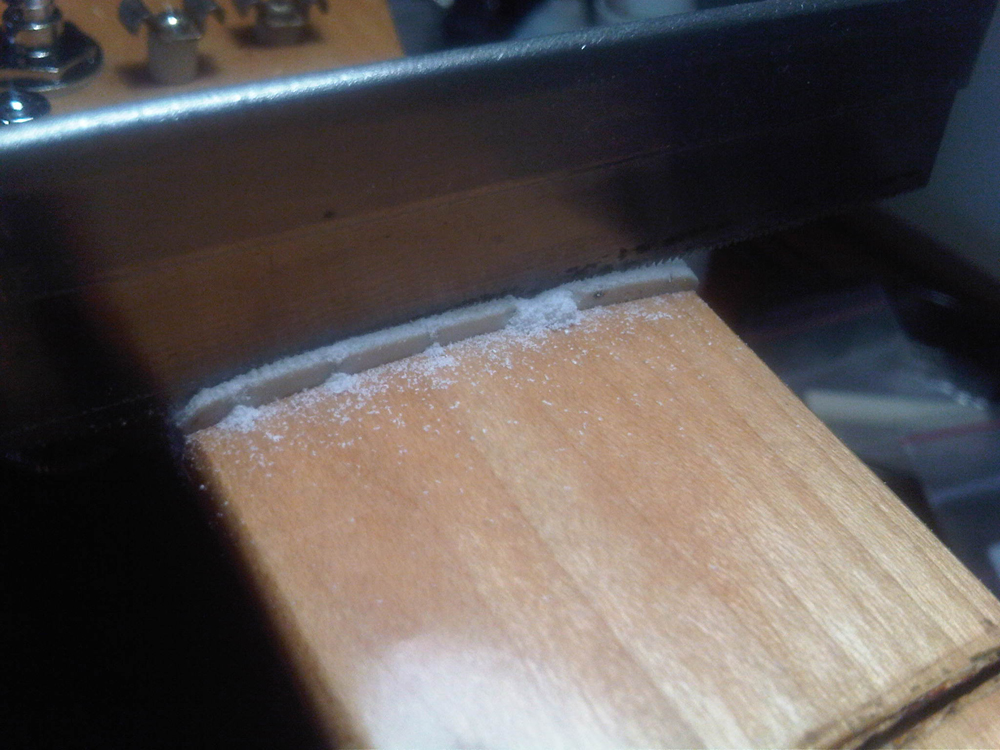
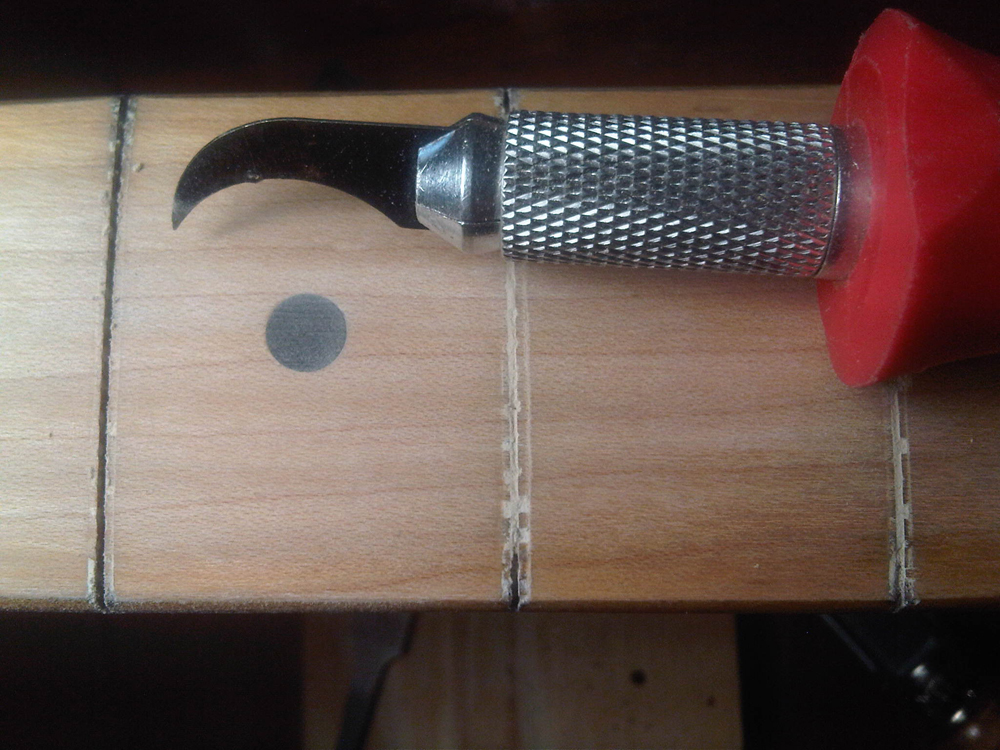
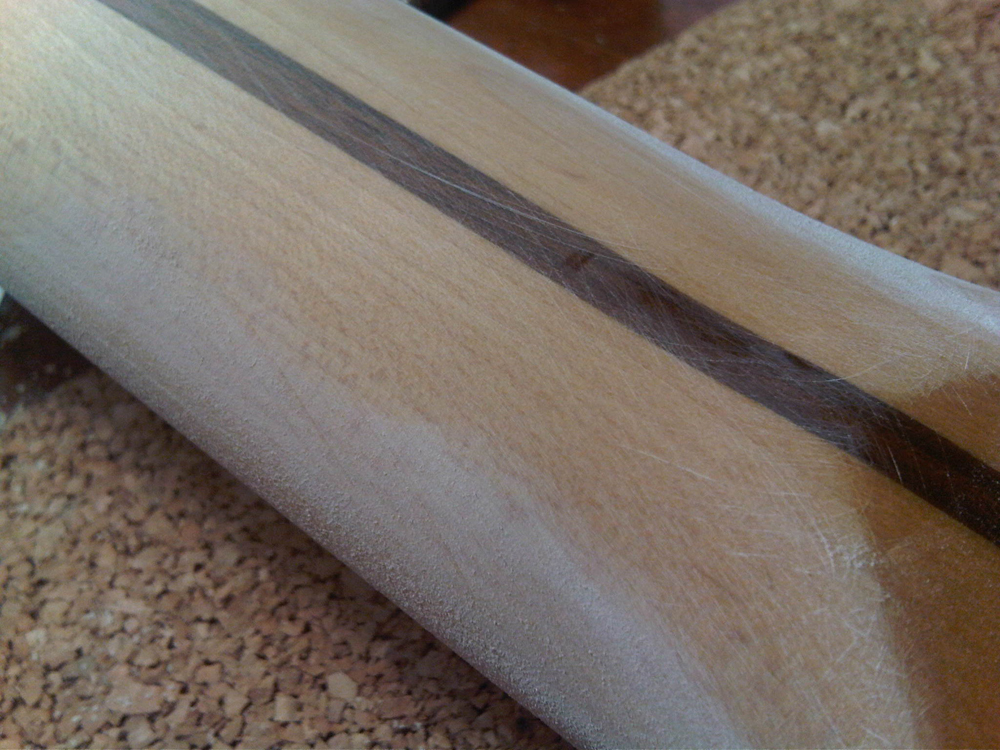
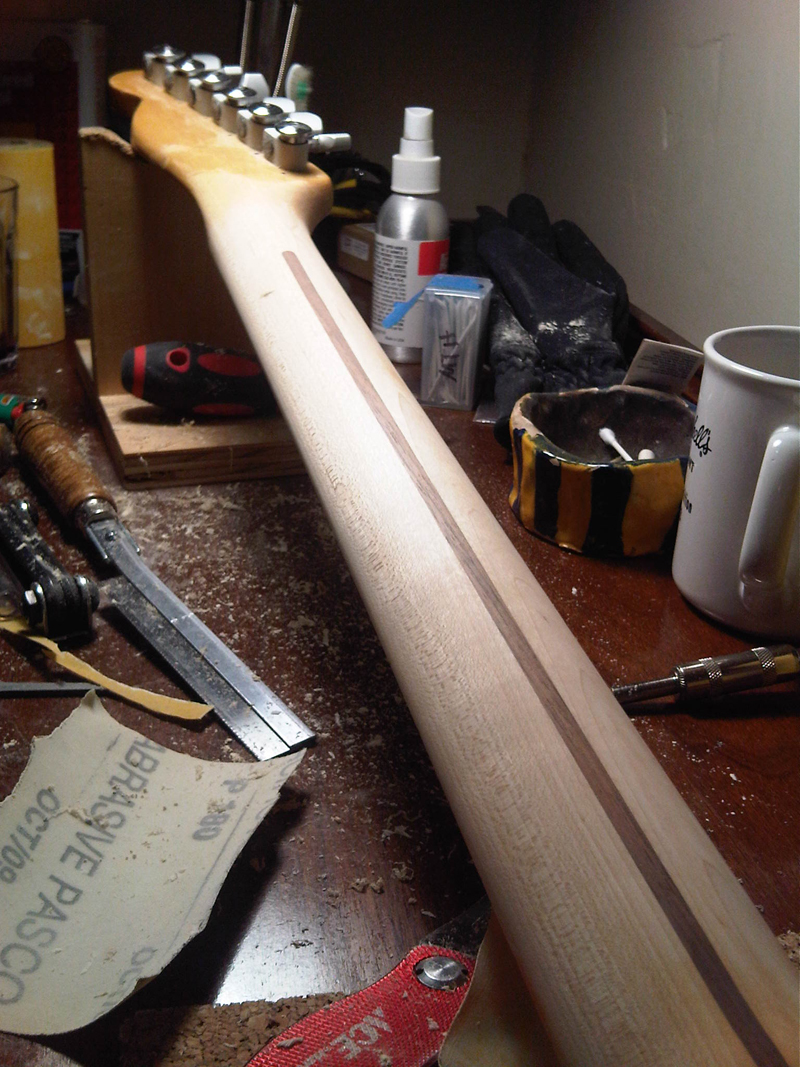
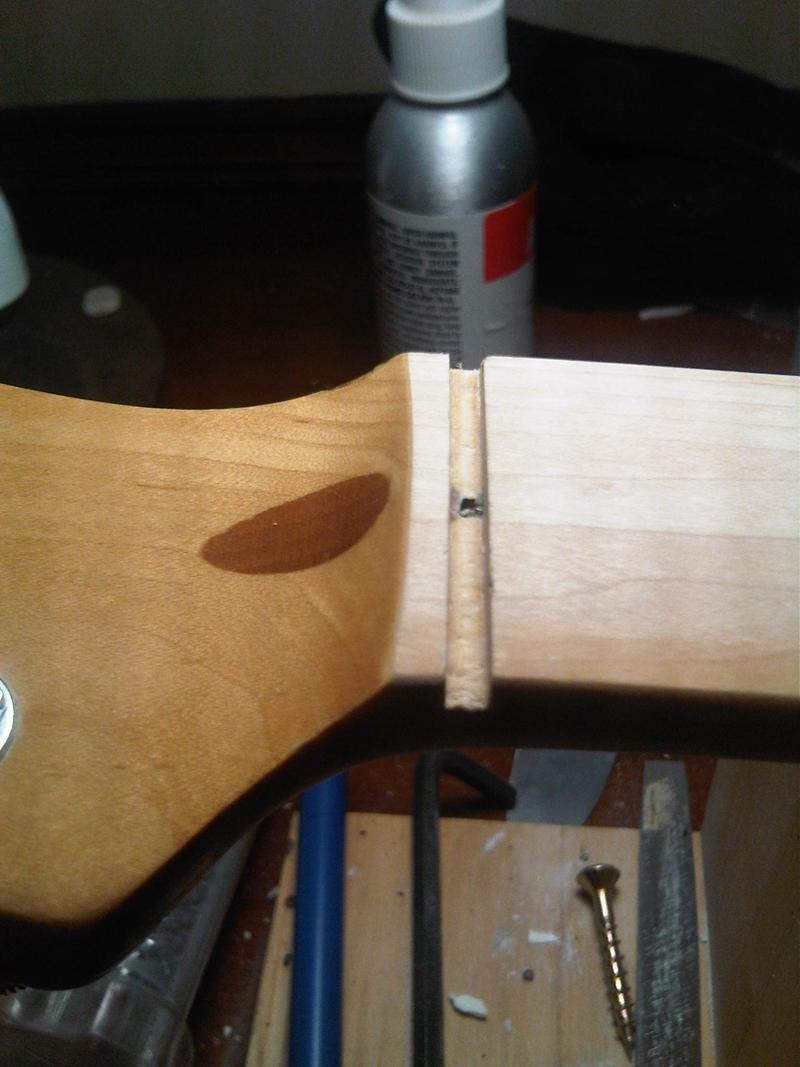
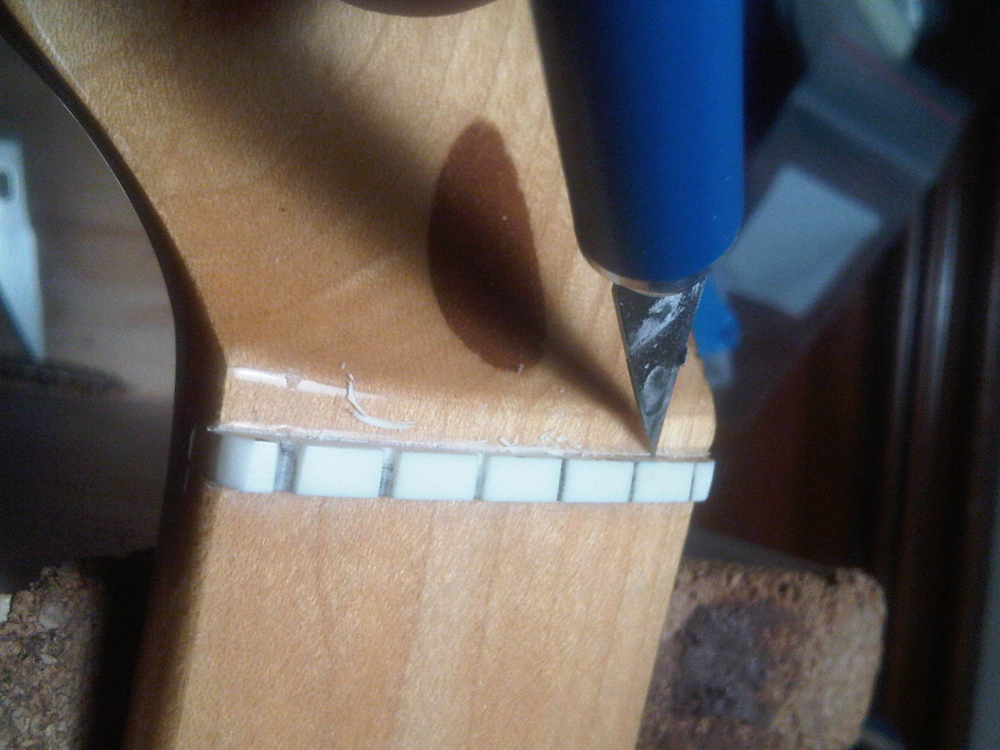
Changes I will make include installing a Callaham Vintage Tele bridge, Lollar Special-T single coils, CTS brand pots and a four-way switch. This switch allows the option of having both pickups available in series and in parallel besides either pickup by itself. Sperzel locking tuners round out the component mods and will make sure this axe stays in tune. I also will install Jescar stainless steel medium-jumbo frets and a bone nut.To check out parts one, two and three of this blog series, look for the stories under RELATED CONTENT to the left.OK, we’re back and ready to begin. When we left off, we had made a lot of progress with the wiring.All of the original frets have been removed from the neck I’m working on. At my recommendation, the owner of the guitar has agreed to go naked.The neck and fingerboard of this Tele are covered in gloss lacquer. It’s not thick. Not so thick as to conceivably choke much tone. In my experience, though, lacquer on the neck and fingerboard means a guitar that is just a little bit harder to play. And not in a good way. I’m a practical guy and today, that means running the grits on this blonde neck. I’ll begin by removing the nut from the slot. Because this gal is getting new frets, too, the nut is going to have to be replaced before it’s all over, anyway. I’ll pull it out now; that will make sanding off the finish easier when we get to that.TIP: Using the X-acto knife and doing your most careful work, trace around the shape of the nut, gently cutting into that line of finish where the nut sits in the slot. Make a few shallow, controlled passes until you have cut through the finish. A mistake made in this area is not easily camouflaged.If you don’t score the finish around the nut, chances are good that when you tap it out, you’ll get some lovely and prominent chips in the finish. Moving on, I’ve selected a small file that has a shank with a footprint that is about the same size as the end of the nut. Add a few hammer blows and … presto!Or not. Someone glued the piss out of this puppy. If the nut and slot are properly fitted, it only requires a speck of glue to secure the nut. If the nut won’t release from the slot, one option is to collapse the nut. My razor saw has a blade that cuts a .023-inch “kerf." Taking my sweet time, I saw through the nut like you might slice a hotdog bun. I try to keep the saw, and the resulting kerf, vertical throughout the process. I’m careful to cut through the nut, but not into the slot. TIP: Sometimes the nut slot has a curved shelf. If the neck is a Fender product, chances are good you will find a curved shelf. Sometimes they are flat, straight across from the bass to the treble side. Pay attention! Look through the pictures in the photo gallery below, and you will see what I mean.Once you wrangle the nut out of the slot, some cleanup needs to be done. Whether the nut slot is radiused to match the fingerboard or flat from edge to edge, it needs to be CLEAN before the new nut goes in. For jobs like this, I use granny glasses to magnify small areas. I want to see every detail. So I put on the glasses and use whatever tool I can find to flick out any glue residue or chips from the old nut.My radius gauge tells me that this classic guitar has the old-school Fender 7.25-inch fingerboard radius. I’ll use the same radius sanding block and some fre-cut 180 grit sandpaper to get started removing the lacquer finish. It’s quick work and easy to see the progress. It’s a good idea to switch to the next grit of sandpaper BEFORE IT LOOKS LIKE YOU NEED TO. It is not difficult to sand away too much wood. It took me about 20 minutes to carefully sand all of the finish off of this neck. The grits I used were 180, 240, 320, 400, 500 and 600.One good reason for not sanding too much wood from the fingerboard is that with each stroke, the nut slots lose depth. Trust me now and hear me later. OK. It’s all about cleanup now. Much of the dust from sanding has been packed into the fret slots. Those slots need to be cleaned so that the new frets are not impeded from seating well. My fret slot cleaning tool does the trick. Several straight, gentle passes works better than a display of brute force. Finesse wins here without a doubt. Pull the tool toward you, straight through the slot.Stew-mac.com sells all of the cool tools I’m using. They have been real nice to me and my friends. Don’t be afeared!Right. Run through this required drudgery, and next time we’ll sort out some fret work if you’re ready. Cheers.Marlin Hall is a self-taught guitarist with 27 years of experience and a strong DIY ethic, gigging on blues, cover tunes and original rock music on both coasts and in Minneapolis since 1991. Hall, a former sound engineer in Minneapolis, recently graduated from a guitar-building and repair program and provides repair and custom-guitar-building services in the Twin Cities area. For more info, visit lowstrungguitars.com.
Get The Pick Newsletter
All the latest guitar news, interviews, lessons, reviews, deals and more, direct to your inbox!


