Guitar Mods: Hot Rodding an Early '80s Squier Telecaster, Part 2
Welcome back!
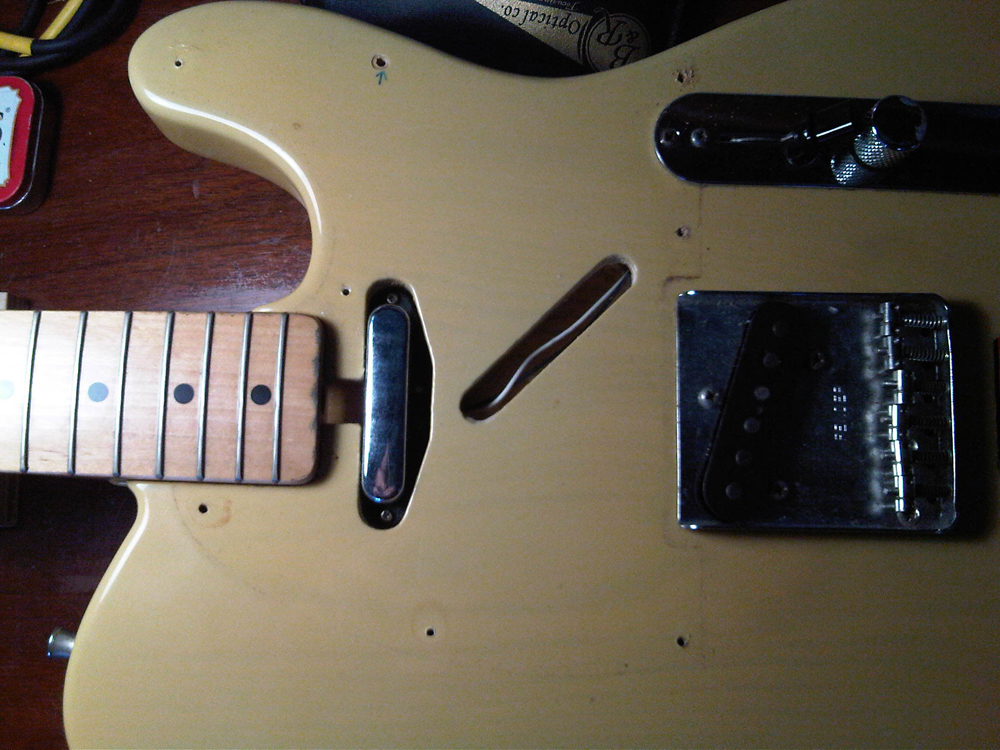
Where we left off:I'm modifying an early-'80s ash-bodied Squire Telecaster that is all original and in very clean condition. Its appointments include a 21-fret maple neck, vintage-style bridge and pickups and Fender Japan branded sealed gear tuners.
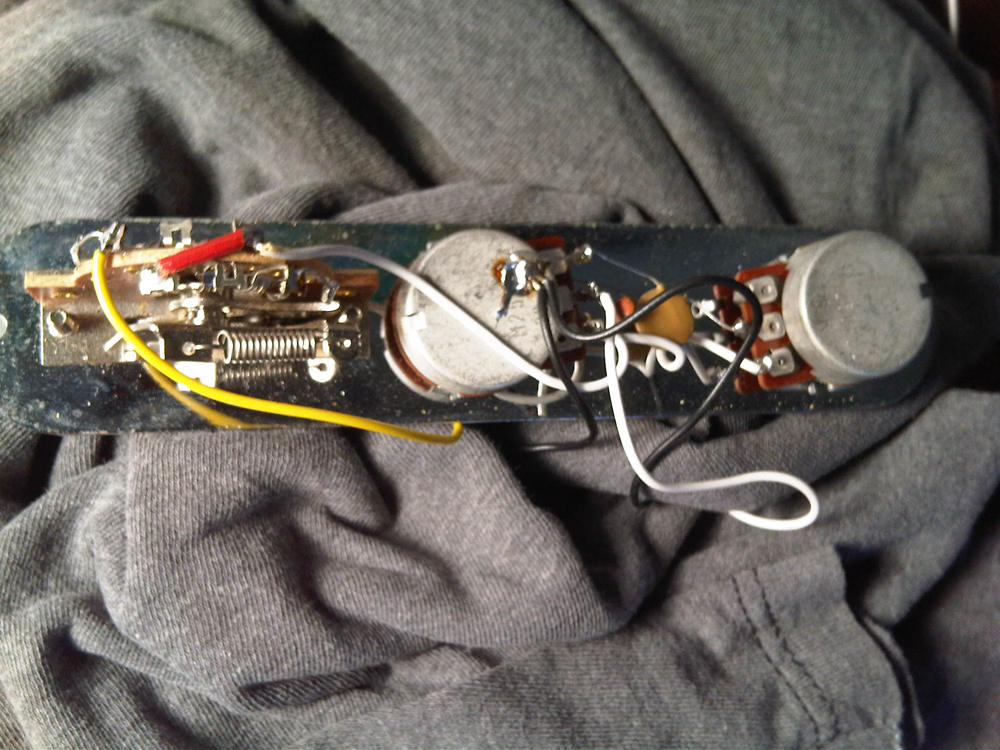
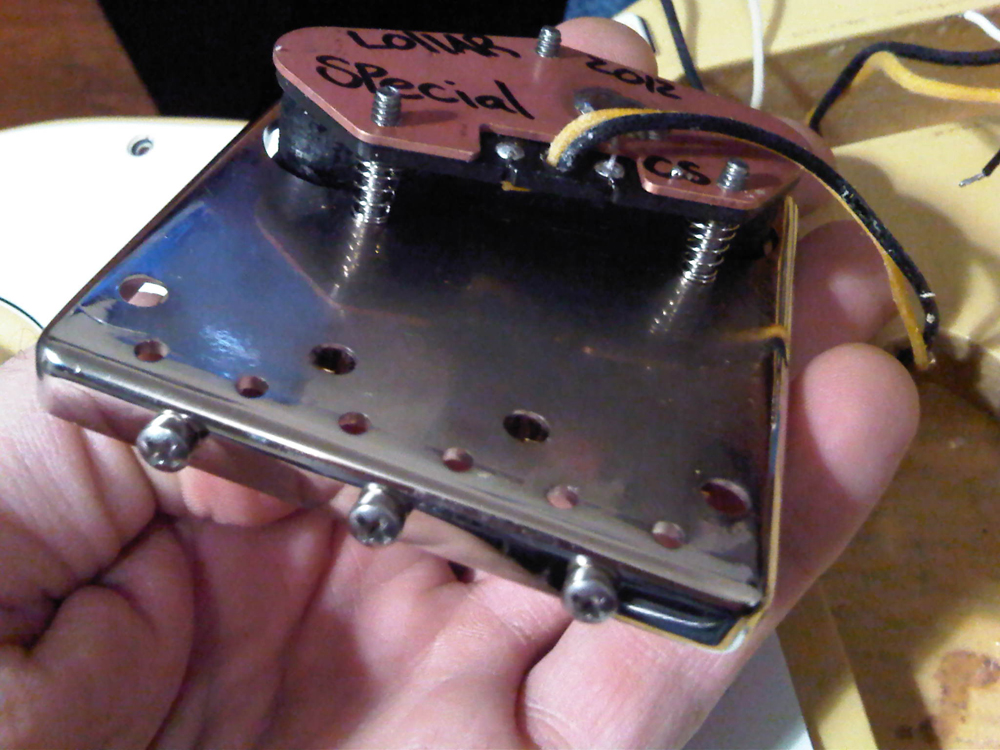
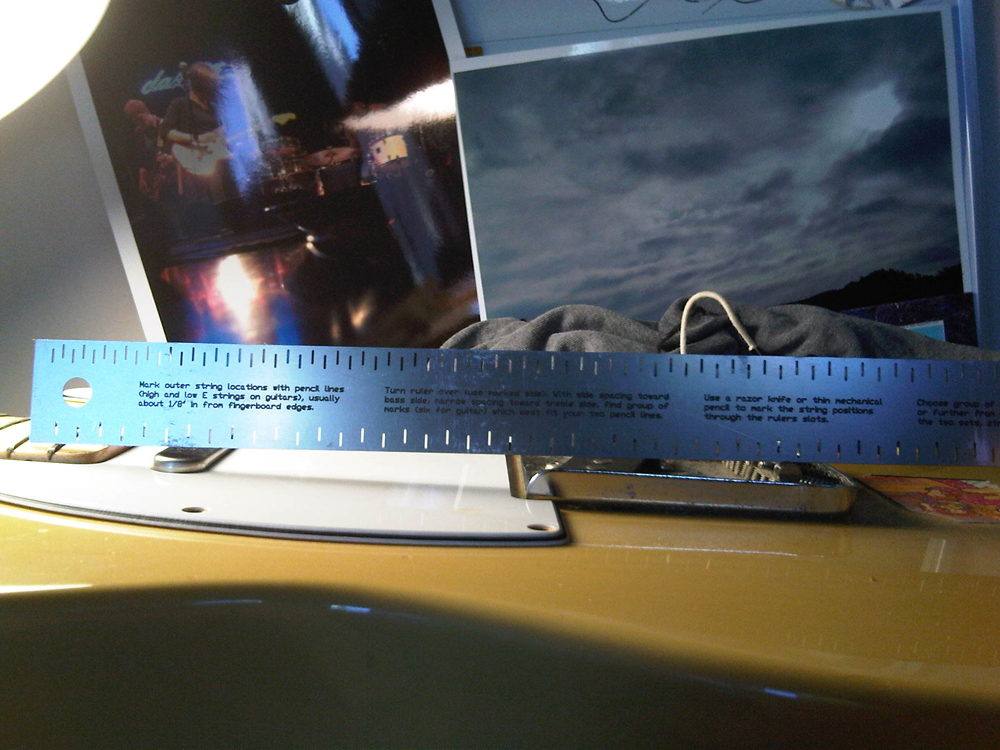
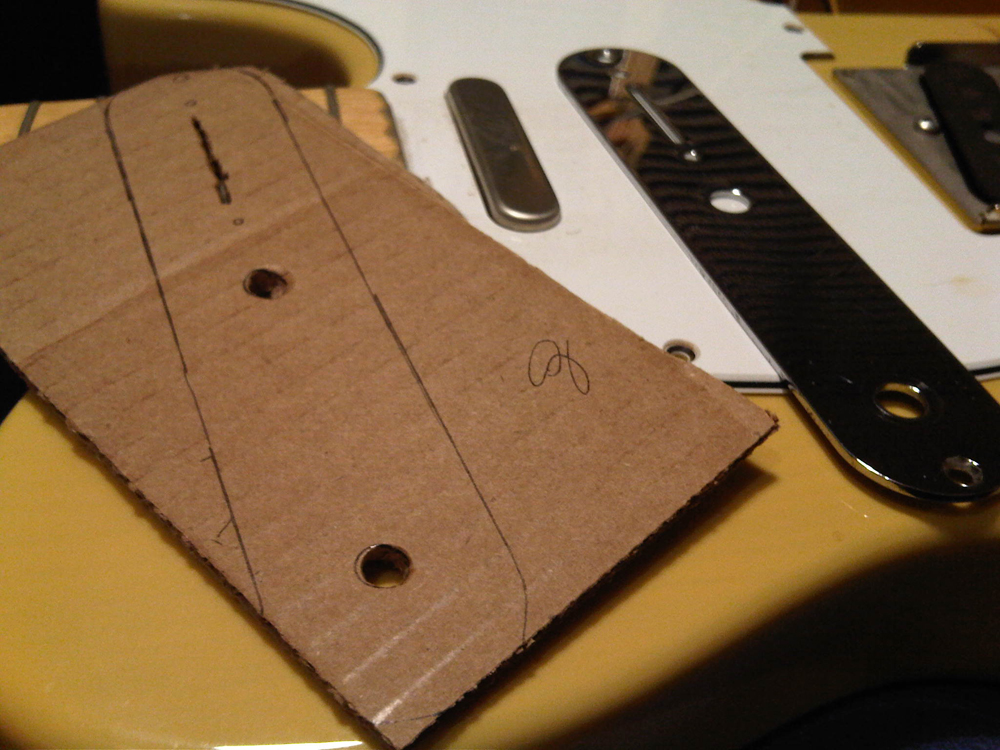
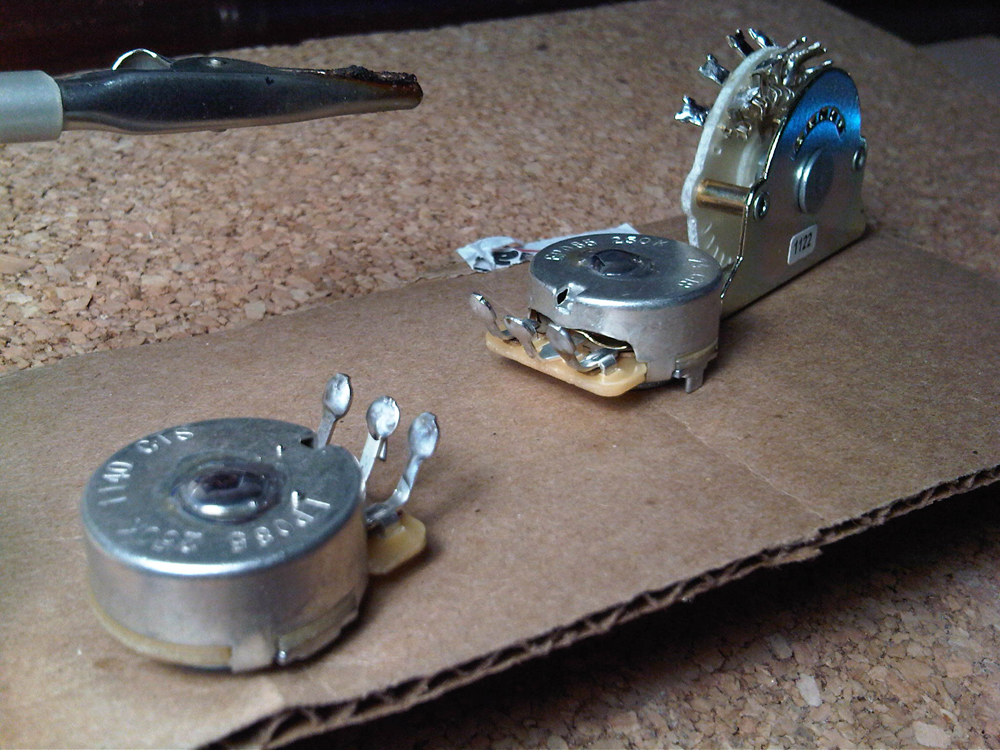
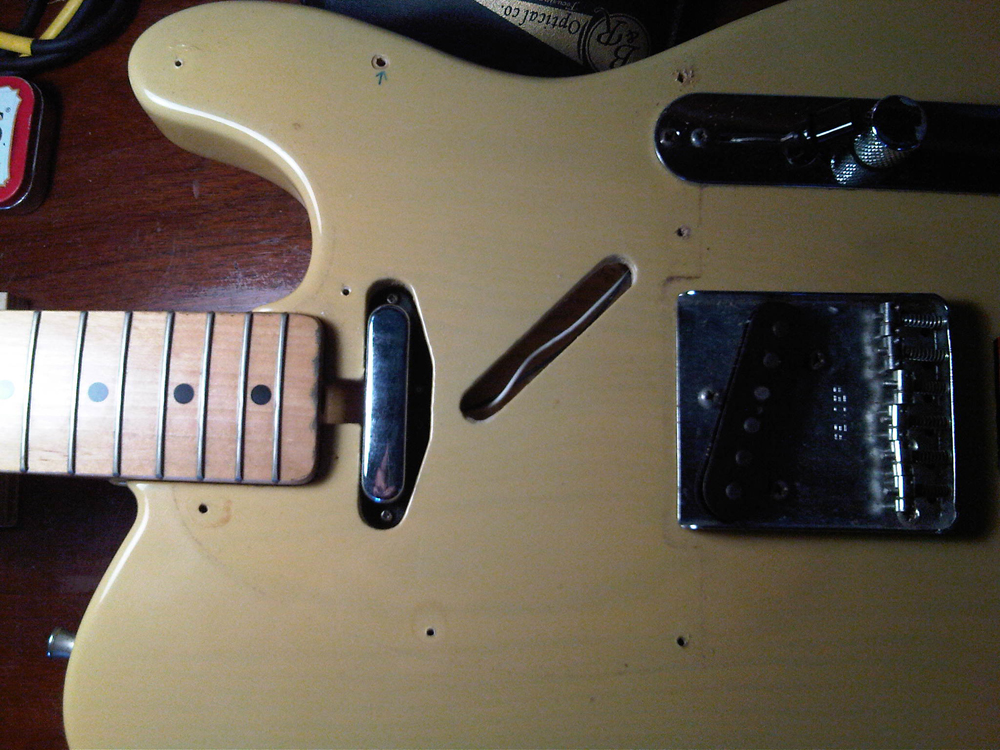
Changes I will make include installing a Callaham Vintage Tele bridge, Lollar Special-T single coils, CTS brand pots and a four-way switch. This switch allows the option of having both pickups available in series and in parallel besides either pickup by itself. Sperzel locking tuners round out the component mods and will make sure this axe stays in tune. I also will install Jescar stainless steel medium-jumbo frets and a bone nut.To check out part one of this blog series, click here.OK, we’re back and ready to begin. Remember to check out the photo gallery below; it illustrates several points made in this blog post.I’ll start by stating that the following process can be adapted to any guitar. Just use some common sense and make sure you have practiced these skills on a junky guitar before you go all Dr. Frankenstein on your No. 1. And just because you can doesn’t mean you should.TIP: Take pictures or draw diagrams you can read before taking stuff apart. You might need a map when it comes time to put things back together.To replace most pickups, we need to do some soldering. I’m using a 40-watt iron. It’s big enough to tackle any guitar project. I need to get at the guts of this Tele, so I’ll remove all the strings and adjust the truss rod to relieve any tension on it. Certain guitars require neck removal to for this. Remember: Righty, tighty. Lefty, loosie. I can feel the change in the rod as it relaxes. At this point, there’s no need to go any farther than the “relaxed” position. We’ll get back to the truss rod in a few weeks.TIP: Store all screws in small jars, an ice cube tray or the equivalent so they don’t get misplaced. If there are a lot of screws, I keep each type in its own container and label them to keep reassembly simple. A vintage guitar might have screws that are rusted or show wear. When this is the case, I return each screw to the hole it was in.With the exception of the saddle screws, I’ll remove all of the screws from the top of the guitar. Now read the above TIP one more time and then follow it. Good job. Unless other arrangements have been made, you should return any replaced parts to your customer.Lift off the pickguard and set it aside. Follow the leads (in this case, two for each coil) from the pickups. One lead is connected to a switch lug and the other to a ground on the back of the volume pot. Tin your iron tip with a bit of solder, wipe the excess on the damp sponge and begin heating the solder joint. TIP: If you are not replacing the selector switch or pots, label the locations of the pickups’ leads we are unsoldering. This will give you a leg up when you solder the new pickups in. Of course, if the wiring is goofed up to start with, skip this step and consult a wiring diagram. This site has been a help to me, and I recommend it.It shouldn’t take long for the solder to flow. The lead should then release from the joint effortlessly. If you don’t tin your iron, you might be waiting all day for this to happen. Keeping your iron properly tinned at all times is a soldering fundamental. The solder flow, not the iron, conducts the heat.Solder is the tracks under the train. Just do it. From here on, I’m going to leave proper soldering skills up to you. If you don’t want to woodshed the techniques, I suggest you stop now. Put all the screws back in and take your guitar to a pro. The old pickups can now be removed. If any modifications to the guitar are necessary to fit the new parts, your customer should know in advance. The Lollar Special T’s I’m installing dropped right in and the existing screw holes match. Sweet. In they go!The neck pickup has height-adjustment screws that are hidden underneath the pickguard. By laying a straight edge on the last fret and letting it rest on the E string saddles, I can tell more or less how close the pickup will be to the strings when the job is nearing completion. OK. I’m upgrading to high-quality pots and a four-way switch. The prep for this is tinning all lugs and the stripped ends of the wiring. It’s a must!TIP: If your guitar's controls mount directly to the body, Les Paul-style, cut some cardboard to fit the shape of the control cavity. Include all holes for pots and switches. Mount your parts to the cardboard prior to soldering. Cut your wires to fit, avoiding excess length, then have at it! Once your connections are made, everything will drop right in.Next time, we’ll finish up the electronics and get ready to do some fret work.P.S.: I’m happy to answer your technical questions. Email them to me at tim@lowstrungguitars.com.Marlin Hall is a self-taught guitarist with 27 years of experience and a strong DIY ethic, gigging on blues, cover tunes and original rock music on both coasts and in Minneapolis since 1991. Hall, a former sound engineer in Minneapolis, recently graduated from a guitar-building and repair program and provides repair and custom-guitar-building services in the Twin Cities area. For more info, visit lowstrungguitars.com.
Get The Pick Newsletter
All the latest guitar news, interviews, lessons, reviews, deals and more, direct to your inbox!
“Wins out on battery life, stealthy aesthetics and its well-judged Cable Tone feature”: Blackstar Airwire i58 review
“A distinctive brightness that no other strings have been able to capture”: How Rotosound revolutionized the bass world with its Swing Bass 66 strings – and shaped the sound of rock music in the process


